Once you taste the Easiest Peanut Butter Fudge, you’ll instantly understand why it’s a go-to treat for potlucks, holiday trays, or those weeknights when cravings hit hard. With just five simple ingredients and a quick stovetop method, this fudge captures that unbeatable creamy-sweet peanut butter flavor in every blissful bite. No baking, no candy-making guesswork—just pure, old-fashioned delight that’s perfect for making memories in the kitchen, whether you’re whipping up a batch for a last-minute gift or sneaking a slice after dinner. This one’s pure nostalgia, ready in minutes!
Ingredients You’ll Need
For the Easiest Peanut Butter Fudge, every ingredient has a starring role in creating the rich flavor and smooth texture, so gather these pantry staples. Each one brings something unique to make the fudge perfectly sweet, creamy, and irresistibly melt-in-your-mouth!
- Granulated sugar: This is the backbone of the fudge, providing sweetness and structure—measured just right so the fudge sets with a soft, fudgy bite.
- Milk: Milk helps dissolve the sugar and gives the fudge its creamy consistency, making every square luscious and rich.
- Creamy peanut butter: The star ingredient! Choose a smooth, classic style peanut butter for that beautifully dense, nutty flavor adorning every bite.
- Vanilla extract: Just a splash adds that classic warmth and rounds out the bold peanut flavor.
- Salt: A little salt transforms the fudge from sweet to sensational, intensifying both the sweetness and the nuttiness.
How to Make Easiest Peanut Butter Fudge
Step 1: Prepare Your Pan
Line an 8×8-inch baking dish with parchment paper, letting the paper hang a bit over the edges—this way, the fudge lifts out effortlessly later. Set the pan aside. This step is super important, since it keeps cleanup simple and helps you get those perfect, tidy squares.
Step 2: Start the Base
In a medium saucepan, pour in your granulated sugar and milk. Place the pan over medium heat and start stirring. These two need to completely combine and come to a gentle boil. Stir constantly so nothing sticks or burns; you’re just creating the magical foundation for your Easiest Peanut Butter Fudge.
Step 3: Boil to Perfection
Continue to stir while your mixture heats up, and once it starts boiling, set a timer for 2 to 3 minutes. Keep stirring—this helps the sugar dissolve evenly and allows the base to thicken ever so slightly. If you have a candy thermometer handy, look for it to hit about 234°F (soft-ball stage); otherwise, trust your timer and your instincts.
Step 4: Mix in Peanut Butter Goodness
Immediately remove your pan from the heat. Quickly add in the creamy peanut butter, vanilla extract, and that essential pinch of salt. Stir enthusiastically and watch as everything melts and blends into a gorgeous, glossy fudge batter. Don’t linger—this part comes together fast!
Step 5: Pour and Set
Pour the warm fudge mixture straight into your prepared baking dish. Use a spatula (or the back of a spoon) to spread it out evenly to all the corners. At this point, if you’re feeling adventurous, sprinkle in some chopped peanuts or swirl in extra peanut butter for a fun twist.
Step 6: Cool and Slice
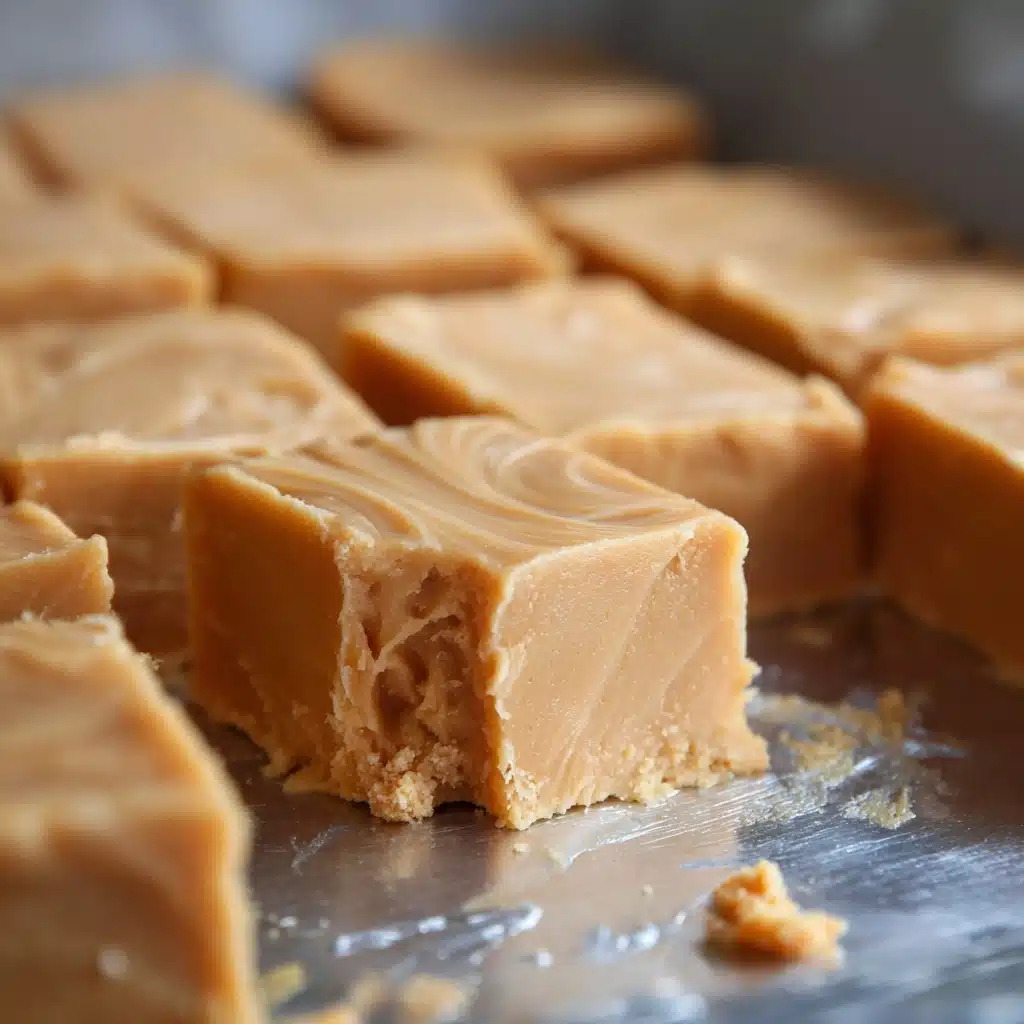
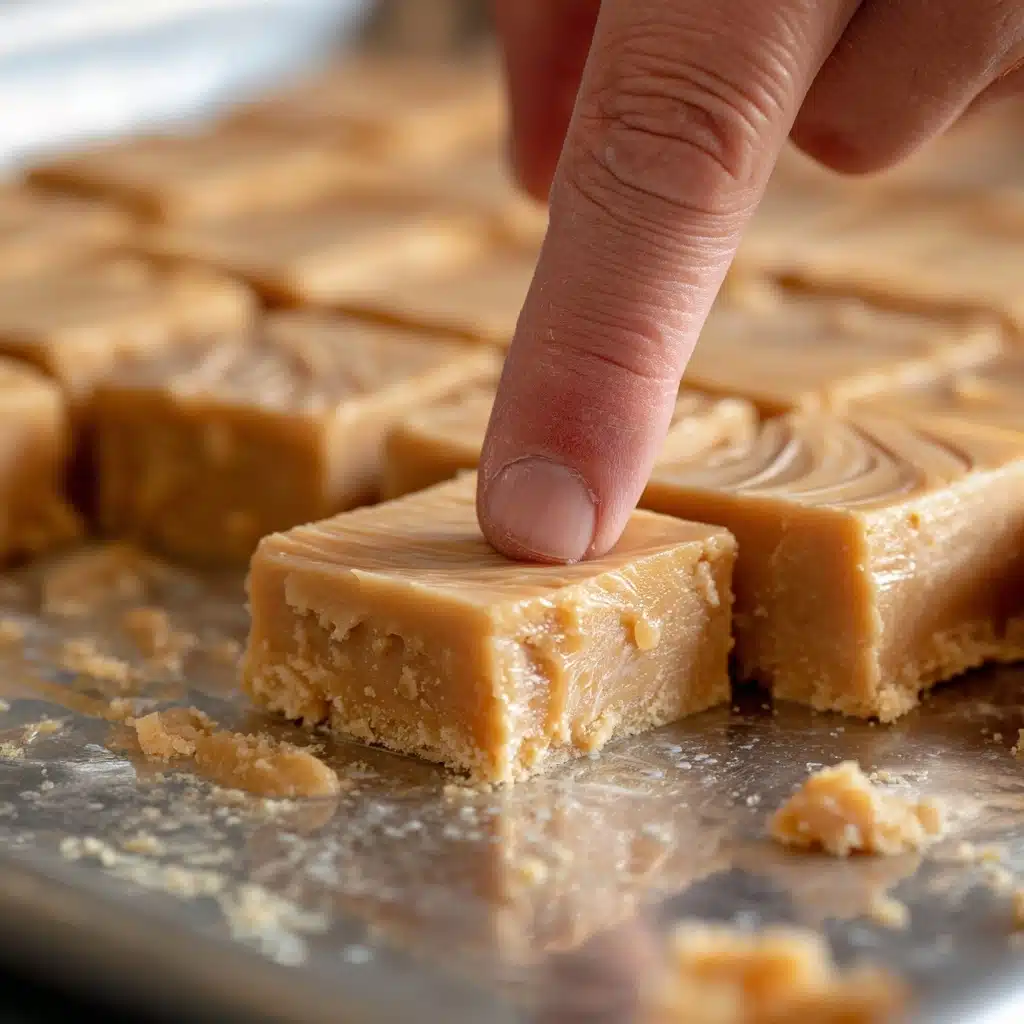
Let that heavenly fudge cool at room temperature for at least an hour, until it’s firm to the touch. Once set, lift it out using your parchment paper edges, place on a cutting board, and slice into 25 generous squares. Now it’s time to share (or not—no judgment here!) your Easiest Peanut Butter Fudge masterpiece.
How to Serve Easiest Peanut Butter Fudge

Garnishes
The Easiest Peanut Butter Fudge is delightful on its own, but a little garnish can really ramp up the fun. Try a sprinkle of sea salt flakes for contrast, a dusting of cocoa powder, or a scattering of mini chocolate chips. For peanut lovers, a few crushed roasted peanuts on top bring a pop of texture and color.
Side Dishes
Balance out the rich fudge with something fresh and light, like crisp apple slices, tart berries, or a refreshing fruit salad. If you’re going all-in for dessert, serve alongside vanilla ice cream or a steaming cup of strong coffee—the contrast brings out the full, nutty flavor of the fudge.
Creative Ways to Present
Let the Easiest Peanut Butter Fudge steal the show at parties or gift-giving moments by stacking squares in a mason jar tied with a ribbon, arranging on a vintage tray with parchment between layers, or tucking pieces into mini cupcake liners for a super-polished look. Personalize with handwritten gift tags for an extra-sweet touch!
Make Ahead and Storage
Storing Leftovers
Keep your leftover Easiest Peanut Butter Fudge fresh by storing it in an airtight container. It’s perfectly happy at room temperature for up to a week—just place parchment between layers to prevent sticking. If you like firmer fudge, simply stash it in the fridge and enjoy a chilled square whenever cravings hit.
Freezing
Fudge freezes beautifully, making it the perfect treat to make ahead. Cut into squares, wrap individual pieces tightly in plastic or parchment, and place in a freezer bag or container. Stored like this, your Easiest Peanut Butter Fudge will stay fresh for up to three months—just allow a few minutes at room temperature to thaw before serving for the best texture.
Reheating
This fudge is designed to be delicious straight from the tin or fridge, but if you like it a bit softer, let a piece sit at room temperature for 10 to 15 minutes. There’s no need to microwave or reheat, as it’s meant to be enjoyed as a chilled or room-temperature treat.
FAQs
Can I use natural peanut butter in this recipe?
You can use natural peanut butter, but keep in mind the texture might be a little softer and slightly oilier due to the natural separation. For the most classic, creamy fudge texture, a standard supermarket creamy peanut butter is best.
What can I do if my fudge turns out too soft?
If your fudge doesn’t set as firmly as you’d like, don’t worry—just chill it in the refrigerator for a few hours or overnight. It’s usually due to not boiling the sugar mixture long enough, so keep an eye on the timing next batch for perfect results.
How long does the Easiest Peanut Butter Fudge keep?
Properly stored in an airtight container, your fudge will keep beautifully for up to a week at room temperature or two weeks in the refrigerator. It’s a great make-ahead treat for holidays or gatherings!
Can I double the recipe for a crowd?
Absolutely! Double the ingredients and use a 9×13-inch pan to make enough fudge for sharing (or for an extra-stacked secret stash). Just be sure to watch the candy mixture closely while boiling, as larger quantities can take a minute or two longer.
What are some mix-ins I can add?
For fun variations, stir in a handful of chopped salted peanuts, swirl in a bit of melted chocolate, or fold in mini marshmallows. The Easiest Peanut Butter Fudge is a fantastic blank canvas for all your sweet cravings!
Final Thoughts
If you’re searching for a dreamy, creamy treat that’s ready in a flash and guaranteed to bring smiles, the Easiest Peanut Butter Fudge is your new best friend. Give this classic a try and see just how quickly it disappears—there’s nothing like the joy of homemade fudge, made simple!
Print
Easiest Peanut Butter Fudge Recipe
- Total Time: 15 minutes
- Yield: 25 pieces
- Diet: Gluten Free, Vegetarian
Description
Indulge in the rich, creamy goodness of this Easiest Peanut Butter Fudge recipe. With just five simple ingredients and no baking required, you can whip up a batch of this delectable treat in no time.
Ingredients
Granulated Sugar:
2 cups
Milk:
1/2 cup
Creamy Peanut Butter:
1 cup
Vanilla Extract:
1 teaspoon
Salt:
1/4 teaspoon
Instructions
- Prepare Baking Dish: Line an 8×8-inch dish with parchment paper.
- Heat Sugar and Milk: In a saucepan, combine sugar and milk. Boil for 2-3 minutes.
- Add Peanut Butter and Seasonings: Remove from heat, stir in peanut butter, vanilla, and salt until smooth.
- Pour and Cool: Pour mixture into dish, spread evenly, and let cool for 1 hour.
- Serve: Cut into squares and enjoy!
Notes
- Consider using a candy thermometer for precise texture.
- For added texture, mix in chopped peanuts before setting.
- Store in an airtight container at room temperature or refrigerate for a firmer consistency.
- Prep Time: 5 minutes
- Cook Time: 10 minutes
- Category: Dessert
- Method: Stovetop
- Cuisine: American
Nutrition
- Serving Size: 1 piece
- Calories: 130
- Sugar: 16g
- Sodium: 60mg
- Fat: 6g
- Saturated Fat: 1.5g
- Unsaturated Fat: 4g
- Trans Fat: 0g
- Carbohydrates: 18g
- Fiber: 0.5g
- Protein: 2g
- Cholesterol: 0mg


