
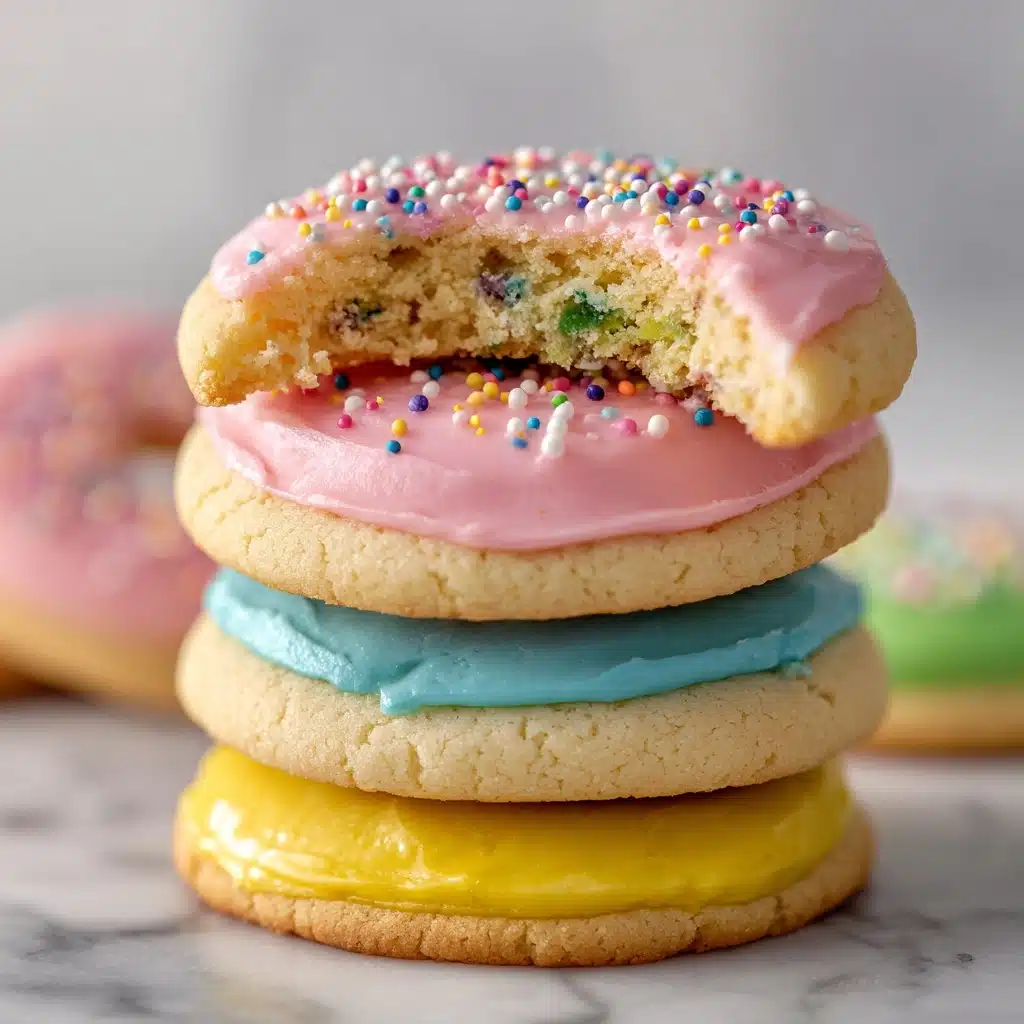
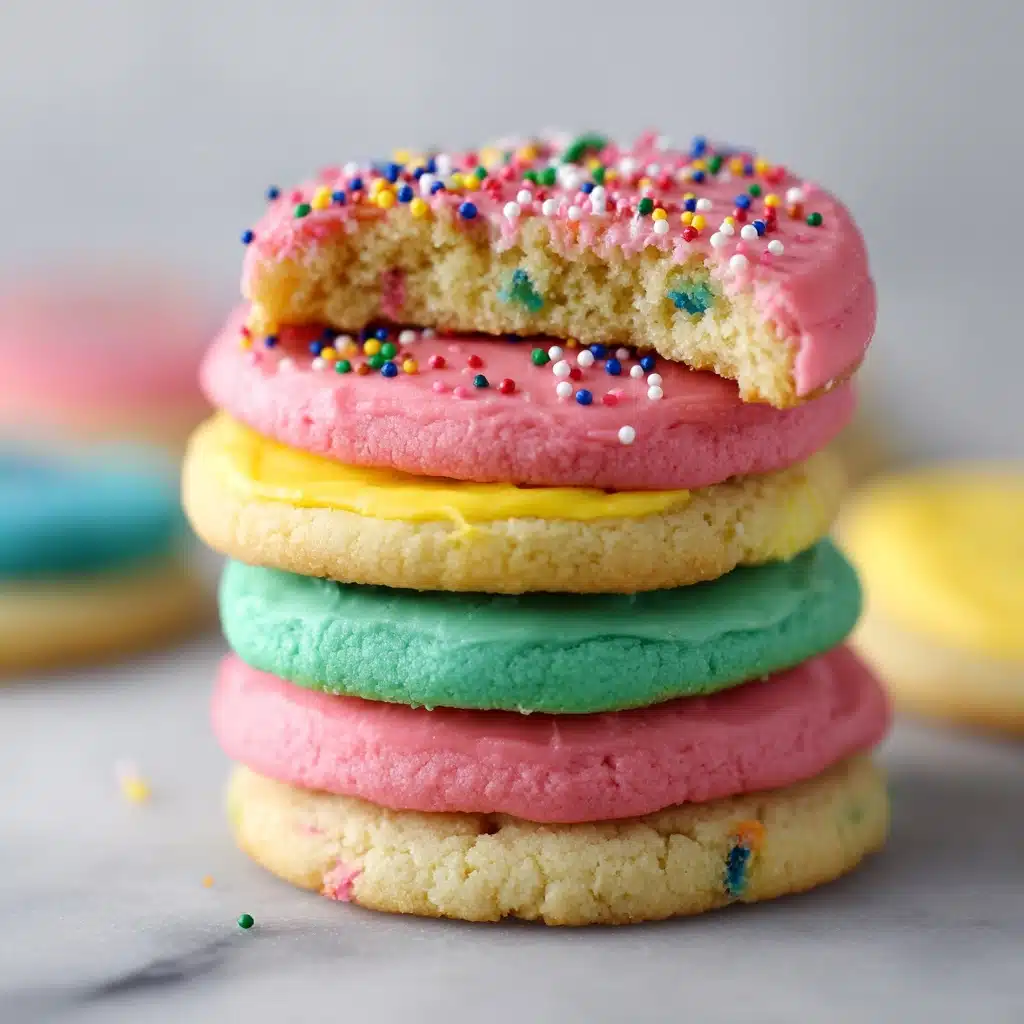
Few things say “spring celebration” quite like a tray of pastel-hued, beautifully decorated cookies, and this Easter Sugar Cookies Recipe is the delicious, cheerful treat your holiday deserves. These cookies are soft in the center with crisp, buttery edges, and each bite delivers the perfect balance of sweetness and vanilla flavor. Whether you’re baking with kids or creating edible works of art to impress guests, you’ll love how easy these cookies are to roll, cut, and dress up with icing and sprinkles. Get ready to fill your kitchen with smiles, color, and irresistible aromas!
Ingredients You’ll Need
Every ingredient in this Easter Sugar Cookies Recipe is chosen for a reason: classic pantry staples create the tender crumb, and a hint of almond extract takes the flavor to the next level. The finishing touches bring that signature festive flair! Here’s what you’ll need and why they matter.
- All-purpose flour: The backbone of your dough, providing structure and just enough softness for a perfect bite.
- Baking soda: Adds a little lift, keeping your cookies light instead of dense.
- Baking powder: Ensures added tenderness and helps the cookies rise just right.
- Salt: Balances the sweetness and enhances all those rich, buttery flavors.
- Unsalted butter (softened): Absolutely essential for that melt-in-your-mouth texture and a subtly rich taste.
- Granulated sugar: Delivers classic cookie sweetness and helps with that irresistible golden edge.
- Large egg: Binds everything together for dough that’s easy to roll and cut.
- Vanilla extract: Warms up the flavor profile and makes the cookies wonderfully fragrant.
- Almond extract (optional): Adds depth and that bakery-style aroma—if you love marzipan, don’t skip it!
- Pastel-colored royal icing or glaze: The secret to those charming, Instagram-worthy designs.
- Sprinkles and decorating sugars (optional): These are what transform simple cookies into joyful little masterpieces.
How to Make Easter Sugar Cookies Recipe
Step 1: Prepare the Dry Ingredients
Start by whisking together the flour, baking soda, baking powder, and salt in a medium bowl. This simple step ensures your leavening agents are evenly distributed, giving every cookie a beautifully consistent, tender texture. Trust me—pre-mixing pays off later!
Step 2: Cream the Butter and Sugar
Creaming the softened butter with the granulated sugar is where that melt-in-your-mouth magic begins. Beat them together until the mixture is light and fluffy—this incorporates air and makes sure your cookies have that soft, pillowy middle and those crisp, golden edges we all love.
Step 3: Add the Egg and Extracts
Next, add in your egg, vanilla extract, and optional almond extract (just a splash if you’re curious). Beat until everything is blended. This step is where all those warm, cozy flavors begin to shine, giving the dough that irresistible aroma before it even hits the oven.
Step 4: Combine Wet and Dry Ingredients
Gradually mix the dry ingredients into the butter mixture, stirring gently until just combined. Be careful not to over-mix—doing so keeps your cookies tender instead of tough. The dough should pull together and be easy to form into discs.
Step 5: Chill the Dough
For cookies that hold their shape and are a dream to roll out, divide the dough in half, flatten into discs, and chill in the refrigerator for about 30 minutes. This quick rest lets the flavors meld and prevents spreading in the oven. (In a pinch, you can skip chilling and scoop-and-bake instead, but chilling guarantees prettier shapes!)
Step 6: Roll, Cut, and Bake
On a lightly floured surface, roll out one dough disc at a time to about ¼-inch thickness. Use your favorite Easter-themed cookie cutters—think bunnies, eggs, chicks, or blossoms—and cut out as many shapes as you can, rerolling scraps as needed. Arrange shapes on lined baking sheets and bake at 350°F for 8–10 minutes until the edges are just set and barely golden.
Step 7: Cool and Decorate
Let the cookies cool on the baking sheet for 2 minutes, then transfer to a wire rack to cool completely. Once they’re nice and cool, have a blast decorating with pastel royal icing or glaze and finish with sprinkles or decorating sugar. Get the kids involved, or unleash your inner artist for show-stopping cookies!
How to Serve Easter Sugar Cookies Recipe
Garnishes
For that extra “wow,” sprinkle colored sugars or pastel sprinkles over the wet icing before it sets. You can also pipe accents with more royal icing or add edible glitter for a magical, festive touch. Every garnish is an opportunity to make your Easter Sugar Cookies Recipe truly one-of-a-kind and camera-ready!
Side Dishes
Pair these cookies with a fresh fruit salad and a festive pitcher of strawberry lemonade for a cheerful afternoon treat, or add them to your holiday dessert table alongside carrot cake and mini cheesecakes. They’re delicious with milk, tea, or coffee for a cozy pick-me-up during your Easter celebrations.
Creative Ways to Present
Stack the cookies in clear cellophane bags tied with pastel ribbons to create gift-worthy bundles, or arrange them in baskets lined with paper grass and faux eggs for a gorgeous centerpiece. You can even turn the cookies into edible place cards by piping names on each one—such a cute addition to your holiday table!
Make Ahead and Storage
Storing Leftovers
Store your decorated Easter Sugar Cookies Recipe in an airtight container at room temperature, layering parchment or wax paper between each layer to protect the icing. They’ll stay fresh and deliciously soft for up to 5 days, making them a perfect make-ahead treat.
Freezing
Unfrosted cookies freeze beautifully! Just let them cool completely, pop them in freezer-safe bags or containers, and freeze for up to 2 months. For decorated cookies, freeze them in a single layer until firm, then stack carefully. Thaw at room temperature before adding more decorations if needed.
Reheating
There’s no need to reheat these cookies—they’re best enjoyed at room temperature so the icing stays intact. If you must, pop plain cookies in a 250°F oven for a few minutes to refresh them, but decorated ones should be left to come up to temperature on their own.
FAQs
Can I make the dough in advance?
Absolutely! You can prepare the dough for this Easter Sugar Cookies Recipe up to three days ahead. Wrap it tightly in plastic wrap and refrigerate until you’re ready to roll, cut, and bake.
Do I have to chill the dough?
Chilling the dough helps the cookies hold their shape and prevents spreading, making for crisper designs and neater edges. However, if you’re pressed for time, you can scoop and bake without chilling for a more rustic look.
Which icing is best for decorating?
Royal icing is classic for crisp, sharp designs that dry hard and glossy. If you prefer a softer bite or simpler look, a quick glaze (powdered sugar mixed with milk or juice) will do the trick—it’s all about your decorating style!
Can I use natural food coloring for pastel hues?
Yes, natural food colors made from fruit and vegetable powders or extracts work beautifully, especially for the soft, springy tones of this Easter Sugar Cookies Recipe. Just go slow and add color little by little to get your perfect shade.
How do I keep my cookies soft?
Don’t over-bake your cookies—pull them from the oven as soon as the edges start to set and cool on the sheets for a couple of minutes to finish baking gently. Storing them in an airtight container with a slice of bread helps retain moisture, too!
Final Thoughts
This Easter Sugar Cookies Recipe is a joyful excuse to gather loved ones, get creative in the kitchen, and share sweet, homemade moments together. Whether you decorate for fun or perfection, give them a try—you’ll be amazed at how quickly they become a holiday tradition!
Print
Easter Sugar Cookies Recipe
- Total Time: 1 hour
- Yield: 30 cookies 1x
- Diet: Vegetarian
Description
These Easter Sugar Cookies are a delightful treat perfect for the holiday season. Soft, buttery cookies decorated with pastel-colored icing and sprinkles, they are as fun to make as they are to eat.
Ingredients
Dry Ingredients:
- 2 ¾ cups all-purpose flour
- 1 teaspoon baking soda
- ½ teaspoon baking powder
- ½ teaspoon salt
Wet Ingredients:
- 1 cup unsalted butter, softened
- 1 ½ cups granulated sugar
- 1 large egg
- 1 ½ teaspoons vanilla extract
- ½ teaspoon almond extract (optional)
Decorations:
- pastel-colored royal icing or glaze
- sprinkles and decorating sugars (optional)
Instructions
- Preheat the oven: Preheat the oven to 350°F (175°C) and line baking sheets with parchment paper.
- Prepare the dry ingredients: In a medium bowl, whisk together the flour, baking soda, baking powder, and salt.
- Cream the wet ingredients: In a large bowl, cream the butter and sugar until light and fluffy. Beat in the egg, vanilla extract, and almond extract if using.
- Combine and chill: Gradually add the dry ingredients to the wet mixture, mixing just until combined. Divide the dough, chill in the refrigerator for 30 minutes.
- Roll and cut: Roll out the dough, cut shapes using cookie cutters, and transfer to baking sheets.
- Bake: Bake for 8–10 minutes until lightly golden. Cool on sheets, then transfer to a wire rack.
- Decorate: Once cooled, decorate with icing, glaze, and sprinkles.
Notes
- For a no-chill option, scoop dough, roll into balls, flatten, and bake.
- Allow decorated cookies to dry completely before stacking or storing.
- Prep Time: 20 minutes (plus 30 minutes chilling)
- Cook Time: 10 minutes
- Category: Dessert
- Method: Baking
- Cuisine: American
Nutrition
- Serving Size: 1 cookie
- Calories: 140
- Sugar: 12g
- Sodium: 70mg
- Fat: 6g
- Saturated Fat: 4g
- Unsaturated Fat: 2g
- Trans Fat: 0g
- Carbohydrates: 20g
- Fiber: 0g
- Protein: 1g
- Cholesterol: 20mg


