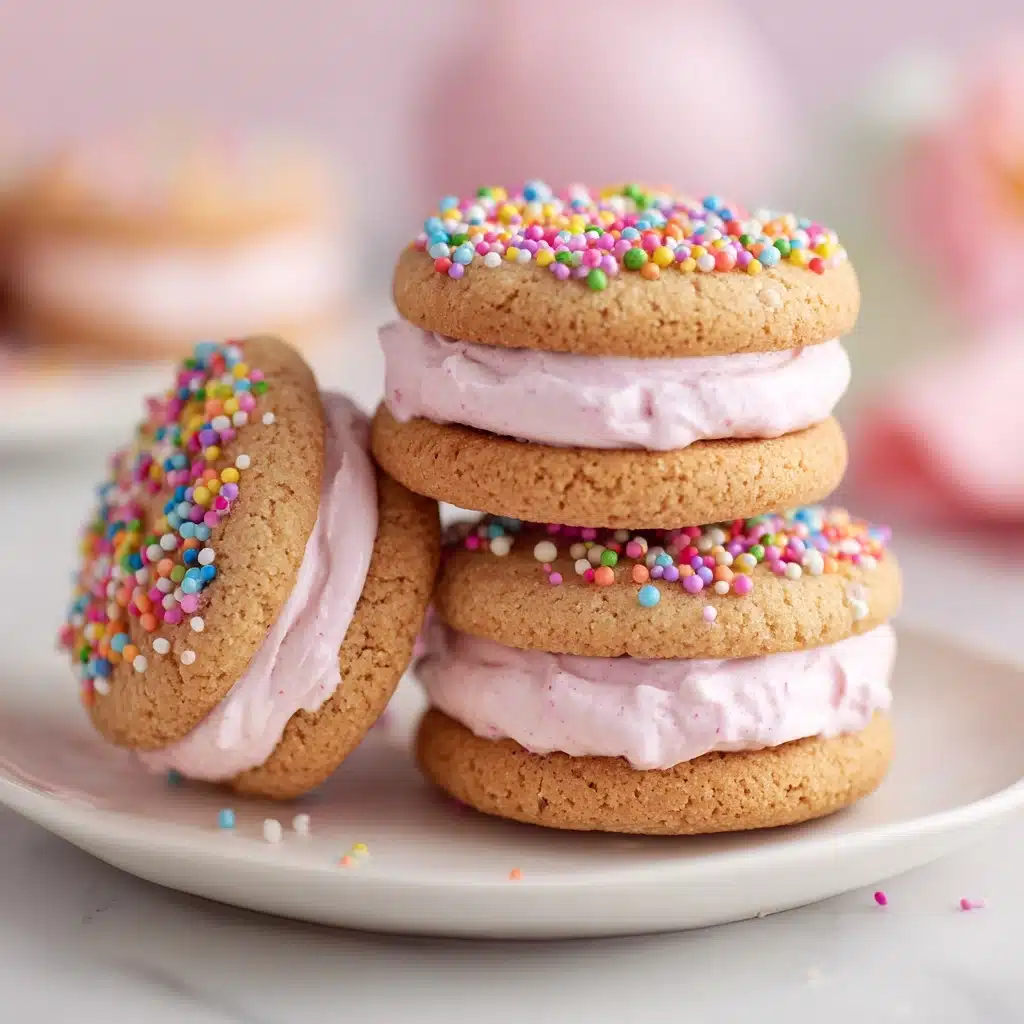
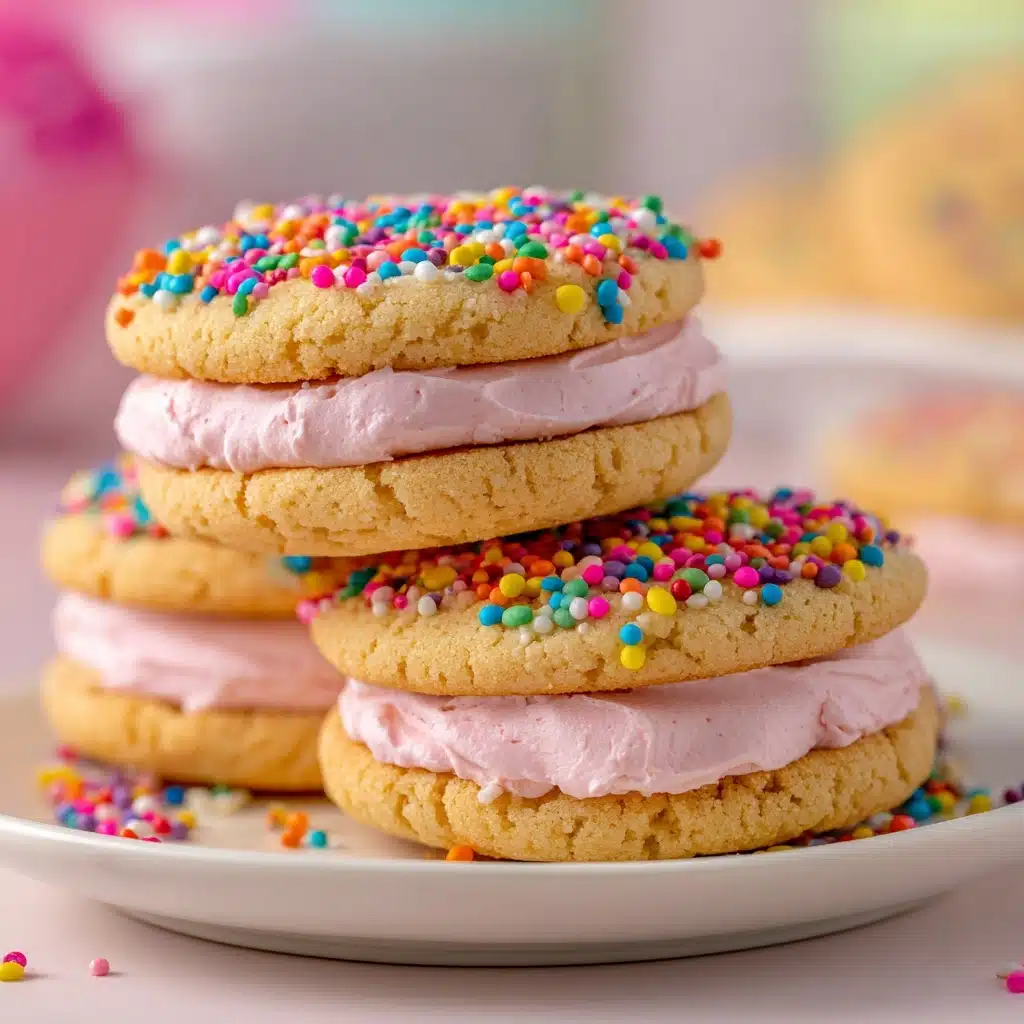
If there’s one treat destined to steal the spotlight at your spring celebration, it’s this colorful, chocolatey Easter Whoopie Pie Recipe. Imagine fluffy chocolate cakes sandwiching clouds of pastel marshmallow filling, finished with a playful shower of sprinkles. These whoopie pies are not only joyful to look at but incredibly fun to make and eat, perfect for both kids and grown-ups craving a little taste of nostalgia with a festive twist. Whether you’re planning an Easter brunch or simply want to brighten up your dessert table, these pillowy sandwich cookies will leave everyone asking for the recipe!
Ingredients You’ll Need
You don’t need a long shopping list to create magic—each ingredient in this Easter Whoopie Pie Recipe brings something special, from giving the cakes their tender crumb to making the filling impossibly fluffy. Here’s a quick rundown, complete with tips to help yours turn out just right!
- All-purpose flour: The backbone of the cake, giving you structure and that classic whoopie pie texture.
- Unsweetened cocoa powder: For rich, chocolatey flavor that’s deep but never bitter.
- Baking soda: The secret to those delightfully cakey domes, ensuring they rise perfectly every time.
- Salt: Just a pinch brings all the flavors together and keeps the sweetness balanced.
- Buttermilk: Adds moisture and a gentle tang that makes the cakes extra tender.
- Vanilla extract: Enhances both the cakes and the filling with sweet warmth.
- Unsalted butter (softened): Makes everything rich, and helps both cake and filling become light and fluffy.
- Granulated sugar: Sweetens the cakes for that perfect, classic taste.
- Large egg: Binds everything together for a soft, cakey bite.
- Powdered sugar: Ensures the filling is silky smooth—no graininess here!
- Marshmallow creme: The heart of the classic whoopie pie filling, impossibly airy and sweet.
- Pastel food coloring (optional): Bring a pop of spring color to your filling for extra festivity.
- Pastel sprinkles for decoration: Because everything is better with a splash of color (and crunch) on the outside!
How to Make Easter Whoopie Pie Recipe
Step 1: Prep Your Baking Gear
Start by preheating your oven to 350°F (175°C) and lining two baking sheets with parchment paper. This ensures you get cakes that release easily and bake evenly, without sticking.
Step 2: Whisk Together Dry Ingredients
In a medium bowl, combine your flour, cocoa powder, baking soda, and salt. A quick whisk here prevents lumps and evenly distributes the leavening and cocoa for perfectly rich, puffy cakes in every bite.
Step 3: Mix the Buttermilk and Vanilla
In a separate small bowl, stir the buttermilk together with the vanilla. This little step helps bring all the wet ingredients to the same temperature and makes your batter blend more smoothly later on.
Step 4: Cream Butter, Sugar, and Egg
In your largest bowl, beat the softened butter and granulated sugar together until very light and fluffy—this step is key for tender cakes. Add the egg and beat until it’s just incorporated, creating a beautifully airy base.
Step 5: Combine Wet and Dry Ingredients
Add the dry ingredients to your butter mixture in thirds, alternating with the buttermilk-vanilla mixture. This keeps the batter smooth and prevents overmixing. Mix gently, just until blended, so your cakes come out soft and tender.
Step 6: Shape and Bake
Drop heaping tablespoons of batter onto your prepared baking sheets, leaving about two inches between each one. Bake for 10–12 minutes, or until the cakes spring back when touched lightly. Cool them completely on a wire rack—no shortcuts here, since a cool cake means tidy, beautiful whoopie pies.
Step 7: Make the Fluffy Filling
While the cakes cool, use a mixer to beat the butter until smooth. Gradually add powdered sugar, then whip in the marshmallow creme and vanilla. If you want to add a festive touch, tint the filling with a few drops of pastel food coloring until you have your desired shade—think pink, green, yellow, or leave some white! Beat until the filling is billowy and spreadable.
Step 8: Assemble and Decorate
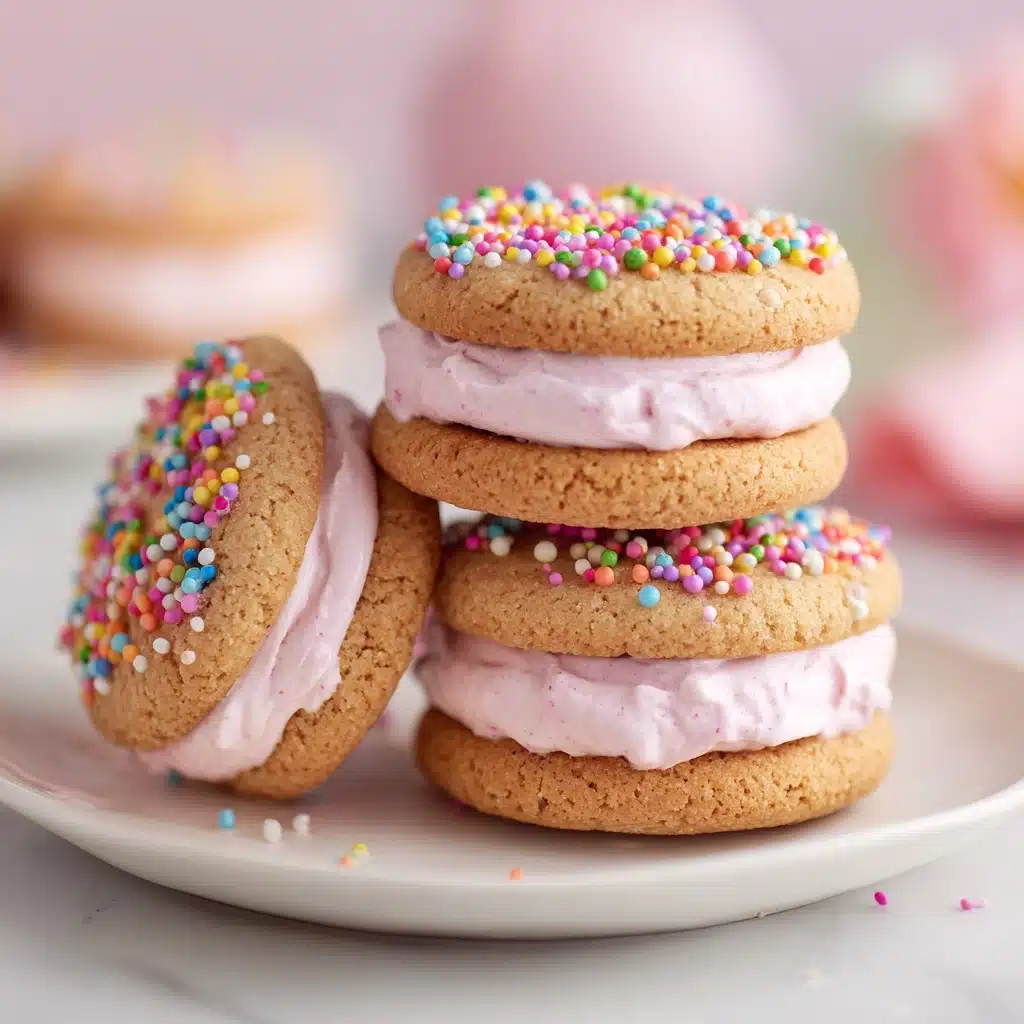
Spread or pipe the filling onto the flat side of half the cakes, then gently press the other cakes on top to form perfect sandwiches. For true Easter cheer, roll the sides in pastel sprinkles or even colored sugar for extra sparkle.
How to Serve Easter Whoopie Pie Recipe
Garnishes
A light roll in pastel sprinkles on the filling edges transforms each whoopie pie into a mini work of art. If you prefer, dust a little powdered sugar on top right before serving for a classic look.
Side Dishes
These whoopie pies shine with light accompaniments—think a platter of fresh berries, a pitcher of lemony iced tea, or a bowl of ripe strawberries and cream. For a brunch spread, add them alongside deviled eggs and hot cross buns to keep the holiday spirit going.
Creative Ways to Present
Pile your Easter Whoopie Pie Recipe high on a pastel cake stand, wrap each in cellophane for take-home treats, or create a rainbow display by tinting your filling in several colors. For kids’ parties, try serving them in cupcake wrappers or adding decorative toothpicks for a grab-and-go touch.
Make Ahead and Storage
Storing Leftovers
These whoopie pies are truly make-ahead friendly! Simply store them in an airtight container at room temperature for up to 3 days. If it’s especially warm in your kitchen, you can refrigerate them, but bring back to room temp for the best texture.
Freezing
To freeze, layer assembled whoopie pies between sheets of wax paper in a sturdy container. They’ll keep beautifully in the freezer for up to a month! Let thaw at room temperature for about an hour before serving.
Reheating
You won’t need to reheat whoopie pies, but if they’re a bit chilled from the fridge or freezer, letting them sit out until soft will return them to their original pillowy self. Avoid microwaving, which can make the filling too runny.
FAQs
Can I make the Easter Whoopie Pie Recipe ahead of time?
Absolutely! These whoopie pies can be made a day or two ahead and stored in an airtight container, making holiday prep a breeze. They’re great for parties or gifts since the flavors only deepen with a little time.
Can I use a different filling?
Of course—while the marshmallow creme filling is classic, you can swap in vanilla buttercream, cream cheese frosting, or even a chocolate ganache for a decadent spin.
How do I keep the cakes from spreading too much?
Make sure your butter isn’t melted and don’t overmix the batter; cold dough holds its shape. You can also chill the batter for ten minutes before scooping if your kitchen is warm.
Can I double the Easter Whoopie Pie Recipe for a crowd?
Definitely! Just keep an eye on your batches as they bake, rotating pans if needed to ensure even results. Whoopie pies are irresistibly shareable, so you’ll be glad to have extras.
What’s the best way to tint the filling?
Use gel or liquid pastel food coloring—just a drop or two at a time. Stir well and add more gradually until you reach the perfect shade for your springtime celebration.
Final Thoughts
This Easter Whoopie Pie Recipe is pure springtime joy wrapped in a chocolatey, marshmallow-filled package. Whether you bake them with kids, for a party, or just as a cheerful treat for yourself, each bite brings a burst of color, fun, and flavor. Don’t be surprised if they become a new holiday tradition in your home—give them a try and let the smiles begin!
Print
Easter Whoopie Pie Recipe
- Total Time: 1 hour (including cooling and assembling)
- Yield: 12 whoopie pies 1x
- Diet: Vegetarian
Description
Indulge in the delightful flavors of these Easter Whoopie Pies! Rich chocolate cakes sandwich a fluffy marshmallow filling, creating a perfect handheld treat for the holiday season.
Ingredients
For the Cakes:
- 2 cups all-purpose flour
- ½ cup unsweetened cocoa powder
- 1 ½ teaspoons baking soda
- ½ teaspoon salt
- 1 cup buttermilk
- 1 teaspoon vanilla extract
- ½ cup unsalted butter (softened)
- 1 cup granulated sugar
- 1 large egg
For the Filling:
- ½ cup unsalted butter (softened)
- 1 ½ cups powdered sugar
- 1 (7 oz) jar marshmallow creme
- 1 teaspoon vanilla extract
- pastel food coloring (optional)
- pastel sprinkles for decoration
Instructions
- Preheat the oven: Heat the oven to 350°F (175°C) and line baking sheets with parchment paper.
- Prepare the cakes: Combine dry ingredients in a bowl, mix buttermilk and vanilla in another. Cream butter and sugar, beat in the egg. Alternate adding dry ingredients and buttermilk mixture, then drop batter onto sheets and bake for 10–12 minutes.
- Make the filling: Beat butter, gradually add powdered sugar, mix in marshmallow creme and vanilla until fluffy. Add food coloring if desired. Spread or pipe filling onto cakes and assemble into whoopie pies. Decorate with sprinkles.
Notes
- For a festive touch, use pastel colors for the filling or sprinkle colored sugar on top before baking.
- Store in an airtight container for up to 3 days.
- Prep Time: 25 minutes
- Cook Time: 12 minutes
- Category: Dessert
- Method: Baking
- Cuisine: American
Nutrition
- Serving Size: 1 whoopie pie
- Calories: 320
- Sugar: 28g
- Sodium: 150mg
- Fat: 14g
- Saturated Fat: 8g
- Unsaturated Fat: 6g
- Trans Fat: 0g
- Carbohydrates: 46g
- Fiber: 1g
- Protein: 3g
- Cholesterol: 45mg
