
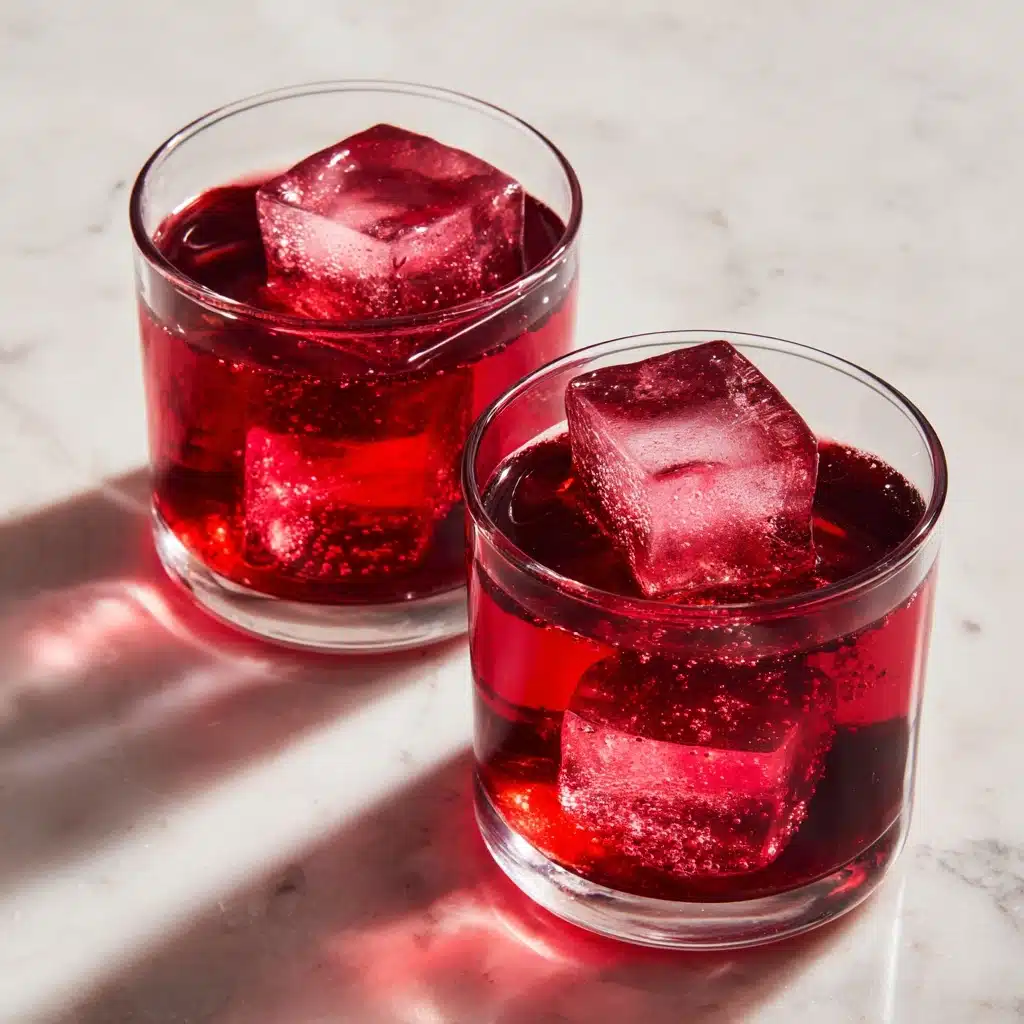
If you’re ready to sip on something that’s deliciously tangy, naturally bubbly, and packed with the legendary immunity boost of elderberry, you’ll fall in love with this Elderberry Kombucha recipe. This vibrant elixir is more than just a pretty drink; it’s a blend of good-for-you probiotics and the deep, fruity notes of elderberries. With each glass, you get an effervescent experience that feels equal parts nourishing and celebratory. Whether you’re already a kombucha-lover or just elderberry-curious, this homemade Elderberry Kombucha is a next-level, rewarding treat that you’ll want to keep on repeat.
Ingredients You’ll Need
-
Kombucha:
- 1 quart finished kombucha (first ferment)
Elderberry Mix:
- 2 tablespoons dried elderberries (or 1/4 cup elderberry syrup)
- 1–2 teaspoons raw honey or maple syrup (optional)
- 1/2 teaspoon grated fresh ginger (optional)
How to Make Elderberry Kombucha
Step 1: Prep Your Bottles and Base
Start by making sure your glass bottles or jars are super clean—this prevents any unwanted bacteria from invading your Elderberry Kombucha. Pour your finished, first ferment kombucha into the containers, leaving about an inch at the top. This headspace is essential to allow safe carbonation later on.
Step 2: Add Elderberries or Syrup
Sprinkle in the dried elderberries or, for a faster infusion, add your elderberry syrup. The dried berries will slowly lend a deeper, more nuanced flavor, while syrup gives a quick boost of sweetness and color. Choose based on your mood or what you have handy!
Step 3: Sweeten and Spice (Optional)
If you love a little extra zing and want to escalate the fizz factor, toss in a teaspoon or two of raw honey or maple syrup along with the grated fresh ginger. These ingredients not only create a bolder taste but also feed the live cultures, helping bubbles flourish.
Step 4: Seal and Ferment
Cap the bottles tightly with airtight lids (flip-top bottles work wonders for keeping that precious carbonation). Let your Elderberry Kombucha rest at room temperature for 2 to 4 days. Each day, give the bottles a gentle tilt or burp to check the developing fizziness and release any extra pressure.
Step 5: Strain and Chill
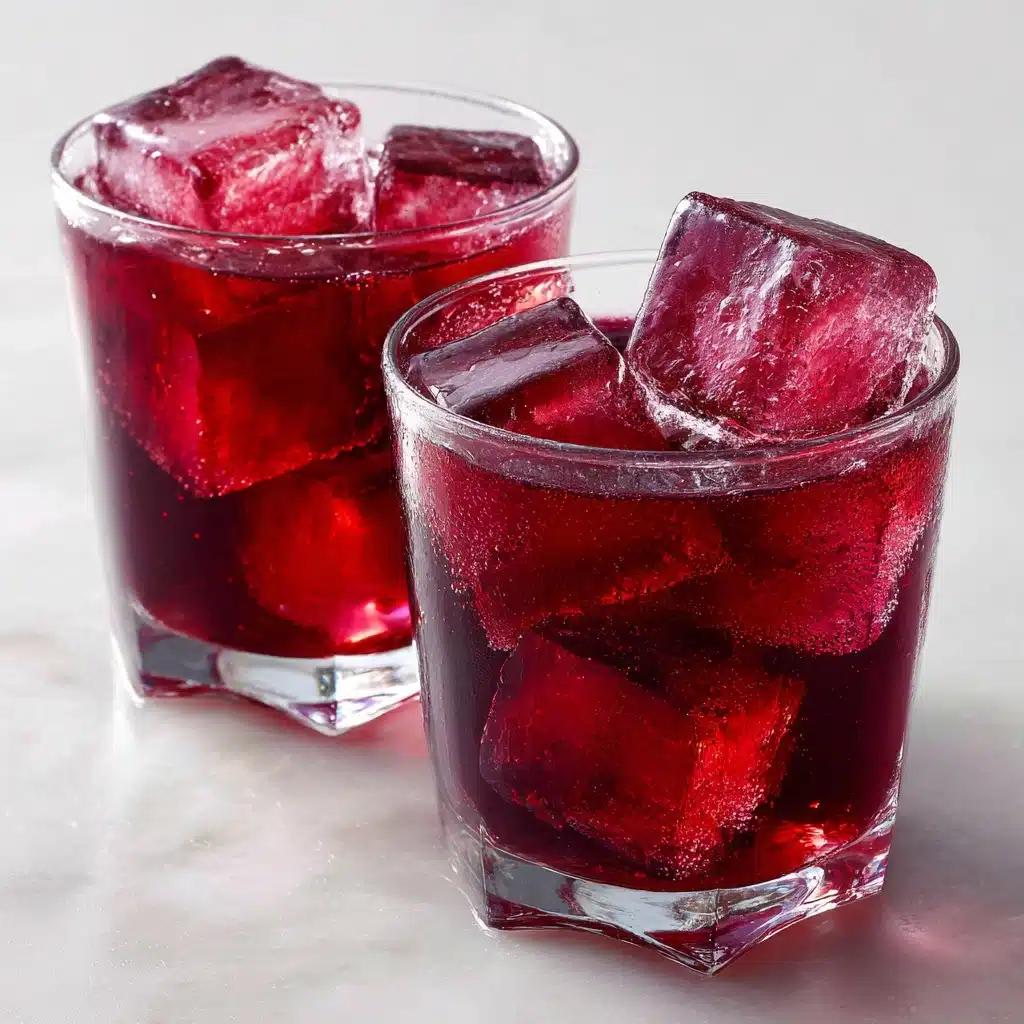
Once your Elderberry Kombucha is sparkling just the way you like it, strain out the solids for a smoother sip. Transfer the bottles to the refrigerator, where the cold both halts fermentation and locks in all that flavor and fizz. Serve refreshingly chilled—for the ultimate glass, pour over ice and enjoy the celebration!
How to Serve Elderberry Kombucha
Garnishes
Dress up each pour with a twist of lemon peel, a fresh sprig of mint, or a handful of frozen berries. These finishing touches aren’t just eye candy—they deliver subtle flavor and elevate your Elderberry Kombucha into a true showstopper suitable for any gathering or solo treat.
Side Dishes
This tangy kombucha is a delight alongside light, summery bites. Serve it with fruit salads, cheese platters, or herby wraps for a breezy, healthful lunch. Its tartness pairs beautifully with creamy or salty flavors—think goat cheese crostini or a handful of spiced almonds.
Creative Ways to Present
Pour your Elderberry Kombucha into vintage glassware or pop it in a swing-top bottle for rustic charm. For parties, set out a kombucha bar with creative mix-ins like citrus slices, edible flowers, or even a dash of cinnamon. Guests will love customizing their own probiotic pick-me-up!
Make Ahead and Storage
Storing Leftovers
After straining, store your Elderberry Kombucha in the refrigerator with tightly sealed lids. The cold keeps it fresh and maintains carbonation for up to 2 weeks—perfect for sipping throughout the week or surprising friends with a glass.
Freezing
While you can freeze kombucha, bear in mind the live cultures may not survive the cold. Freeze in ice cube trays for kombucha cocktails or to chill your next batch without watering it down, but drink fresh when possible to get the most probiotic benefits.
Reheating
Kombucha is meant to be enjoyed cold or at room temperature, as heating will destroy its probiotics and alter the flavor. If you prefer less chill, let it sit at room temperature for a few minutes before sipping—but always skip the microwave!
FAQs
Can I use fresh elderberries for Elderberry Kombucha?
If you have fresh elderberries, cook them thoroughly to remove toxins before adding them to your kombucha. The dried version is easier and safer for quick infusions, but homemade syrup with fresh berries is a delicious upgrade.
How do I know when my Elderberry Kombucha is ready to drink?
Check the bottles after two days—give one a gentle tilt and open cautiously. If it fizzes and tastes tart but balanced, it’s done! If you like it tangier or fizzier, let it continue fermenting up to four days, sampling daily.
What’s the best bottle to use for fermenting?
Flip-top bottles are ideal because they hold carbonation exceptionally well and are easy to clean. Mason jars with tight lids also work, but always burp them daily to avoid pressure build-up during fermentation.
Is Elderberry Kombucha safe for children?
Kombucha contains trace amounts of caffeine and alcohol due to fermentation, so consult your child’s pediatrician before serving. For a kid-friendly alternative, try mixing a splash of Elderberry Kombucha with sparkling water and fruit juice.
Can I make Elderberry Kombucha sweeter after fermenting?
The best time to adjust sweetness is before bottling for the second ferment, as the natural cultures eat up most sugars. If you want it sweeter post-ferment, stir in a touch of honey or juice right before serving and keep refrigerated.
Final Thoughts
Give yourself the gift of homemade Elderberry Kombucha and savor every tangy, effervescent sip. Once you experience its vibrant flavor and immune-boosting magic, you’ll want to share this healthful treat with everyone you love. Happy fermenting!
Print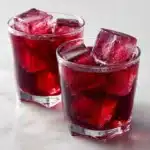
Elderberry Kombucha Recipe
- Total Time: 5 minutes (plus 2–4 days fermentation)
- Yield: 4 cups 1x
- Diet: Vegetarian
Description
Elderberry Kombucha is a delicious and immune-boosting fermented beverage that combines the health benefits of elderberries with the probiotic goodness of kombucha. This recipe is easy to make at home and perfect for those looking for a tasty way to support their immune system.
Ingredients
Kombucha:
- 1 quart finished kombucha (first ferment)
Elderberry Mix:
- 2 tablespoons dried elderberries (or 1/4 cup elderberry syrup)
- 1–2 teaspoons raw honey or maple syrup (optional)
- 1/2 teaspoon grated fresh ginger (optional)
Instructions
- Pour the kombucha: Transfer the finished kombucha to a clean glass container, leaving some space at the top.
- Add elderberries: Mix in the dried elderberries or elderberry syrup.
- Enhance flavor: Optionally, include honey, maple syrup, and grated ginger.
- Seal and ferment: Close the container tightly and let it ferment at room temperature for 2–4 days, checking for carbonation daily.
- Strain and chill: Once carbonation is to your liking, strain out solids, refrigerate, and serve cold.
Notes
- Use flip-top bottles for optimal carbonation.
- Strain carefully if using dried elderberries.
- Adjust sweetness but avoid excessive sweetening to prevent pressure buildup.
- Prep Time: 5 minutes
- Cook Time: 0 minutes
- Category: Beverage
- Method: Fermenting
- Cuisine: American
Nutrition
- Serving Size: 1 cup
- Calories: 35
- Sugar: 6g
- Sodium: 5mg
- Fat: 0g
- Saturated Fat: 0g
- Unsaturated Fat: 0g
- Trans Fat: 0g
- Carbohydrates: 8g
- Fiber: 0g
- Protein: 0g
- Cholesterol: 0mg


