The Ginger Bug is a delightfully fizzy, homemade ferment that brings a gentle tang and lively effervescence to all your probiotic beverages. This starter culture, crafted simply from ginger root, sugar, and water, unlocks a whole new world of naturally carbonated sodas and fermented drinks. Not only is a Ginger Bug incredibly easy to make, but it also offers a satisfying way to harness the power of wild fermentation in your own kitchen. Its bubbly personality and versatile flavor make it an essential staple for any home fermenter eager to add a spark of life to homemade beverages.
Ingredients You’ll Need
-
For the Ginger Bug:
- 2 tablespoons fresh ginger root, finely grated
- 2 tablespoons granulated sugar
- 2 cups filtered water
How to Make Ginger Bug
Step 1: Mix Your Base Ingredients
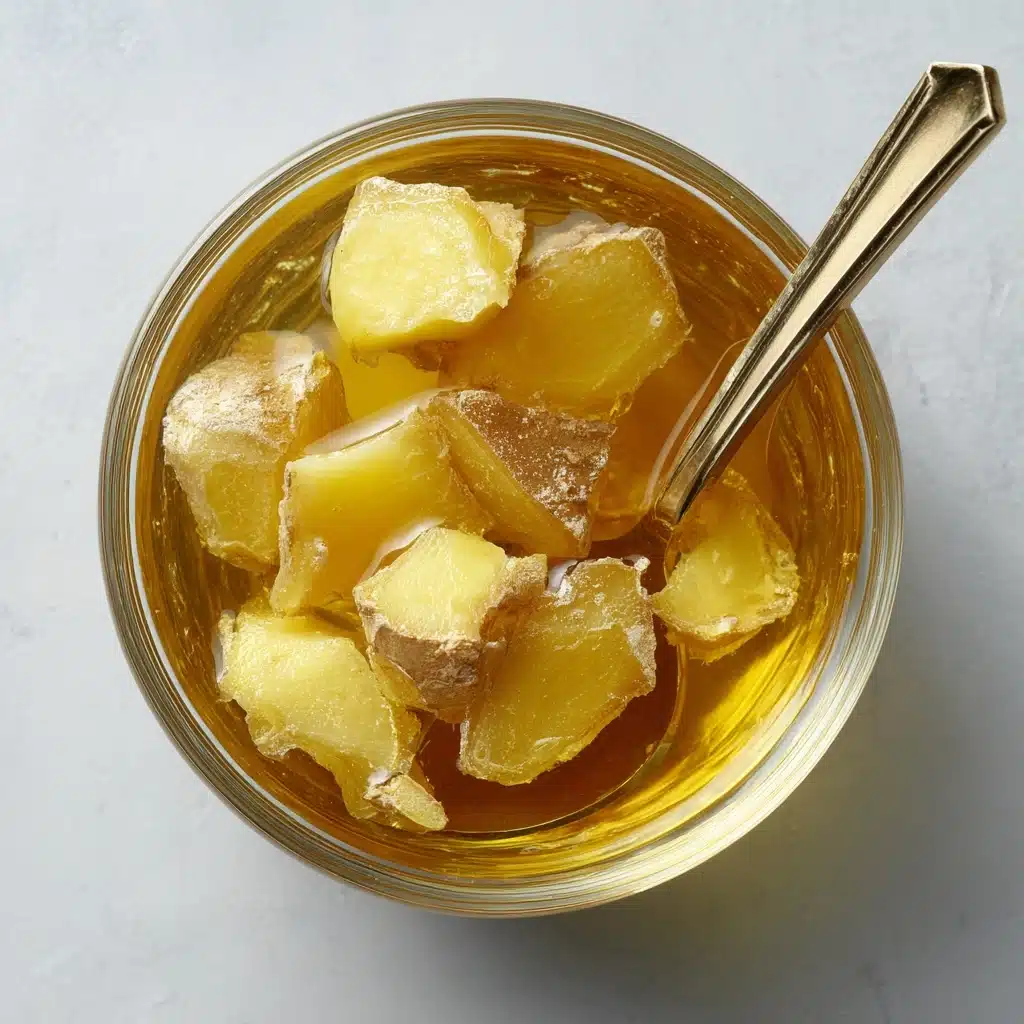
Start by choosing a clean glass jar; I recommend using a quart-size jar for plenty of bubbling space. Add the finely grated ginger, sugar, and filtered water to the jar. Stir the mixture thoroughly to dissolve all the sugar, ensuring the ginger is evenly distributed. This initial mix sets the stage for your Ginger Bug to wake up and begin fermenting.
Step 2: Cover and Rest
Cover the jar loosely with a breathable cloth or coffee filter, securing it in place with a rubber band. This keeps out dust and tiny critters while letting natural yeasts drift in. Place your jar somewhere warm but out of direct sunlight; a cozy kitchen counter works wonderfully. At around 70°F, your Ginger Bug will be happiest.
Step 3: Feed Daily
Each day, add 1 tablespoon each of freshly grated ginger and granulated sugar to the jar, then give it a good stir. This daily feeding keeps your microbe community well-fed and active. Feeding is such a simple routine but so rewarding, as you watch the fermentation in action!
Step 4: Check for Activity
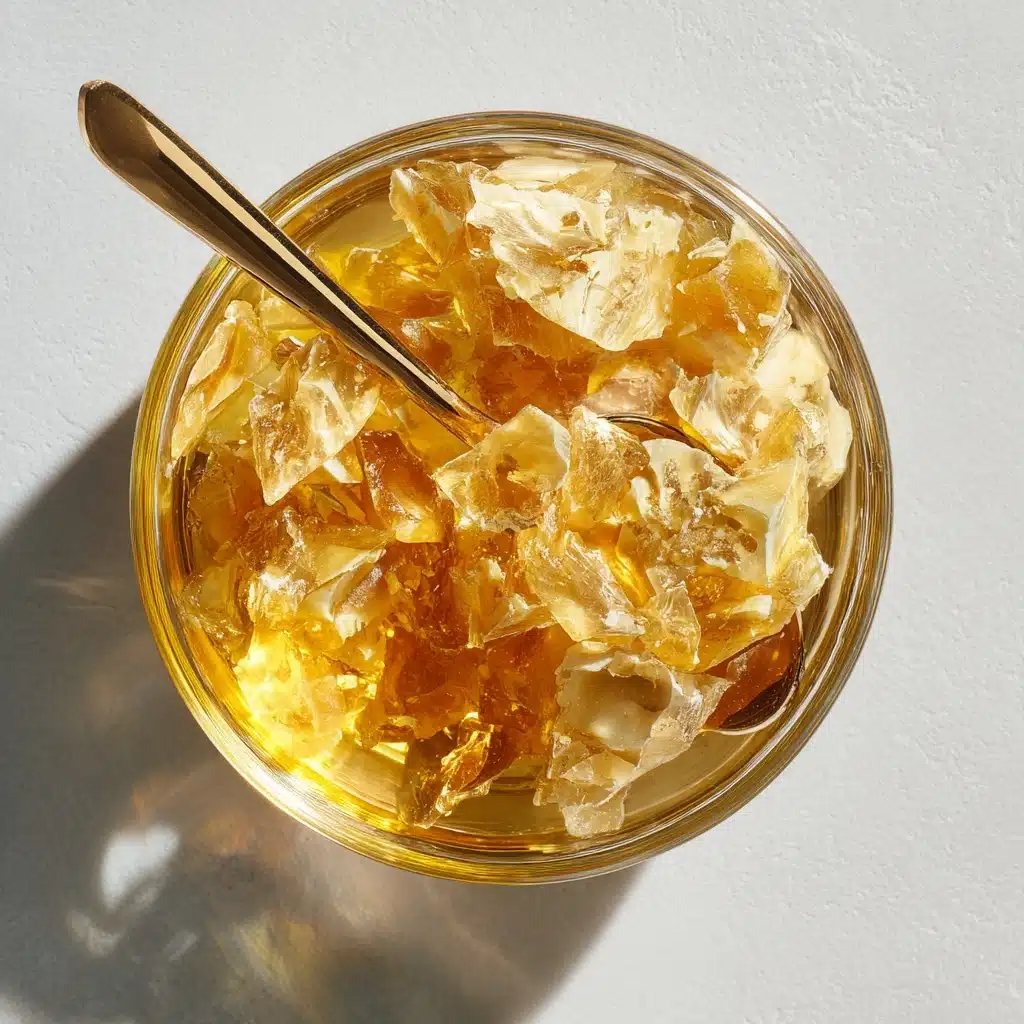
Within 3 to 5 days, you’ll notice bubbles beginning to form. The Ginger Bug will develop a deliciously yeasty, slightly sour aroma, a telltale sign that fermentation is in full swing! This is when the excitement truly begins: you’re officially raising a living starter.
Step 5: Your Ginger Bug Is Ready!
By day 5 to 7, the mixture should be fizzing with energy. At this stage, your Ginger Bug is ready to be used as a natural soda starter or in any homemade fermented beverage recipe. If you’d like to keep it going, just continue daily feedings; otherwise, pop it in the fridge to pause the action until next time.
How to Serve Ginger Bug

Garnishes
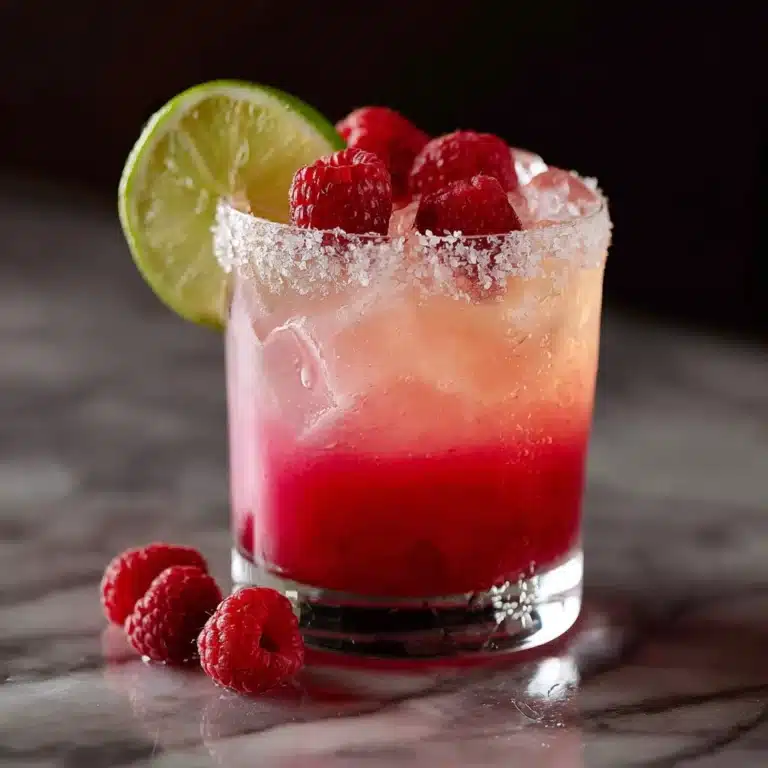
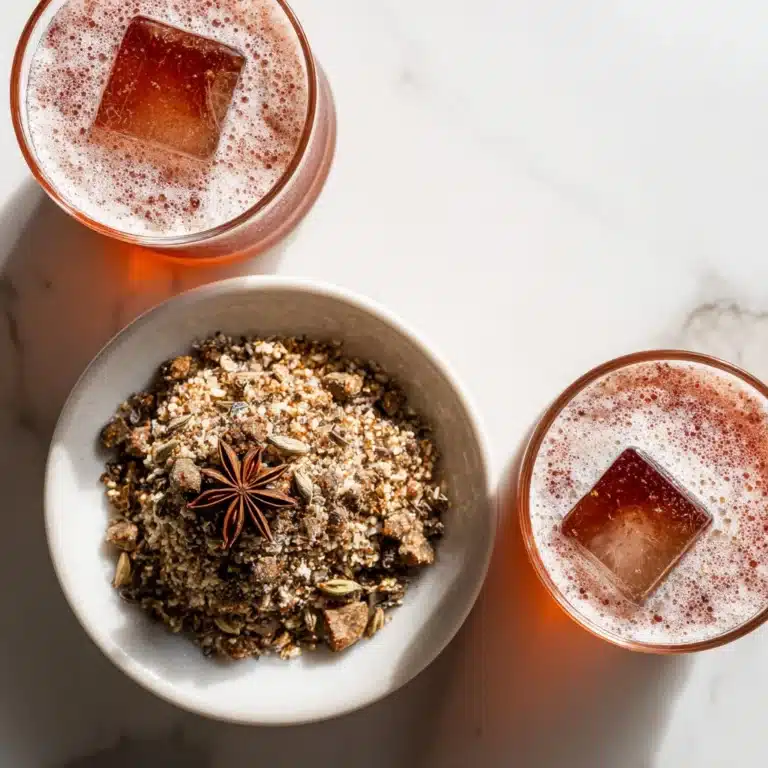
When it comes to showing off your brewed creations powered by Ginger Bug, try floating a thin slice of fresh ginger or a twist of lemon peel in your glass. It’s a simple touch that adds aroma, visual flair, and a burst of fresh flavor.
Side Dishes
A homemade fermented ginger soda is especially satisfying with crunchy snacks or spicy foods. Pair your Ginger Bug-powered drinks with a bowl of salty nuts or a light platter of pickled veggies for the perfect contrast of tangy, bubbly refreshment.
Creative Ways to Present
Pour your naturally sparkling sodas into vintage glass bottles for a retro touch, or serve in mason jars with colorful paper straws. You can even freeze some Ginger Bug soda into ice cubes and add them to drinks for fizzy fun that lasts to the final sip!
Make Ahead and Storage
Storing Leftovers
If you’re not planning to use all of your Ginger Bug right away, simply store the jar tightly covered in the fridge. This slows down the fermentation process, so the bug can be reawakened with a feeding whenever you’re ready for more bubbly fun.
Freezing
Freezing isn’t generally recommended for Ginger Bug, as the wild yeast and bacteria thrive best at warmer temperatures and may not survive ice-cold conditions. For long-term storage, refrigeration and regular feedings are much more effective.
Reheating
There’s no need to reheat a Ginger Bug; in fact, heat will harm the beneficial cultures. Instead, bring your refrigerated bug back to room temperature, give it a fresh feeding of ginger and sugar, and wait for the lively fizz to return before using.
FAQs
How do I know if my Ginger Bug is alive and active?
Look for visible bubbles rising to the surface and a pleasant, slightly yeasty scent. If your Ginger Bug is bubbling and smells inviting—not rotten or moldy—it’s ready to use.
Can I use other sweeteners for my Ginger Bug?
Stick with plain granulated sugar for the most reliable fermentation, as alternative sweeteners like honey or stevia don’t provide the right fuel for the beneficial microbes in your Ginger Bug.
Why do I need to avoid metal utensils and containers?
The acids produced during fermentation can react with metal, which can hinder the growth of healthy bacteria and leach unwanted flavors into your Ginger Bug. Stick to glass jars and non-metal utensils for best results.
How long can I keep my Ginger Bug alive?
With regular daily feedings and a little bit of care, you can keep your Ginger Bug thriving for weeks—or even indefinitely! Just make sure to remove any mold and feed it regularly.
What should I do if I see mold?
If you spot fuzzy, blue, green, or black spots, it’s best to discard the entire Ginger Bug and start fresh. Mold indicates that unwanted microbes have taken over, which isn’t safe for consumption.
Final Thoughts
Whether you’re brand new to fermenting or a seasoned kitchen experimenter, making a Ginger Bug is pure, bubbly magic. It’s easy, endlessly rewarding, and sure to inspire countless homemade soda adventures. Grab some fresh ginger, and let’s get fermenting—you’re just days away from delicious, fizzy fun!
Print
Ginger Bug Recipe
- Total Time: 5 to 7 days and 10 minutes
- Yield: About 2 cups 1x
- Diet: Vegan, Gluten-Free
Description
Learn how to make a ginger bug, a natural fermentation starter used for homemade sodas and fermented beverages. This probiotic culture is easy to make and adds a unique flavor to your drinks.
Ingredients
For the Ginger Bug:
- 2 tablespoons fresh ginger root, finely grated
- 2 tablespoons granulated sugar
- 2 cups filtered water
Instructions
- Prepare the Ginger Bug Mixture: In a clean glass jar, combine the grated ginger, sugar, and filtered water. Stir well to dissolve the sugar.
- Set Up Fermentation: Cover the jar loosely with a cloth or coffee filter secured with a rubber band. Place in a warm spot away from sunlight.
- Feed the Culture: Each day for 5 to 7 days, stir the mixture and add 1 tablespoon of grated ginger and sugar.
- Observe Fermentation: Look for bubbles and a yeasty aroma after 5-7 days, indicating readiness.
Notes
- Use fresh, organic ginger for best results.
- Avoid metal utensils to prevent reactions.
- Refrigerate to slow fermentation activity.
- Prep Time: 10 minutes
- Cook Time: 5 to 7 days
- Category: Fermentation Starter
- Method: Fermentation
- Cuisine: Global
Nutrition
- Serving Size: 1 tablespoon
- Calories: 5
- Sugar: 1g
- Sodium: 0mg
- Fat: 0g
- Saturated Fat: 0g
- Unsaturated Fat: 0g
- Trans Fat: 0g
- Carbohydrates: 1g
- Fiber: 0g
- Protein: 0g
- Cholesterol: 0mg


