
If ever there were a recipe that captured the magic and nostalgia of the holiday season in every sweet bite, it’s Holiday Cut-Out Sugar Cookies. These classic cookies are buttery, tender, and oh-so-fun to make—especially when you get to roll out the dough and use your favorite cookie cutters for festive shapes. Whether you’re baking with family, decorating with friends, or gifting them to neighbors, these cookies are sure to become a cherished tradition year after year.

Ingredients You’ll Need
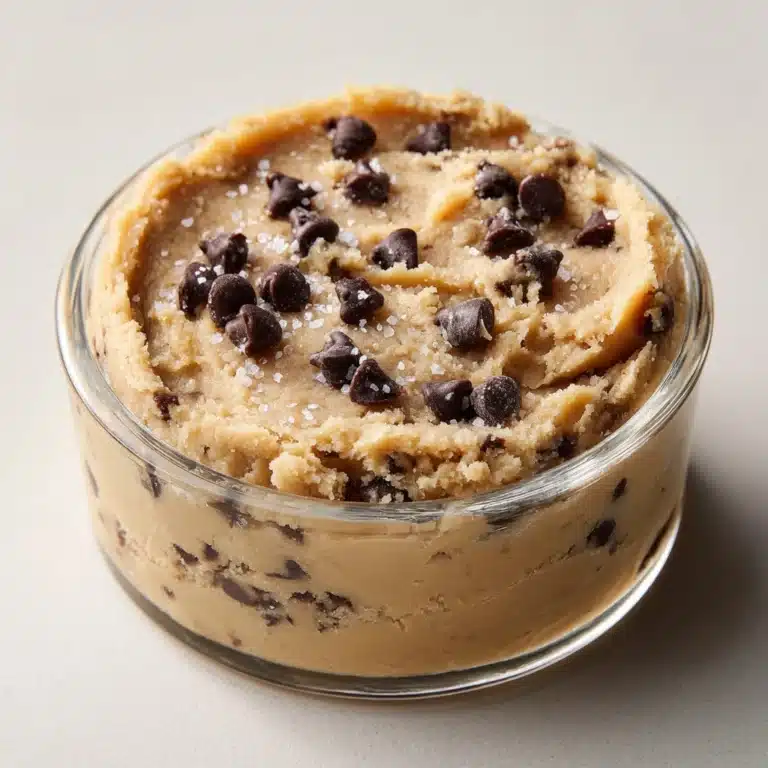
One of the reasons everyone loves Holiday Cut-Out Sugar Cookies is because the ingredients are pantry staples, yet come together to create something truly special. Each component plays a key role in crafting those crisp edges, tender centers, and delicate flavors that practically melt in your mouth.
- All-purpose flour: The backbone of your cookies, giving just the right structure for rolling and cutting.
- Baking powder: Adds a gentle lift to keep these cookies from being too dense.
- Salt: Enhances the sweetness and rounds out all the flavors beautifully.
- Unsalted butter, softened: For that unbeatable rich, creamy texture—make sure it’s at room temperature!
- Granulated sugar: Sweetens the dough while helping the cookies hold their shape.
- Large egg: Binds everything together and guarantees a tender crumb.
- Pure vanilla extract: Classic cookie flavor, plus it perfumes your whole kitchen.
- Almond extract (optional): Adds a delightful hint of nuttiness that elevates the whole batch.
- Holiday sprinkles or royal icing for decorating: The finishing touch that brings festive flair and fun color to each cookie.
How to Make Holiday Cut-Out Sugar Cookies
Step 1: Whisk the Dry Ingredients
Grab a medium mixing bowl and whisk together your flour, baking powder, and salt. This simple step ensures your dry ingredients are evenly distributed and prevents any lumps, which means your Holiday Cut-Out Sugar Cookies will bake up with an even crumb and consistent flavor in every bite!
Step 2: Cream the Butter and Sugar
In a large bowl, using a stand mixer or hand mixer, beat the softened butter and granulated sugar until the mixture is light in color and ultra-fluffy. This adds precious air to your cookies, which translates to that just-right texture—think crisp edges with a soft, melt-in-your-mouth center.
Step 3: Add the Egg and Extracts
Now, add your egg, pure vanilla extract, and almond extract if you’re feeling fancy. Beat them into the creamed mixture until everything is silky and well-blended. This is where the delightful aroma starts filling your kitchen and building anticipation for those finished Holiday Cut-Out Sugar Cookies!
Step 4: Combine Wet and Dry Ingredients
Gradually add the dry ingredients to the wet mixture, mixing until just combined. Avoid overmixing here; you want your dough to be tender, not tough. At this stage, the dough should come together easily and smell absolutely irresistible.
Step 5: Chill the Dough
Divide the dough into two equal pieces, shape each into a disc, then wrap tightly in plastic wrap. Chill the dough for at least an hour. This step is essential—it firms up the butter, makes the dough easier to roll, and helps the cookies hold their crisp, defined shapes as they bake.
Step 6: Roll and Cut Shapes
When you’re ready to bake, preheat your oven to 350°F (175°C) and line a couple of baking sheets with parchment. On a lightly floured surface, roll out one disc of dough at a time to about 1/4-inch thickness. Now comes the best part: use your favorite holiday cookie cutters to punch out festive shapes. Gather up scraps, reroll, and keep cutting until all your dough is used.
Step 7: Decorate and Bake
Space your cut-outs about an inch apart on your prepared baking sheets. If you plan to use sprinkles, add them now so they bake right into the cookies. Bake for 8–10 minutes, just until the edges take on a gentle golden hue—be careful not to overbake! Let them cool for five minutes before transferring to a wire rack.
Step 8: Cool and Ice
For finishing touches, wait until your cookies are completely cool before decorating with royal icing. This keeps the colors vibrant and ensures the icing sets perfectly. Go wild with colors, patterns, or keep it simple—every batch is a new canvas for creativity!
How to Serve Holiday Cut-Out Sugar Cookies

Garnishes
When serving Holiday Cut-Out Sugar Cookies, a finishing sprinkle of colored sanding sugar or a drizzle of melted chocolate adds both beauty and a little extra sparkle. Try edible glitter for a shimmering effect or press on tiny sugar pearls for an elegant touch. The right garnish can take your cookies from cute to show-stopping!
Side Dishes
Pair these cookies with mugs of hot cocoa, spiced cider, or peppermint tea for the most comforting holiday treat imaginable. They also shine alongside a scoop of vanilla ice cream for an easy dessert, or even as a sweet bite on a festive cheese board for a playful twist.
Creative Ways to Present
Holiday Cut-Out Sugar Cookies look fantastic packaged in clear cellophane bags tied with a colorful ribbon, perfect for gifting. Arrange them in a decorative tin or box with layers of parchment for a classic presentation. You can even thread ribbon through a small hole (made before baking) and hang them as edible ornaments—kids absolutely love this!
Make Ahead and Storage
Storing Leftovers
Once cooled and decorated, store your cookies in an airtight container at room temperature. Layer them with parchment paper to prevent sticking and preserve their cute shapes. They’ll stay delicious and fresh for up to 5 days—if they last that long!
Freezing
Both the dough and the baked Holiday Cut-Out Sugar Cookies freeze beautifully. Freeze raw dough discs tightly wrapped for up to 3 months—just thaw in the fridge overnight before rolling out. Baked (and undecorated) cookies can also be frozen in an airtight container for up to 3 months. Decorate fresh after thawing for best results!
Reheating
If you’d like to refresh cookies after freezing or storing, a quick stint in a 300°F oven for 2–3 minutes will bring back a just-baked aroma and texture. Be sure to let them cool before decorating or stacking again.
FAQs
Can I make the dough in advance?
Absolutely! The dough for Holiday Cut-Out Sugar Cookies can be made a day or two ahead and kept chilled until you’re ready to roll, cut, and bake. This is a huge help during busy holiday prep.
Why does my cookie dough feel too sticky or too dry?
If the dough is sticky, try chilling it a bit longer and using more flour when rolling out. If it’s too dry, add a teaspoon of milk and knead gently until it comes together—it’s an easy fix!
How do I get crisp, well-defined shapes?
The secrets are chilling the dough well and not overworking it. Also, make sure your baking sheets are cool when placing on new batches—this prevents spreading.
Can I customize the flavors?
Definitely! While vanilla and almond extract are classic, you can play with lemon or orange zest for a citrusy twist or use other extracts (think maple or peppermint) to match the season’s vibe.
Is royal icing the only option for decorating?
Nope! While royal icing creates beautiful patterns and sets hard, you can also use simple glaze icing, chocolate drizzle, or even just colored sugars for quick, fun decorating with kids.
Final Thoughts
There’s something truly special about sharing a batch of Holiday Cut-Out Sugar Cookies with those you love, whether you’re baking, decorating, or simply enjoying them together. Give this recipe a try and make it your own—it’s one of those traditions that will fill your home with joy and your cookie jar with holiday memories!
Print
Holiday Cut-Out Sugar Cookies Recipe
- Total Time: 1 hour 30 minutes
- Yield: 36 cookies 1x
- Diet: Vegetarian
Description
These Holiday Cut-Out Sugar Cookies are a classic treat perfect for festive occasions. Delightfully sweet with a hint of vanilla and almond, these cookies are fun to decorate and even better to eat. Whether you’re making them for a holiday party or just to enjoy at home, these cookies are sure to be a hit!
Ingredients
Dry Ingredients:
- 2 3/4 cups all-purpose flour
- 1 teaspoon baking powder
- 1/2 teaspoon salt
Wet Ingredients:
- 1 cup unsalted butter, softened
- 1 cup granulated sugar
- 1 large egg
- 1 1/2 teaspoons pure vanilla extract
- 1/2 teaspoon almond extract (optional)
Decorations:
- Holiday sprinkles or royal icing for decorating
Instructions
- Dry Ingredients: In a medium bowl, whisk together the flour, baking powder, and salt.
- Wet Ingredients: In a large bowl, cream the softened butter and sugar until light and fluffy. Beat in the egg, vanilla extract, and almond extract if using.
- Combine: Gradually add the dry ingredients to the wet ingredients, mixing until just combined. Divide the dough, wrap in plastic, and chill for 1 hour.
- Roll Out: Preheat oven to 350°F. Roll out dough, cut into shapes, and decorate with sprinkles.
- Bake: Bake for 8-10 minutes until edges are lightly golden.
- Cool: Let cookies cool on the sheet before transferring to a wire rack. Decorate with icing when fully cooled.
Notes
- Store cookies in an airtight container for up to 5 days.
- Dough can be frozen for up to 3 months.
- Prep Time: 20 minutes (plus chilling)
- Cook Time: 10 minutes
- Category: Dessert
- Method: Baking
- Cuisine: American
Nutrition
- Serving Size: 1 cookie
- Calories: 110
- Sugar: 6g
- Sodium: 55mg
- Fat: 5g
- Saturated Fat: 3g
- Unsaturated Fat: 2g
- Trans Fat: 0g
- Carbohydrates: 15g
- Fiber: 0g
- Protein: 1g
- Cholesterol: 20mg


