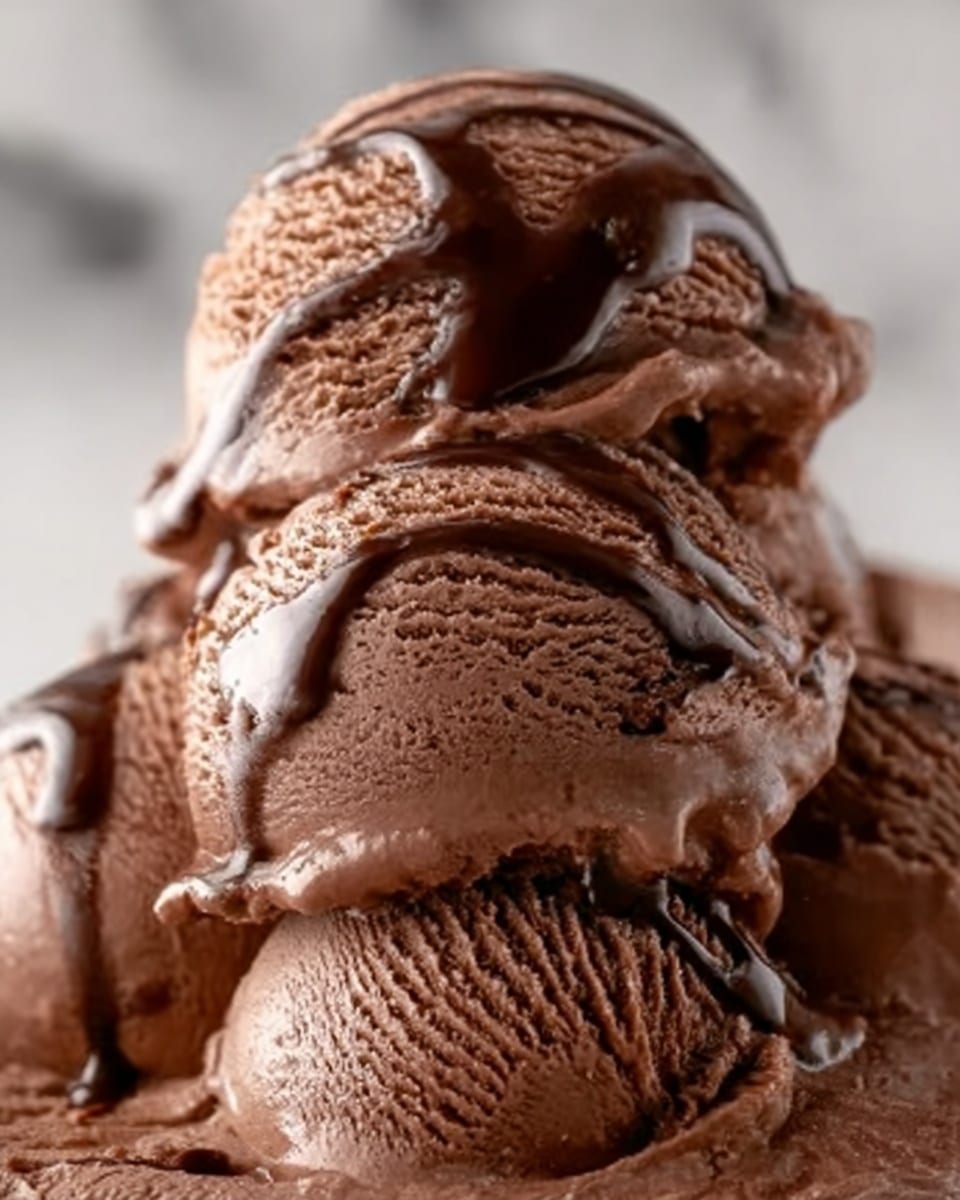
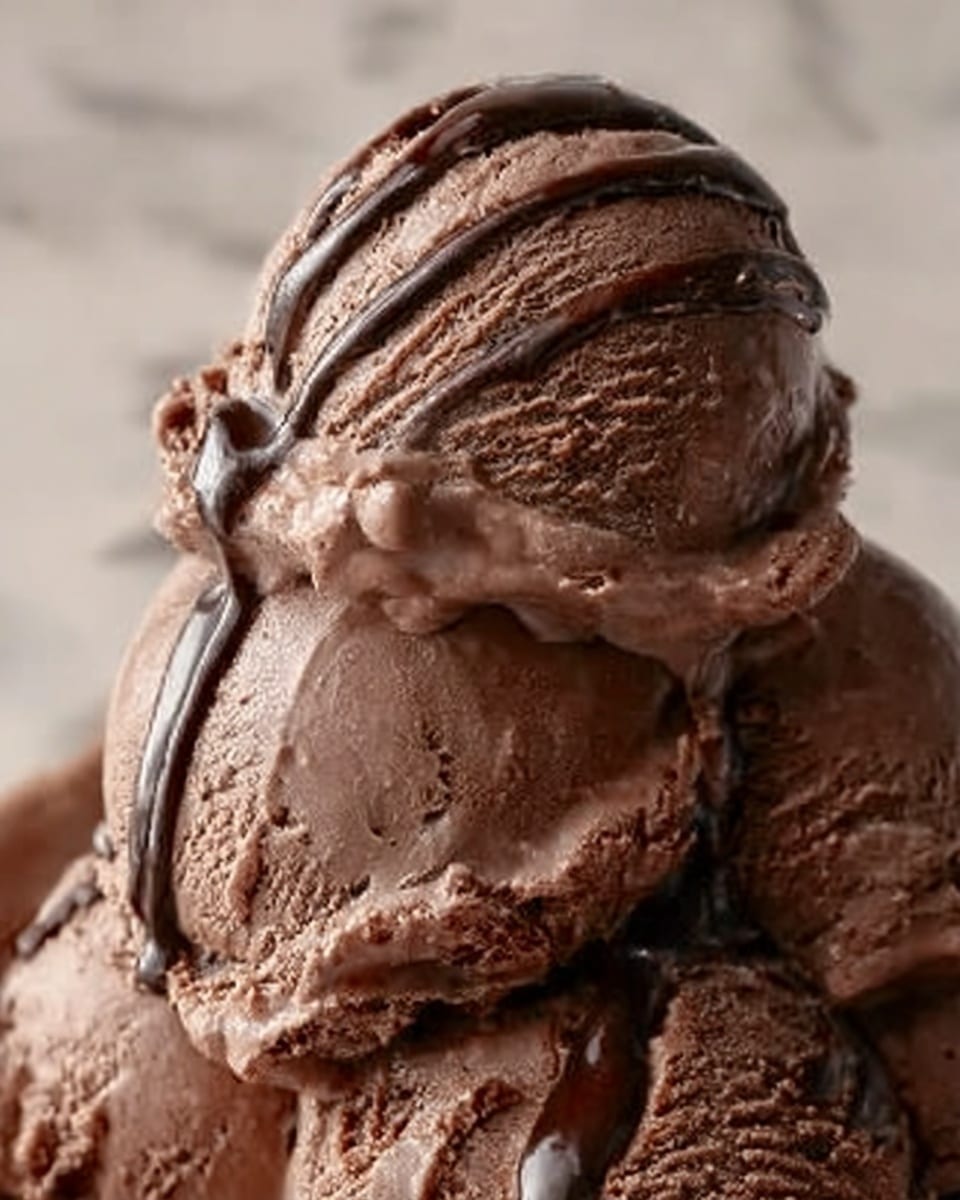
If you have a sweet tooth and a love for creamy, chocolatey delights, this Homemade Chocolate Ice Cream Recipe is your new best friend. Crafted with simple ingredients yet delivering an indulgent texture and rich chocolate flavor, this recipe lets you create luscious ice cream at home without an ice cream maker. It’s smooth, velvety, and perfectly balanced between sweet and cocoa-rich notes—a dessert that feels like a big, comforting hug in every scoop. It’s truly one of those recipes that will make you wonder why you ever bought ice cream from the store.
Ingredients You’ll Need
These ingredients are delightfully straightforward, but each plays a crucial role in building the creamy texture, deep chocolate flavor, and perfect sweetness of your homemade ice cream. Let’s take a look at what you’ll need and why each one counts.
- Heavy whipping cream: This cold, rich cream whips up beautifully to give the ice cream its airy, silky texture.
- Sweetened condensed milk: Adds creamy sweetness and helps to keep the ice cream smooth without needing an ice cream maker.
- Unsweetened cocoa powder: Brings that intense chocolate punch with a slightly bitter depth that balances the sweetness.
- Semi-sweet chocolate chips: Melted and cooled, they boost the chocolate richness and give a velvety mouthfeel.
- Vanilla extract: Enhances all the chocolate flavors and adds a warm aromatic note.
- Pinch of salt: Just a touch to cut through the sweetness and amplify the overall flavor profile.
How to Make Homemade Chocolate Ice Cream Recipe
Step 1: Whip the Cream
Start by pouring your cold heavy whipping cream into a large bowl. Using a hand mixer or stand mixer, whip the cream until stiff peaks form. This step is key to achieving the creamy, airy base that sets this recipe apart. Don’t rush it—whipping enough air into the cream ensures your ice cream won’t be dense or icy.
Step 2: Combine the Chocolate Base
In a separate bowl, whisk together the sweetened condensed milk, cocoa powder, melted semi-sweet chocolate, vanilla extract, and a pinch of salt until the mixture is silky smooth. This rich chocolate mixture is what turns the whipped cream into a luscious chocolate dream.
Step 3: Fold the Mixtures Together
Gently fold the chocolate mixture into the whipped cream using a spatula. Take your time—carefully combine the two while keeping the airiness of the whipped cream intact. This light folding technique ensures your ice cream remains soft and creamy after freezing.
Step 4: Freeze the Mixture
Transfer your combined ice cream base to a freezer-safe container. Smooth out the top with a spatula, then cover the container tightly with a lid or plastic wrap. Proper coverage protects the ice cream from ice crystals and keeps it smooth.
Step 5: Chill Overnight
Pop the container in the freezer for at least 6 hours, though overnight chilling yields the best texture. This patient step allows the ice cream to set firmly, developing its characteristic creamy feel and rich chocolate intensity.
Step 6: Serve and Enjoy
When you’re ready, scoop out generous portions of your homemade delight and enjoy. The texture will be perfectly creamy and full of that deep chocolate goodness, making each spoonful a moment of pure joy.
How to Serve Homemade Chocolate Ice Cream Recipe
Garnishes
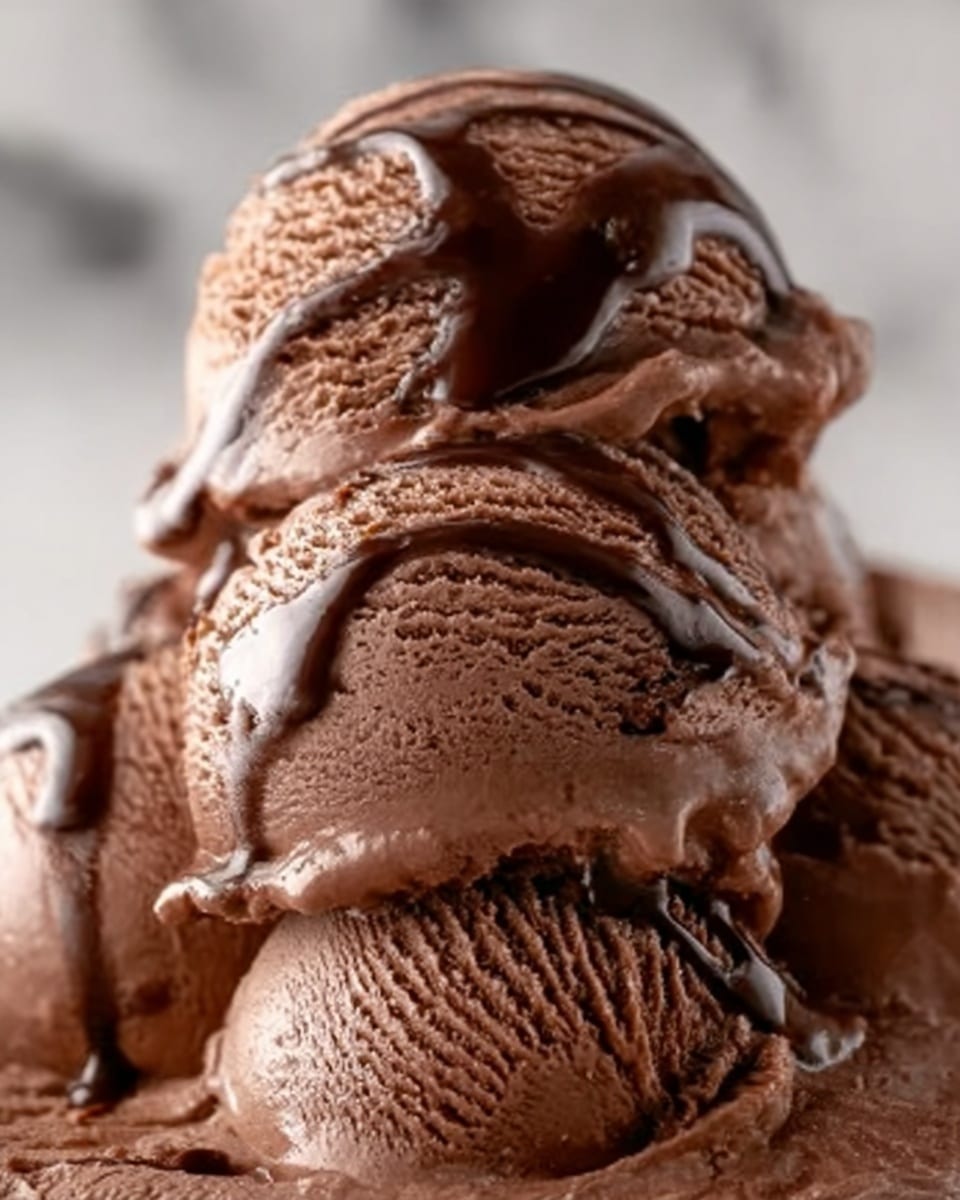
While this ice cream shines beautifully on its own, a handful of toppings can elevate it even further. Try adding freshly shaved chocolate, crushed nuts, a sprinkle of sea salt, or even a drizzle of caramel sauce. These garnishes add texture and contrast that make each bite more exciting.
Side Dishes
Homemade chocolate ice cream pairs wonderfully with warm desserts like brownies, molten lava cakes, or freshly baked cookies. The combination of hot and cold creates a delightful contrast that enhances the chocolate flavor and adds an extra layer of indulgence.
Creative Ways to Present
For a special occasion, serve your homemade chocolate ice cream in elegant dessert glasses layered with whipped cream and fresh berries. Or try making ice cream sandwiches using macarons or soft cookies. Presentation can make this simple recipe feel like an extraordinary treat.
Make Ahead and Storage
Storing Leftovers
Any leftover Homemade Chocolate Ice Cream Recipe should be stored in an airtight container in the coldest part of your freezer. Make sure it’s tightly sealed to prevent freezer burn or absorbing other odors. Proper storage keeps the ice cream fresh and delicious for up to two weeks.
Freezing
This recipe freezes exceptionally well due to the whipped cream base and sweetened condensed milk, which prevent large ice crystals from forming. Just remember to keep the surface covered with plastic wrap pressed directly on the ice cream before sealing the container for best results.
Reheating
Unlike other dishes, ice cream is not meant to be reheated. If your ice cream becomes too hard after freezing, simply let it sit at room temperature for 5 to 10 minutes before scooping to achieve the perfect scoopability.
FAQs
Can I make this Homemade Chocolate Ice Cream Recipe without an ice cream maker?
Absolutely! This recipe is designed to be no-churn, meaning you don’t need any special equipment. The whipped cream and sweetened condensed milk create all the creaminess without a machine.
Can I substitute the cocoa powder with Dutch-processed cocoa?
Yes, you can. Dutch-processed cocoa has a milder flavor and earthier tone, which will slightly change the taste but still be delicious. You may want to adjust the amount slightly to taste.
How long can I store the ice cream in the freezer?
For the best flavor and texture, enjoy your homemade ice cream within two weeks. Beyond that, it may develop ice crystals or lose some creaminess.
Is it possible to make this recipe dairy-free?
This specific recipe relies on heavy cream and sweetened condensed milk for structure and richness, but you can experiment with coconut cream and dairy-free condensed milk alternatives for a vegan spin.
Can I add mix-ins like nuts or chocolate chunks?
Definitely! Gently fold in your favorite mix-ins after combining the whipped cream and chocolate base. This adds a fun crunch and extra dimension to your ice cream.
Final Thoughts
I hope you feel inspired to try this Homemade Chocolate Ice Cream Recipe at home—it’s such a rewarding dessert to make and share. Nothing beats the satisfaction of scooping your very own rich, creamy chocolate ice cream that’s perfectly tailored to your taste. Give it a go and watch how it quickly becomes a beloved treat for family and friends!
Print
Homemade Chocolate Ice Cream Recipe
- Total Time: 6 hours 20 minutes
- Yield: 6 servings 1x
Description
This Homemade Chocolate Ice Cream recipe combines rich cocoa with creamy whipped cream and sweetened condensed milk to create a smooth, decadent dessert without the need for an ice cream maker. Perfect for chocolate lovers seeking a simple, no-churn treat that freezes beautifully to a creamy texture.
Ingredients
Ice Cream Base
- 2 cups heavy whipping cream, cold
- 1 (14 oz) can sweetened condensed milk
- 1/2 cup unsweetened cocoa powder
- 1/2 cup semi-sweet chocolate chips, melted and slightly cooled
- 1 teaspoon vanilla extract
- Pinch of salt
Instructions
- Whip Cream: In a large bowl, use a mixer to whip the cold heavy cream until stiff peaks form, which means the cream holds firm shapes when the beaters are lifted.
- Mix Chocolate Base: In a separate bowl, whisk together the sweetened condensed milk, unsweetened cocoa powder, melted and slightly cooled chocolate chips, vanilla extract, and a pinch of salt until the mixture is smooth and fully combined.
- Fold Together: Gently fold the chocolate mixture into the whipped cream using a spatula, carefully combining them to preserve the light and airy texture without deflating the whipped cream.
- Freeze: Transfer the blended mixture into a freezer-safe container, evenly smooth the surface, and cover tightly with a lid or plastic wrap to prevent freezer burn.
- Chill: Place the container in the freezer and chill for at least 6 hours or preferably overnight until the ice cream is firm and scoopable.
- Serve: Scoop portions into bowls or cones and enjoy as is, or add your favorite toppings to enhance the chocolate experience.
Notes
- Ensure the heavy cream is very cold before whipping to achieve the best volume and texture.
- Allow the melted chocolate chips to cool slightly before mixing to prevent melting the whipped cream.
- Use a gentle folding technique to keep the ice cream light and fluffy.
- For best results, freeze overnight so the ice cream sets fully.
- Store leftover ice cream covered to prevent ice crystals formation.
- Prep Time: 20 minutes
- Cook Time: 0 minutes
- Category: Dessert
- Method: No-Cook
- Cuisine: American
