
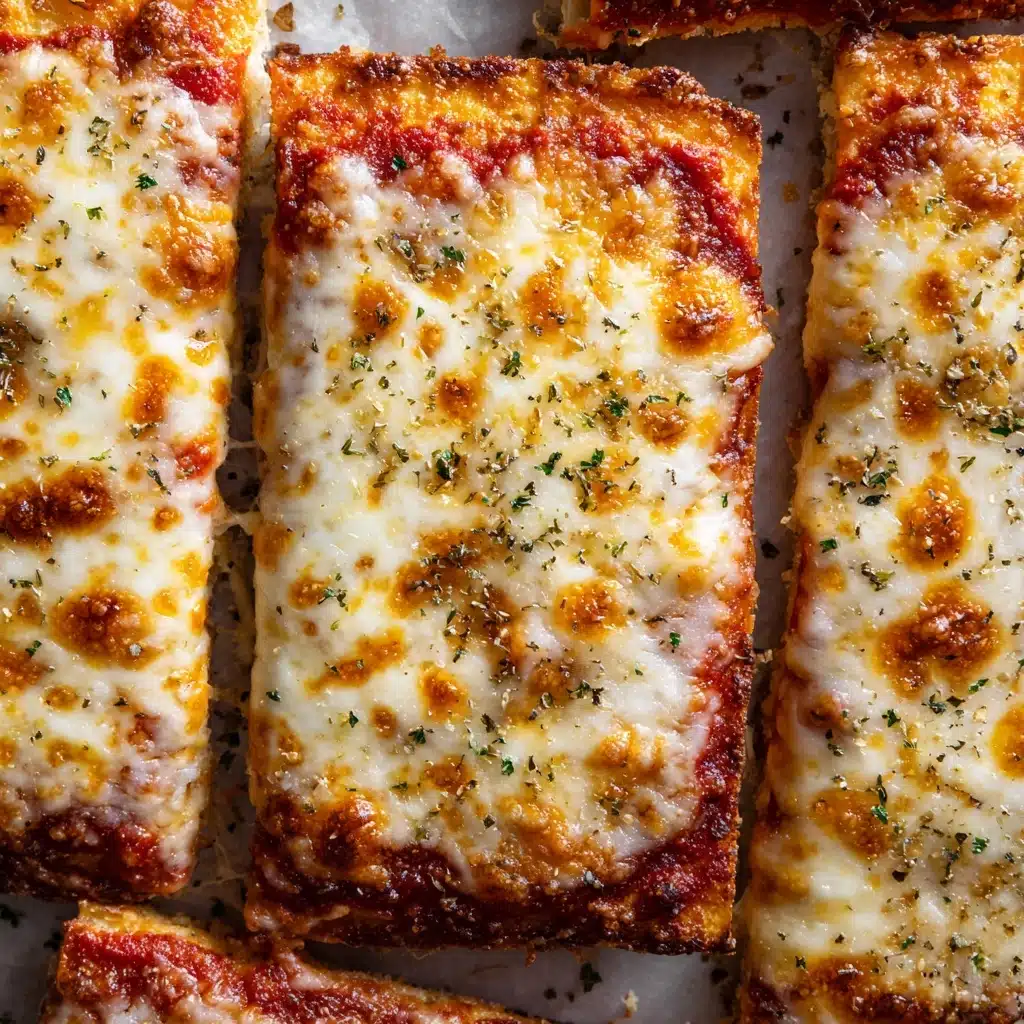
If you’re searching for that ultimate comfort food snack—crispy, gooey, and totally customizable—look no further than Homemade Easy Cheesy Pizza Pockets. They combine golden, flaky pizza crust with stretchy mozzarella, savory pepperoni, and all your favorite pizza flavors, but in a fun, hand-held form. Whether you’re whipping these up for a busy weeknight dinner, a cozy movie night, or an after-school treat, this recipe is guaranteed to become a fast favorite. The best part? You can tailor every bite with extra cheese or your go-to toppings!
Ingredients You’ll Need
What makes Homemade Easy Cheesy Pizza Pockets so irresistible is just how simple each ingredient is—yet every item is essential for perfect taste, texture, and that crave-worthy pizza shop aroma. Here’s what you’ll be working with and why it matters:
- Refrigerated pizza dough: Delivers a soft, fluffy pocket with crispy edges—and saves tons of prep time for a quick snack or dinner.
- Pizza sauce: Brings rich, tangy tomato flavor and melds the fillings together for that classic pizza experience.
- Shredded mozzarella cheese: Melts into oozy, delicious strings that make every bite satisfyingly cheesy.
- Mini pepperoni (or chopped regular): Adds bold, meaty bursts of flavor and beautiful color inside each pocket.
- Italian seasoning: A fragrant finishing touch that brings herbal warmth and classic pizzeria vibes.
- Olive oil: Helps the pockets bake up extra golden and crisp, giving that irresistible shine.
- Egg (for egg wash): Ensures your pockets get a glossy, deeply golden finish.
- Flour for dusting: Keeps the dough from sticking, making assembly a breeze.
- Optional fillings – sausage, mushrooms, bell peppers, olives: Go wild with these extra add-ins for a personalized pizza pocket adventure.
How to Make Homemade Easy Cheesy Pizza Pockets
Step 1: Prep Your Oven and Baking Sheet
Start by preheating your oven to 400°F (200°C) so it’s hot and ready for that perfect bake. Line a large baking sheet with parchment paper—this keeps the pockets from sticking and makes for easy cleanup. Trust me, prep work now means less mess (and more pizza enjoyment) later!
Step 2: Roll Out the Dough
Lightly flour a clean surface and roll out your pizza dough into a large rectangle, about ¼ inch thick. This thickness strikes the ideal balance: thin enough for crispiness, but thick enough to cradle all that gooey filling. If you’re using homemade dough, be sure to let it rest until it’s easy to stretch.
Step 3: Cut and Fill the Dough
Slice your rolled dough into 6 to 8 equal rectangles or squares. On one half of each piece, spread a generous spoonful of pizza sauce, sprinkle on mozzarella, scatter your pepperoni, and add any of those tempting optional fillings. Finish with a dash of Italian seasoning for that irresistible pizza flavor in every bite.
Step 4: Shape and Seal the Pockets
Fold the other side of each dough rectangle over the fillings to make a tidy pocket, then press the edges together with a fork. This step is not just fun—it keeps all that cheesy goodness locked inside, so nothing escapes as your pizza pockets puff and bake.
Step 5: Add the Golden Touch
In a small bowl, whisk an egg with a tablespoon of water for your egg wash. Brush it over the tops of each pocket, then add a quick layer of olive oil. The egg wash brings shine and color, while the olive oil adds crisp edges—together, they take your Homemade Easy Cheesy Pizza Pockets to bakery-level brilliance.
Step 6: Bake to Perfection
Bake in your preheated oven for 15 to 18 minutes, until the pockets are puffed, golden brown, and bubbling. The aroma will fill your kitchen, and you’ll see irresistibly melted cheese peeking out here and there. Let them cool for a few minutes before serving (if you can resist the temptation!).
How to Serve Homemade Easy Cheesy Pizza Pockets

Garnishes
Take your pizza pockets up a notch with a scatter of chopped fresh basil, grated parmesan, or even red pepper flakes for a little heat. These finishing touches add color and elevate every bite—plus, they make your Homemade Easy Cheesy Pizza Pockets photo-ready!
Side Dishes
Pair these pockets with a crisp Caesar salad, classic garlic knots, or crunchy veggie sticks and dip. And, of course, don’t forget bowls of extra marinara or ranch for dunking! These simple sides round out the meal, making it feel just like a visit to your favorite pizza joint.
Creative Ways to Present
Host a DIY pizza pocket bar and let everyone fill and fold their own combinations—kids and adults alike love customizing their dinner. Or, slice each pocket into halves or quarters and serve as game-day appetizers for friends to grab and munch. There’s truly no wrong way to share these homemade pockets!
Make Ahead and Storage
Storing Leftovers
If you somehow manage to have leftovers, store cooled Homemade Easy Cheesy Pizza Pockets in an airtight container in the fridge for up to 3 days. They’ll stay soft and flavorful, ready for a grab-and-go snack or a speedy lunchbox treat.
Freezing
Both baked and unbaked pizza pockets freeze beautifully! To freeze before baking, assemble as directed, then arrange on a parchment-lined tray and freeze until solid. Transfer to a zip-top bag and store for up to 2 months. For baked pockets, let them cool fully, then freeze; they reheat just as well and taste like fresh.
Reheating
For best results, reheat your pizza pockets in a 350°F oven or air fryer until warmed through and crispy, about 8–10 minutes. Microwaving works in a pinch, but you’ll miss out on that irresistible crispiness, so I always recommend the oven or air fryer if you have the time.
FAQs
Can I use homemade pizza dough?
Absolutely! Homemade dough adds a wonderful flavor and texture to your Homemade Easy Cheesy Pizza Pockets. Just make sure it’s rolled out evenly and given a little rest to make shaping easier.
What fillings work well besides pepperoni?
Go crazy with fillings—think sautéed mushrooms, diced bell peppers, olives, cooked sausage, spinach, or even cooked and shredded chicken. Anything you love on pizza shines inside these pockets!
How do I keep the pockets from leaking?
Be sure to seal the edges really well with a fork, and avoid adding too much sauce or wet veggies. This keeps all the cheesy filling safely tucked inside where it belongs.
Can I make Homemade Easy Cheesy Pizza Pockets ahead of time?
Yes! Assemble the pockets, then cover and refrigerate them unbaked for up to a day, or freeze for longer storage. Just pop them straight into the oven from the fridge or freezer—add a few extra minutes to the bake time if frozen.
Are these pizza pockets vegetarian-friendly?
Definitely, as long as you use only cheese and veggie fillings. Swap out the pepperoni for more mozzarella, mushrooms, or spinach, and you’ve got a vegetarian dinner or snack that pleases the whole crowd.
Final Thoughts
Biting into a Homemade Easy Cheesy Pizza Pocket is like getting a warm hug from your favorite pizza place—but even better, because you made it yourself! Give this recipe a try and let your creativity (and cheese) flow. Your kitchen will smell amazing, and you’ll have a new favorite for every occasion.
Print
Homemade Easy Cheesy Pizza Pockets Recipe
- Total Time: 33 minutes
- Yield: 6–8 pizza pockets 1x
- Diet: Non-Vegetarian
Description
These Homemade Easy Cheesy Pizza Pockets are a delicious and convenient snack or meal option that you can customize with your favorite fillings. Made with simple ingredients and baked to golden perfection, these pockets are sure to be a hit with the whole family.
Ingredients
Pizza Pockets:
- 1 package refrigerated pizza dough (or homemade)
- 1 cup pizza sauce
- 1 ½ cups shredded mozzarella cheese
- ½ cup mini pepperoni or chopped regular pepperoni
- 1 teaspoon Italian seasoning
- 1 tablespoon olive oil
- 1 egg (for egg wash)
- flour for dusting
- optional fillings: cooked sausage, mushrooms, bell peppers, or olives
Instructions
- Preheat the oven: Preheat the oven to 400°F (200°C) and line a baking sheet with parchment paper.
- Prepare the dough: Lightly flour a clean surface and roll out the pizza dough into a large rectangle, about ¼ inch thick. Cut the dough into 6 to 8 equal rectangles or squares.
- Add toppings: On one side of each rectangle, spread a spoonful of pizza sauce, then top with mozzarella cheese, pepperoni, and any additional fillings. Sprinkle with Italian seasoning.
- Form the pockets: Fold the dough over the filling to create a pocket and press the edges together with a fork to seal. Transfer to the prepared baking sheet.
- Brush with egg wash: In a small bowl, whisk the egg with 1 tablespoon of water and brush the tops of each pocket with the egg wash. Brush lightly with olive oil for extra color and crispiness.
- Bake: Bake for 15–18 minutes, or until golden brown and bubbly. Let cool slightly before serving.
Notes
- These can be frozen before or after baking.
- Reheat baked pockets in the oven or air fryer for best texture.
- Swap pepperoni for chopped veggies or cooked chicken for variety.
- Serve with extra marinara or ranch for dipping.
- Prep Time: 15 minutes
- Cook Time: 18 minutes
- Category: Main Course, Snack
- Method: Baking
- Cuisine: American
Nutrition
- Serving Size: 1 pizza pocket
- Calories: 310
- Sugar: 3g
- Sodium: 620mg
- Fat: 15g
- Saturated Fat: 6g
- Unsaturated Fat: 7g
- Trans Fat: 0g
- Carbohydrates: 30g
- Fiber: 2g
- Protein: 12g
- Cholesterol: 35mg


