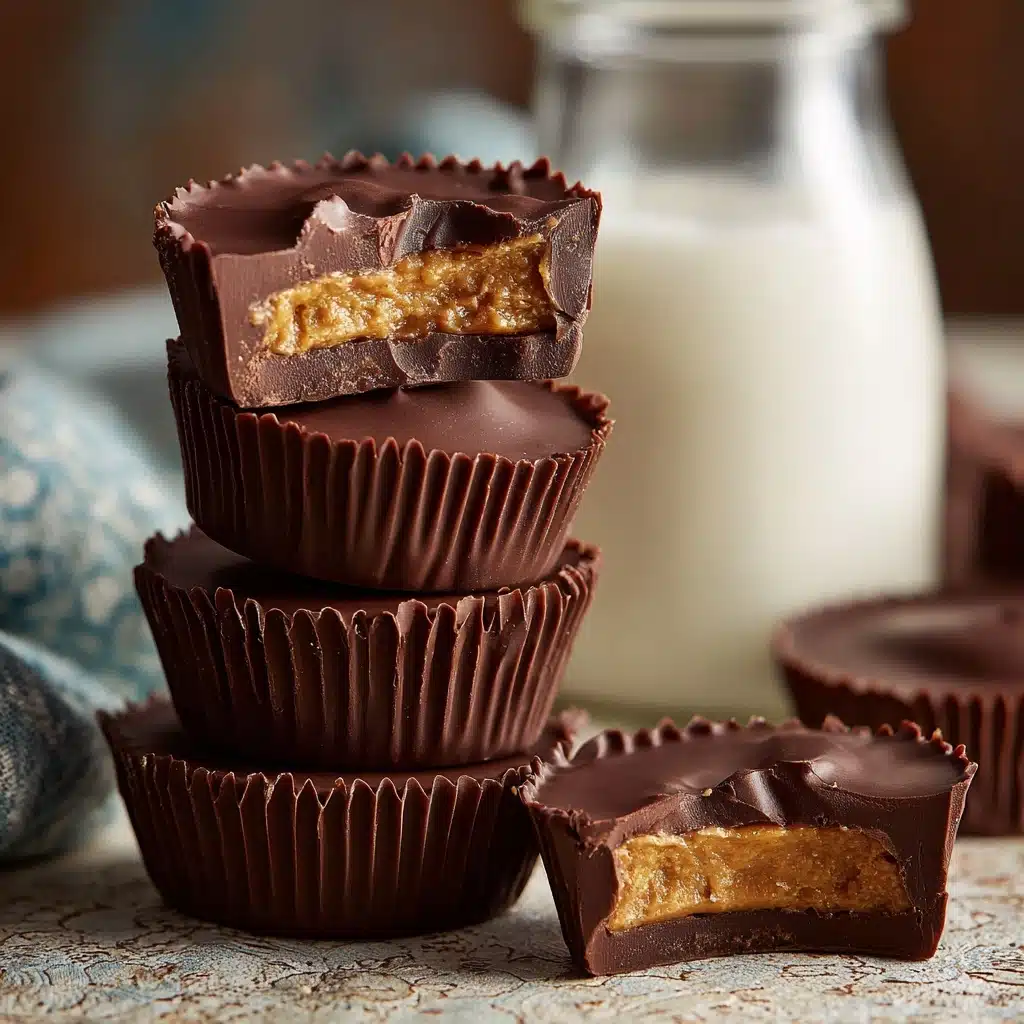
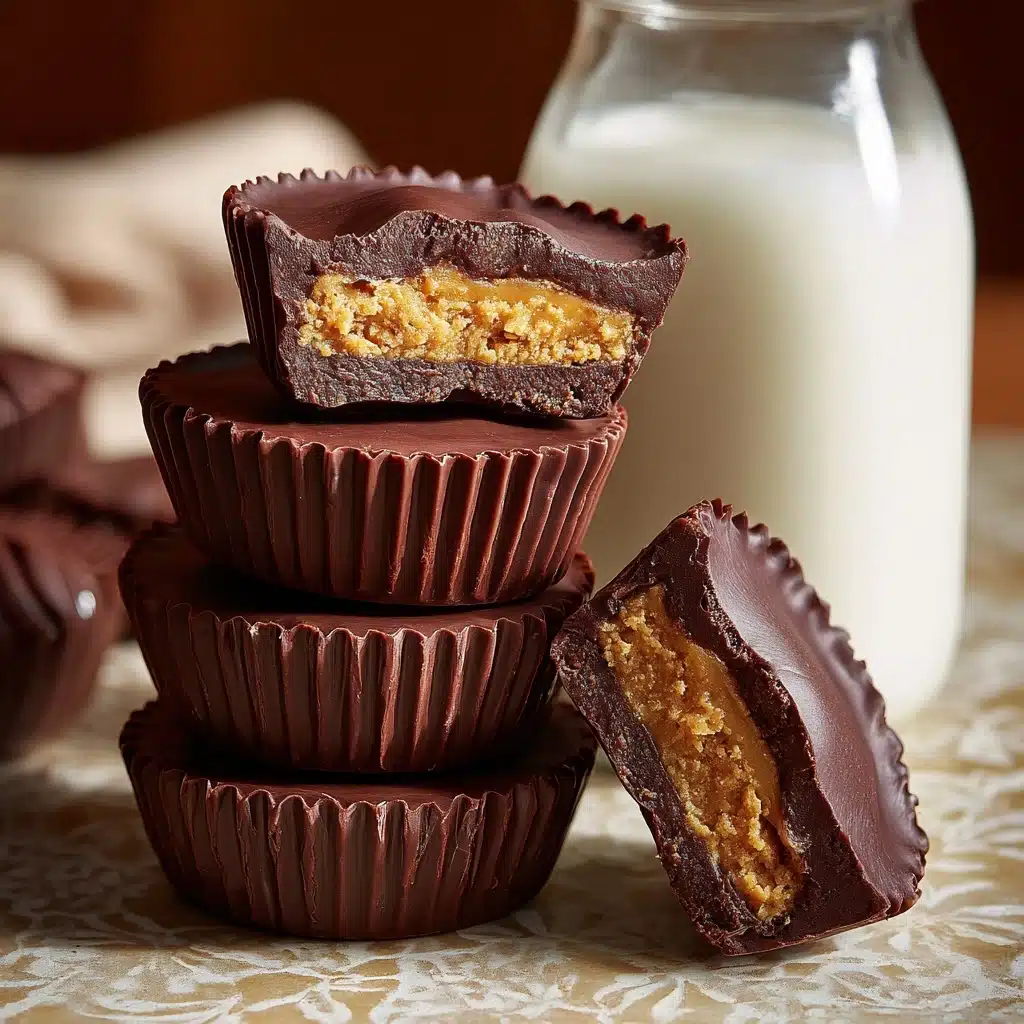
If you’ve ever swooned over that classic combo of chocolate and peanut butter, prepare to fall head-over-heels for these Homemade Peanut Butter Cups. Rich, glossy chocolate hugs a creamy, nutty filling with just the right touch of sweet and salty — all made effortlessly in your own kitchen. Whether you want a decadent treat for dessert, a homemade candy fix, or a conversation-starting gift, this recipe checks all the boxes. Best of all, you control the quality of every bite, from the choice of chocolate to that gorgeous sprinkle of flaky sea salt on top.
Ingredients You’ll Need
What makes these Homemade Peanut Butter Cups truly special is how just a handful of familiar ingredients magically come together. Each one is handpicked for maximum flavor and just the right texture — let’s look at what you need, and why you don’t want to skip a thing!
- Chocolate Chips: Semi-sweet or milk chocolate chips form the indulgent, silky exterior, so pick your favorite for a custom flavor spin.
- Coconut Oil or Unsalted Butter: Adds smoothness to the chocolate and helps it melt beautifully, making the layering process a breeze.
- Creamy Peanut Butter: The heart of your filling—choose a creamy, high-quality peanut butter for that ultimate melt-in-your-mouth center.
- Unsalted Butter (softened): This touch of butter in the filling creates a softer, richer texture that’s downright irresistible.
- Powdered Sugar: Adds gentle sweetness and helps that peanutty mixture hug together for perfect layering.
- Salt: A pinch amps up the flavors, balancing sweetness and enhancing the peanut butter’s natural nuttiness.
- Flaky Sea Salt (optional): Sprinkle on top for a beautiful finish and an extra pop of flavor—it’s the gourmet touch that truly wows!
How to Make Homemade Peanut Butter Cups
Step 1: Prep the Pan
Start by getting your muffin tin ready — line it with 12 paper liners. This simple move makes it easy to pop your cups out later, keeps things tidy, and creates that classic peanut butter cup shape everyone loves.
Step 2: Melt the Chocolate
In a microwave-safe bowl, combine your chocolate chips and coconut oil (or butter). Heat in 30-second bursts, stirring in between, until everything is perfectly smooth and glossy. Melted chocolate is your ticket to that luscious outer shell — don’t rush this step!
Step 3: Make the Peanut Butter Filling
In a medium bowl, mix the creamy peanut butter, softened butter, powdered sugar, and salt until you have a silky, fluffy filling that holds together. This is your secret weapon for that ultra-creamy, not-too-sweet center.
Step 4: Assemble the Bottom Chocolate Layer
Spoon about 1 tablespoon of melted chocolate into the base of each muffin liner. Gently tilt or tap the pan so the chocolate spreads evenly — this will be the crisp, shiny foundation of your Homemade Peanut Butter Cups. Pop the tin in the freezer for 10 minutes to set.
Step 5: Add the Peanut Butter Layer
Once the bottom chocolate is set, place about 1 tablespoon of your peanut butter filling on top of each chocolate base. Flatten gently with the back of a spoon so it sits in a nice even layer, but don’t let it touch the edges; this keeps the filling perfectly hidden inside.
Step 6: Seal with More Chocolate
Cover each peanut butter mound with another tablespoon of melted chocolate, making sure the peanut butter is completely enclosed. Gently tap the pan to smooth out the tops and let the chocolate settle into every corner.
Step 7: Chill and Finish
Sprinkle flaky sea salt over the tops if you want that extra burst of flavor and eye-catching sparkle. Return the whole pan to the freezer for 15–20 more minutes, until the cups are firm. Store your finished Homemade Peanut Butter Cups in the fridge so they’re always at their snappy, glossy best.
How to Serve Homemade Peanut Butter Cups

Garnishes
For a show-stopping finish, a pinch of flaky sea salt or a drizzle of melted chocolate will elevate your Homemade Peanut Butter Cups to new heights. You can even sprinkle on finely chopped peanuts or a hint of cocoa powder for extra flair. Presentation matters, especially when your treats are this irresistible!
Side Dishes
These peanut butter cups are rich and satisfying, so they shine next to something light, like fresh fruit or a scoop of vanilla yogurt. They also pair perfectly with a hot cup of coffee or tea for a classic, comforting combination. For a grown-up twist, serve with a small glass of dessert wine or a creamy liqueur.
Creative Ways to Present
If you want to make your Homemade Peanut Butter Cups the star of the show, package them in festive gift boxes, or pile them high on a pretty cake stand for a dessert table. For parties, try making mini versions in a mini muffin tin for bite-sized treats—just as delicious, twice as adorable.
Make Ahead and Storage
Storing Leftovers
Homemade Peanut Butter Cups store beautifully in an airtight container in the refrigerator for up to 2 weeks. Keep them cool so the chocolate stays firm and the peanut butter center remains creamy and perfect—just the way you want it every single time.
Freezing
If you want to make a big batch, good news: these freeze like a dream! Place your Homemade Peanut Butter Cups in a single layer in a freezer-safe container, separated by parchment paper. They’ll keep perfectly for up to 3 months—just let them thaw for a few minutes before digging in.
Reheating
No reheating needed. Simply let your cups sit at room temperature for a couple of minutes if they’re a little too cold from the fridge or freezer. This brings back that soft, dreamy peanut butter texture with no fuss.
FAQs
Can I use a different type Dessert
Absolutely! Almond or sunflower seed butter work beautifully here, especially if you need a nut-free option or just want to mix things up. Just make sure it’s creamy for the best filling texture.
Do I have to use coconut oil?
Nope! Unsalted butter subs in perfectly and helps make the chocolate silky and easy to layer. Choose whichever you prefer or have on hand.
Can I make these Homemade Peanut Butter Cups vegan?
Definitely! Use dairy-free chocolate chips, plant-based butter or extra coconut oil, and make sure your peanut butter is vegan-friendly. You’ll have delicious, totally vegan treats in no time.
How do I make neat, professional-looking peanut butter cups?
Don’t skip the muffin tin and paper liners—they create those perfect edges! Giving the pan a gentle tap after adding each chocolate layer smooths out the tops so your cups look polished and irresistible.
Can I make these with crunchy peanut butter?
Yes! If you love texture, swap in crunchy peanut butter for the filling and maybe add a sprinkling of chopped nuts on top. Your Homemade Peanut Butter Cups will have a surprise crunch in every bite.
Final Thoughts
Grab your ingredients and treat yourself to the classic, always-tempting joy of Homemade Peanut Butter Cups. With their rich chocolate shell and creamy, nutty center, these are sure to become a beloved favorite in your kitchen, too—don’t be surprised if they disappear faster than you think!
Print
Homemade Peanut Butter Cups Recipe
- Total Time: 20 minutes (plus chill time)
- Yield: 12 peanut butter cups 1x
- Diet: Gluten-Free, Vegetarian
Description
Indulge in these homemade peanut butter cups that are easy to make and taste even better than store-bought ones. A layer of creamy peanut butter sandwiched between rich, melted chocolate – a perfect sweet treat for any occasion.
Ingredients
For the Chocolate Layer:
- 2 cups semi-sweet or milk chocolate chips
- 2 tablespoons coconut oil or unsalted butter
For the Peanut Butter Filling:
- 3/4 cup creamy peanut butter
- 2 tablespoons unsalted butter, softened
- 1/4 cup powdered sugar
- 1/4 teaspoon salt
- Flaky sea salt for topping (optional)
Instructions
- Prepare the Chocolate Layer: Line a standard muffin tin with 12 paper liners. Melt chocolate chips and coconut oil in the microwave, then spoon a tablespoon of the mixture into each liner.
- Make the Peanut Butter Filling: Mix peanut butter, softened butter, powdered sugar, and salt until creamy. Add a tablespoon of the mixture on top of the chocolate layer in each liner.
- Top with Chocolate: Cover the peanut butter layer with the remaining melted chocolate. Sprinkle with flaky sea salt if desired.
- Chill: Freeze the peanut butter cups until firm, then store in the refrigerator until ready to eat.
Notes
- Use crunchy peanut butter for added texture.
- Substitute almond or sunflower butter for a nut-free option.
- Prep Time: 20 minutes
- Cook Time: 0 minutes
- Category: Dessert
- Method: No-Bake
- Cuisine: American
Nutrition
- Serving Size: 1 peanut butter cup
- Calories: 230
- Sugar: 17g
- Sodium: 80mg
- Fat: 15g
- Saturated Fat: 7g
- Unsaturated Fat: 7g
- Trans Fat: 0g
- Carbohydrates: 21g
- Fiber: 2g
- Protein: 4g
- Cholesterol: 5mg


