
Nothing says nostalgia quite like the frothy magic of Homemade Root Beer. Imagine the sweet, slightly herbal fragrance rising from an ice-cold glass, the satisfying fizz tickling your nose—it’s truly a labor of love from start to finish! Not only does this recipe celebrate classic American tradition, but it lets you craft a unique, botanically-inspired soda right in your own kitchen. From the mysterious depth of sassafras and sarsaparilla to that creamy, memorable finish, every sip delivers a taste of summertime happiness. Whether you’re making it for a family gathering or a quirky weekend project, Homemade Root Beer will quickly become your favorite kitchen adventure.
Ingredients You’ll Need
-
Root Beer Base:
- 8 cups water
- 1 cup granulated sugar
- 1/4 cup sassafras root bark (or 2 tablespoons sassafras extract)
- 2 tablespoons dried sarsaparilla root
- 1 tablespoon dried wintergreen leaves
- 1 tablespoon dried licorice root
- 1 tablespoon dried ginger root
- 1 teaspoon vanilla extract
Fermentation:
- 1/4 teaspoon yeast (champagne or baking yeast)
How to Make Homemade Root Beer
Step 1: Simmer the Roots and Spices
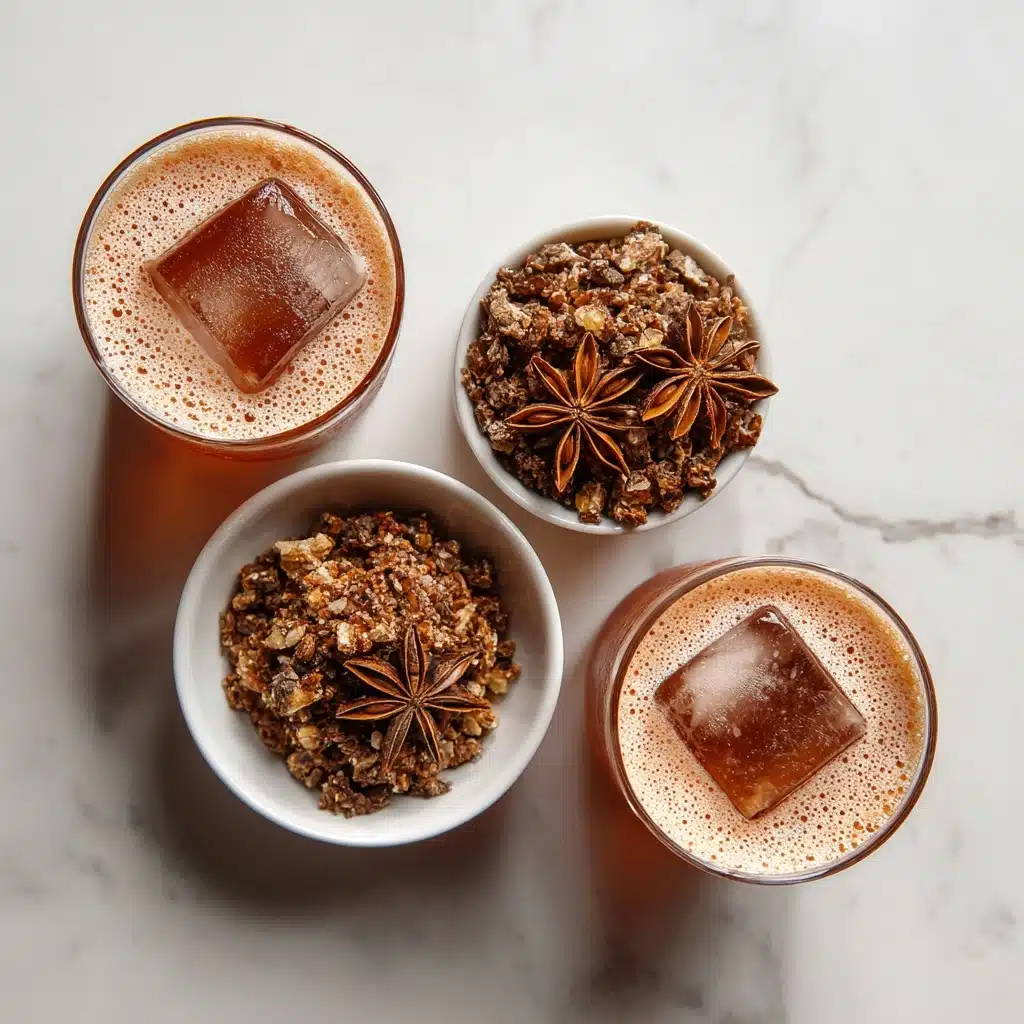
The road to outstanding Homemade Root Beer begins in your biggest, sturdiest pot. Start by bringing 6 cups of water to a rolling boil. Add in your sassafras, sarsaparilla, wintergreen, licorice, and ginger roots. Lower the heat and let everything simmer gently for 20 to 30 minutes, breathing in the deep, woodland aroma as the flavors meld together. This is where the essence of root beer is born!
Step 2: Strain and Sweeten the Base
Once your kitchen smells like a vintage soda fountain, remove the pot from the heat. Carefully strain out all the solids, catching the richly colored liquid in a heatproof bowl. Immediately stir in the granulated sugar—it will dissolve easily in the piping-hot root tea. Then add the vanilla extract for that classic, creamy backbone. Let the mixture cool down to room temperature, resisting the urge to sneak a taste (it’ll be worth the wait, promise!).
Step 3: Add Yeast for Fizz
Once your root beer base is no warmer than lukewarm, sprinkle the yeast evenly over the surface. Give it a gentle stir; this little powerhouse is what transforms your sweet mixture into a bubbly treat. Letting it rest for a few minutes helps the yeast wake up and start working its magic.
Step 4: Bottle and Ferment
Pour the mixture into impeccably clean bottles, leaving about 2 inches of headspace at the top of each. Seal them tightly, then store at room temperature. Over the next 24 to 48 hours, the yeast gets busy, fizzing up your soda. Keep an eye on it—fermentation can work fast! For safety, always use bottles intended for natural carbonation to prevent any bursts of enthusiasm.
Step 5: Refrigerate and Enjoy
When the bottles feel firm and there’s plenty of fizz, move them to the fridge right away. Chilling slows down the fermentation and locks in that perfect level of bubbles. Serve ice-cold, and savor the pride of savoring your own Homemade Root Beer.
How to Serve Homemade Root Beer

Garnishes
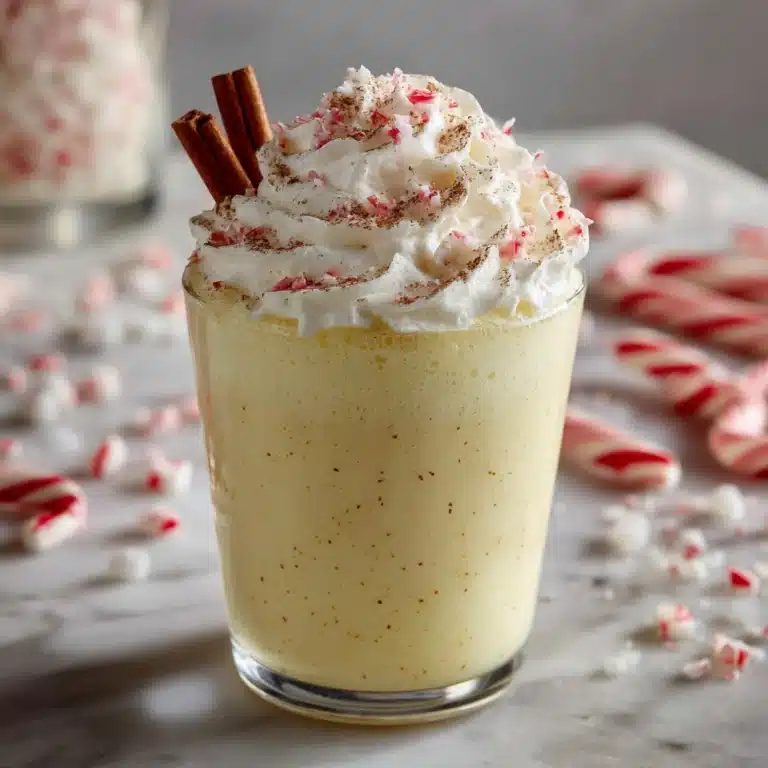
Nothing elevates a glass of Homemade Root Beer like the right finishing flourish. Drop in a few fresh mint leaves, float a classic maraschino cherry, or add a well-placed curl of lemon peel for an extra zip. If you’re feeling decadent, a generous scoop of vanilla ice cream turns any pour into the root beer float of dreams.
Side Dishes
The gentle sweetness and layered flavors of Homemade Root Beer pair beautifully with classic American favorites. Try serving it alongside burgers and hot dogs at a backyard cookout, or let it wash down a plate of hearty BBQ pulled pork, crisp fries, or buttery popcorn for a cozy movie night.
Creative Ways to Present
Lean into the nostalgia and serve Homemade Root Beer in frosty glass mugs for an old-school soda-shop feel. For parties, fill mini glass bottles with personalized labels, or set up a DIY float bar with an array of ice cream flavors and toppings. Kids love colorful paper straws and a rim of crunchy sugar crystals for an extra special occasion.
Make Ahead and Storage
Storing Leftovers
After you’ve bottled and chilled your Homemade Root Beer, it keeps well in the refrigerator for about a week. Just make sure the bottles stay tightly sealed so you don’t lose any of that precious, naturally-created fizz. Each time you open a bottle, you’ll be greeted with a lively pop!
Freezing
If you want to enjoy Homemade Root Beer slushies, you can actually freeze it! Pour the finished soda into ice cube trays or freezer-safe popsicle molds for a refreshing summer treat. Otherwise, freezing whole bottles isn’t recommended, as the expanding liquid can affect the carbonation and potentially crack the bottles.
Reheating
Unlike soups or stews, root beer is strictly a cold beverage. If your Homemade Root Beer sits out and gets a little warm, simply pop it back in the fridge or pour over a generous heap of ice cubes to chill it to perfection again—no reheating needed.
FAQs
Can I make Homemade Root Beer without yeast?
Absolutely! If you’d like to skip the natural fermentation, you can omit the yeast step and simply mix your cooled root beer syrup with club soda or seltzer right before serving. The flavor remains true, but you won’t get the same level of home-brewed fizz.
Is it safe to ferment root beer at home?
Yes, as long as you use clean equipment and carbonation-safe bottles, the process is safe and straightforward. Just monitor fermentation closely, and transfer bottles to the fridge once they feel firm—this stops the yeast from producing too much gas.
Can I adjust the sweetness or flavor?
Definitely! If you prefer a sweeter or less sweet soda, simply adjust the sugar to your liking. For flavor, experiment by adding cinnamon sticks, star anise, or a splash of extra vanilla. Homemade Root Beer is all about customization!
What kind of yeast should I use?
Champagne yeast is the gold standard for light, crisp bubbles, but regular baking yeast will work in a pinch. Just note that baking yeast may create slightly breadier undertones, while champagne yeast stays clean and neutral.
Why is my Homemade Root Beer cloudy?
Cloudiness usually comes from tiny root particles that slip through the strainer or from yeast sediment as it ferments. It’s completely natural and safe—simply pour carefully, leaving the last bit in the bottle if you prefer a clearer pour.
Final Thoughts
If you’ve made it this far, you’re well on your way to creating something truly special—Homemade Root Beer that bubbles over with personality and flavor! Give it a try, share it with friends, and relish that first sip; it’s both a taste of tradition and a testament to your creativity. Have fun brewing, and don’t be surprised if it becomes a new favorite tradition!
Print
Homemade Root Beer Recipe
- Total Time: 1 day to 2 days
- Yield: About 8 cups 1x
- Diet: Non-Vegetarian
Description
Learn how to make your own Homemade Root Beer from scratch using natural ingredients with this easy recipe. This naturally fermented root beer is a delicious and fun project for soda lovers.
Ingredients
Root Beer Base:
- 8 cups water
- 1 cup granulated sugar
- 1/4 cup sassafras root bark (or 2 tablespoons sassafras extract)
- 2 tablespoons dried sarsaparilla root
- 1 tablespoon dried wintergreen leaves
- 1 tablespoon dried licorice root
- 1 tablespoon dried ginger root
- 1 teaspoon vanilla extract
Fermentation:
- 1/4 teaspoon yeast (champagne or baking yeast)
Instructions
- Prepare Root Beer Base: In a large pot, bring 6 cups of water to a boil. Add sassafras root bark, sarsaparilla root, wintergreen leaves, licorice root, and ginger root. Simmer for 20 to 30 minutes. Strain and stir in sugar and vanilla extract.
- Add Yeast: Cool the mixture, sprinkle yeast over the surface, and stir gently.
- Bottle and Ferment: Pour the mixture into clean bottles, leaving headspace. Seal tightly and ferment for 24 to 48 hours.
- Chill and Serve: Refrigerate to slow fermentation and enjoy chilled.
Notes
- Use bottles designed for carbonation.
- Monitor fermentation to avoid overcarbonation.
- Adjust sweetness to taste.
- For a non-fermented version, skip yeast and add soda water.
- Prep Time: 15 minutes
- Cook Time: 30 minutes
- Category: Beverage
- Method: Simmering, Fermentation
- Cuisine: American, Traditional
Nutrition
- Serving Size: 8 ounces
- Calories: 110
- Sugar: 26g
- Sodium: 15mg
- Fat: 0g
- Saturated Fat: 0g
- Unsaturated Fat: 0g
- Trans Fat: 0g
- Carbohydrates: 28g
- Fiber: 0g
- Protein: 0g
- Cholesterol: 0mg

