
If there’s one little luxury that turns any dessert into pure joy, it’s Homemade Whipped Cream. This fluffy cloud of sweet, vanilla-kissed cream is ridiculously easy to make from scratch and endlessly versatile — perfect for topping pies, shortcakes, fresh fruit, or sneaking a quick spoonful from the fridge. You only need a few staple ingredients and a few minutes, yet the result adds that freshly-whipped, melt-on-your-tongue magic you just can’t find in store-bought versions.

Ingredients You’ll Need
-
For Homemade Whipped Cream:
- 1 cup heavy whipping cream, cold
- 2 tablespoons powdered sugar
- 1 teaspoon vanilla extract
How to Make Homemade Whipped Cream
Step 1: Chill Your Bowl and Beaters
This small step makes a big impact! Tuck your mixing bowl and beaters into the fridge for 10 to 15 minutes before you get started. Cold equipment helps the cream whip up faster and traps those dreamy air bubbles, resulting in a fluffier, more stable Homemade Whipped Cream.
Step 2: Pour in the Cold Cream
Once your equipment is chilled, pour the heavy whipping cream into your bowl. The colder your cream, the better the results—you’ll notice it thickens up beautifully and doubles in size before your eyes.
Step 3: Add Powdered Sugar and Vanilla Extract
Measure in your powdered sugar and add that gorgeous splash of vanilla extract right on top. These two add sweetness and complexity, giving your Homemade Whipped Cream real character. Don’t be afraid to play with the sugar according to your taste buds!
Step 4: Whip Until Soft Peaks Form
Using a hand mixer or stand mixer, start whipping at medium-high speed. In just a few minutes, the mixture transforms—soft peaks will form that hold their shape but still look a little billowy. This is ideal if you want a gently swirled, pillowy topping for desserts like hot cocoa or pancakes.
Step 5: Whip to Stiff Peaks (But Don’t Overdo It!)
Want perfect dollops that hold up on pies and cakes? Keep whipping just a bit more until you see stiff peaks that stand straight up when you lift the beaters. Be careful, though—overwhipping can quickly turn your cream buttery and dense, so watch closely and stop as soon as you reach those firm, luscious peaks.
Step 6: Serve or Store
Use your Homemade Whipped Cream immediately, or stash it in the fridge for up to 24 hours. The texture stays plush and airy, ready to make any treat extra special at a moment’s notice.
How to Serve Homemade Whipped Cream
Garnishes
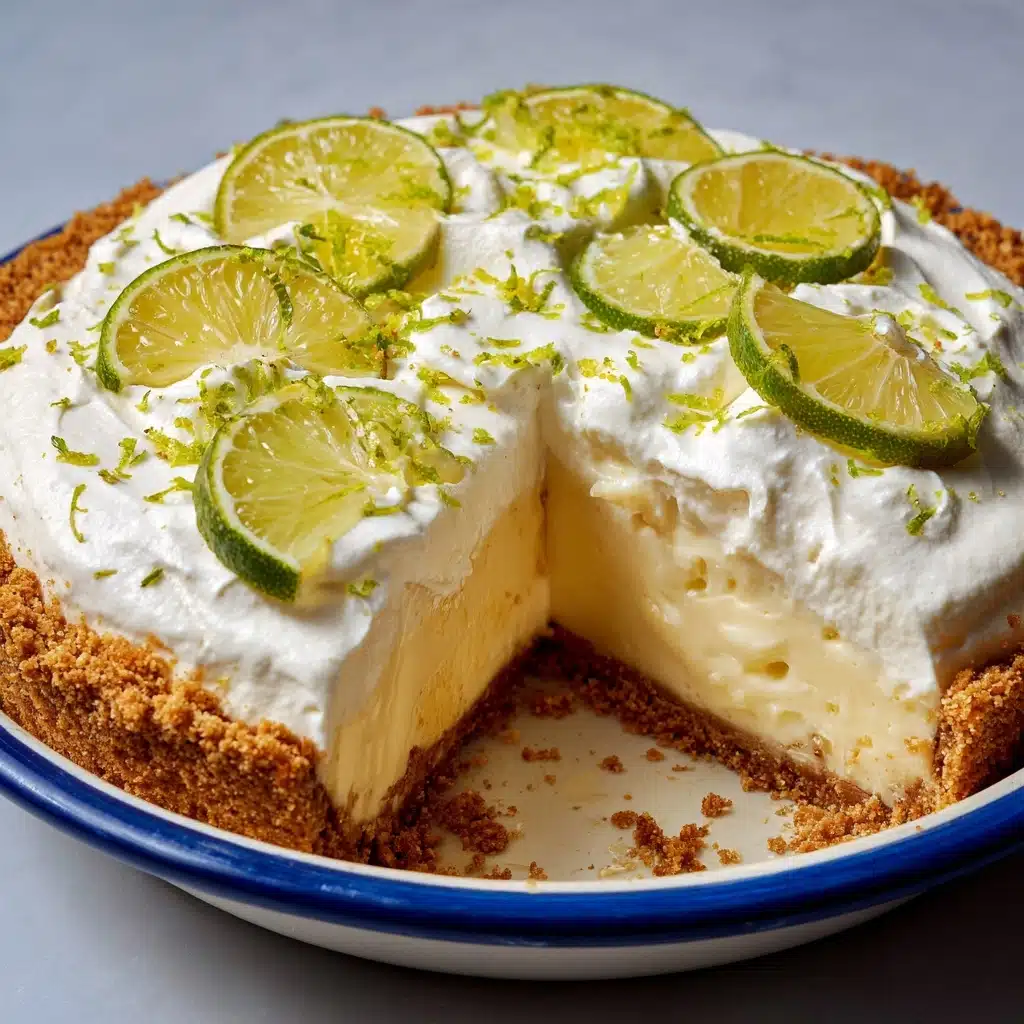
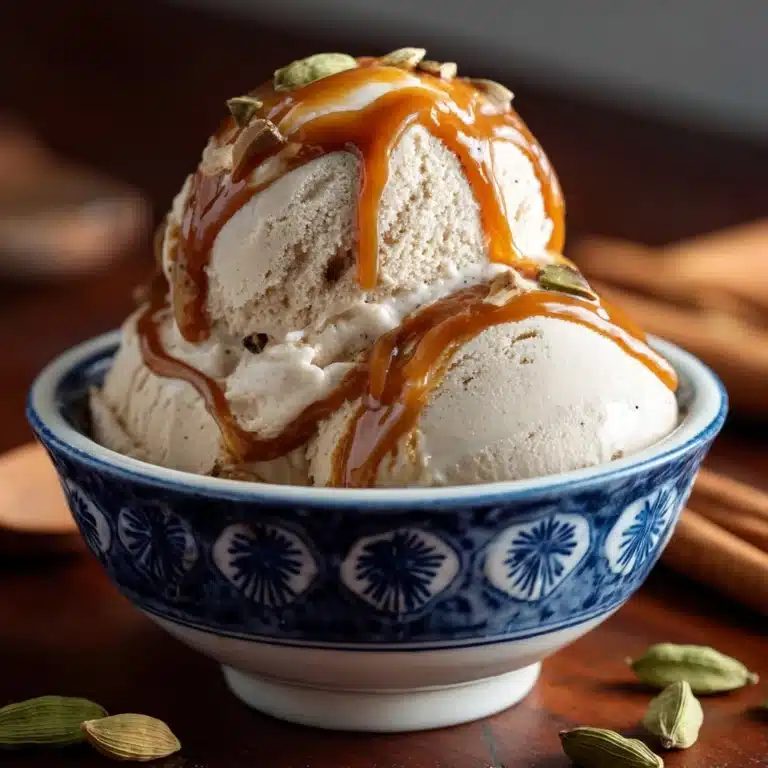
Dress up your Homemade Whipped Cream with a sprinkle of chocolate shavings, toasted nuts, or citrus zest for a pop of color and a burst of flavor. Even just a light dusting of cocoa powder makes it look like something from your favorite café.
Side Dishes
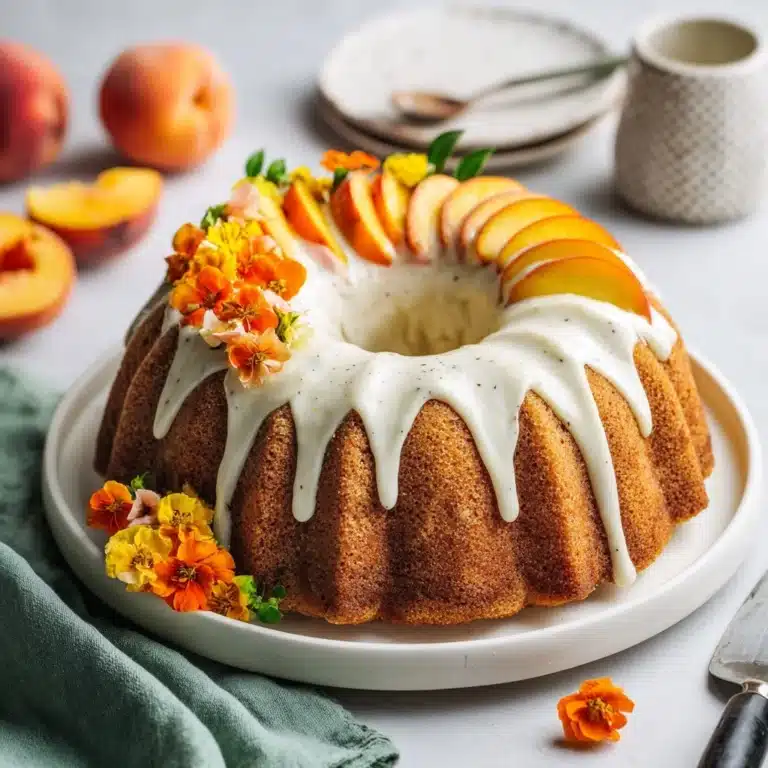
Your options are almost endless—dollop it over pancakes for brunch, spoon clouds of it onto fresh berries, or make the ultimate topping for warm fruit crisps. Homemade Whipped Cream instantly elevates desserts, from classic pies and cheesecakes to brownies and puddings.
Creative Ways to Present
Go beyond the ordinary: pipe swirls onto cupcakes with a star-tip for a bakery finish, serve in pretty bowls topped with edible flowers, or layer in mason jars with layers of fruit for easy parfaits. Even a rustic dollop over pudding feels fancy with fresh, Homemade Whipped Cream.
Make Ahead and Storage
Storing Leftovers
Got extra? Pop Homemade Whipped Cream into an airtight container and refrigerate. It stays beautifully fluffy for up to 24 hours, making it easy to prep ahead for gatherings or treat yourself all over again tomorrow.
Freezing
Yes, you can freeze it! Pipe or spoon small portions onto a parchment-lined tray, freeze until solid, then transfer to a container. Frozen Homemade Whipped Cream holds its shape and can be thawed in the fridge—or even used straight from the freezer as a fun topping for hot drinks and desserts.
Reheating
Whipped cream doesn’t need reheating, but if it’s separated or deflated after storage, a quick whisk by hand can revive that airy texture. Just be gentle—overmixing after storing can make it too dense, so a few swift strokes usually do the trick.
FAQs
Can I make Homemade Whipped Cream without an electric mixer?
Absolutely! It takes more elbow grease, but you can use a sturdy wire whisk and a chilled bowl. Whisk vigorously in a zigzag motion; it’ll take a bit longer, but the result is every bit as delicious and satisfying.
Why should the cream and equipment be cold?
Cold cream and a chilled bowl help the fat in the cream trap air more efficiently, giving you that perfectly airy, voluminous Homemade Whipped Cream. Skipping this step can leave your topping a little sad and flat.
How do I tell the difference between soft peaks and stiff peaks?
Soft peaks gently curl down when you lift the beaters—great for softer, mousse-like toppings. Stiff peaks stand tall without drooping, perfect for piping or for holding their shape on cupcakes, pies, and cakes.
Can I flavor Homemade Whipped Cream with other extracts?
Definitely! Swap vanilla extract for almond, coconut, maple, or even a splash of orange extract. A tablespoon of cocoa powder or a drizzle of caramel syrup can create fun, seasonal variations for any dessert.
What happens if I overbeat the cream?
If you whip past the stiff peak stage, the cream separates into butter and liquid. If you notice the texture starting to look grainy, stop immediately; you might be able to gently fold in a little more cream by hand to recover the texture.
Final Thoughts
There’s something truly special about making Homemade Whipped Cream from scratch—it transforms any treat into a celebration. Give it a try and you’ll never look at dessert the same way again! Whip up a batch and share it with friends or family—you might just start a new tradition.
Print
Homemade Whipped Cream Recipe
- Total Time: 5 minutes
- Yield: 2 cups 1x
- Diet: Vegetarian, Gluten-Free
Description
Learn how to make delicious homemade whipped cream with just a few simple ingredients. This sweet and creamy topping is perfect for desserts!
Ingredients
For Homemade Whipped Cream:
- 1 cup heavy whipping cream, cold
- 2 tablespoons powdered sugar
- 1 teaspoon vanilla extract
Instructions
- Chill Equipment: Place a mixing bowl and beaters in the refrigerator for about 10-15 minutes to chill.
- Whip the Cream: Pour the cold heavy whipping cream into the chilled bowl. Add the powdered sugar and vanilla extract. Using a hand mixer or stand mixer on medium-high speed, beat the cream until soft peaks form, about 3-4 minutes.
- Finish Whipping: Continue beating until stiff peaks form, being careful not to overbeat or the cream will turn buttery. Use immediately or store in the refrigerator for up to 24 hours.
Notes
- Adjust the sweetness to taste by adding more or less powdered sugar.
- For flavored whipped cream, add a splash of almond extract, cocoa powder, or a drizzle of maple syrup.
- Prep Time: 5 minutes
- Cook Time: 0 minutes
- Category: Dessert
- Method: No-Cook
- Cuisine: American
Nutrition
- Serving Size: 2 tablespoons
- Calories: 50
- Sugar: 2g
- Sodium: 5mg
- Fat: 5g
- Saturated Fat: 3g
- Unsaturated Fat: 2g
- Trans Fat: 0g
- Carbohydrates: 2g
- Fiber: 0g
- Protein: 0g
- Cholesterol: 20mg


