If you’ve ever wondered how to bring an extra boost of flavor, nutrition, and digestibility to your baking, learning How to Sprout Grains (and Make Sprouted Grain Flour) is your answer. This wonderfully simple process unlocks all the natural sweetness hidden within grains like wheat berries or rye, making your flour richer and more versatile. Imagine the smell of fresh flour, naturally sweet and packed with nutrients, ready to transform breads and muffins into wholesome treats. Sprouting at home is easier than you think—and once you try it, you just might be hooked!
Ingredients You’ll Need
-
Ingredients:
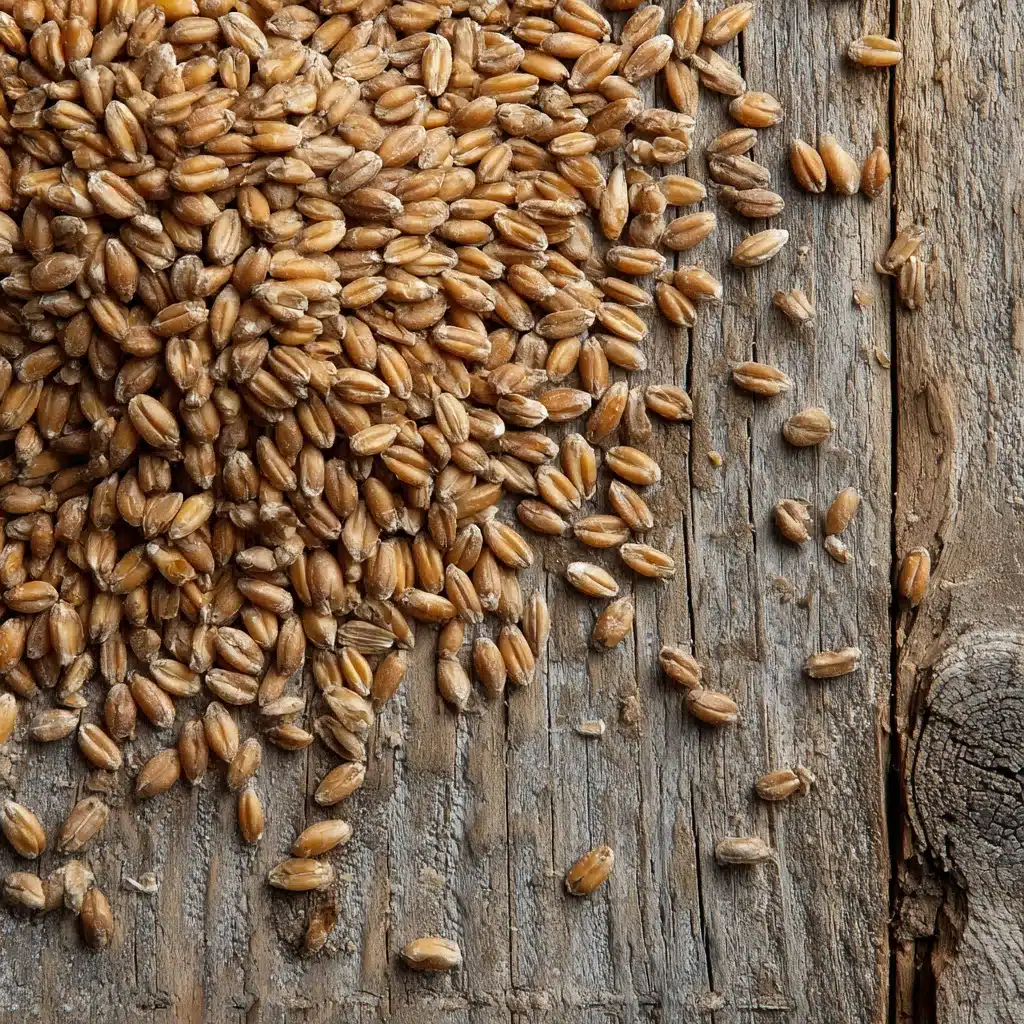
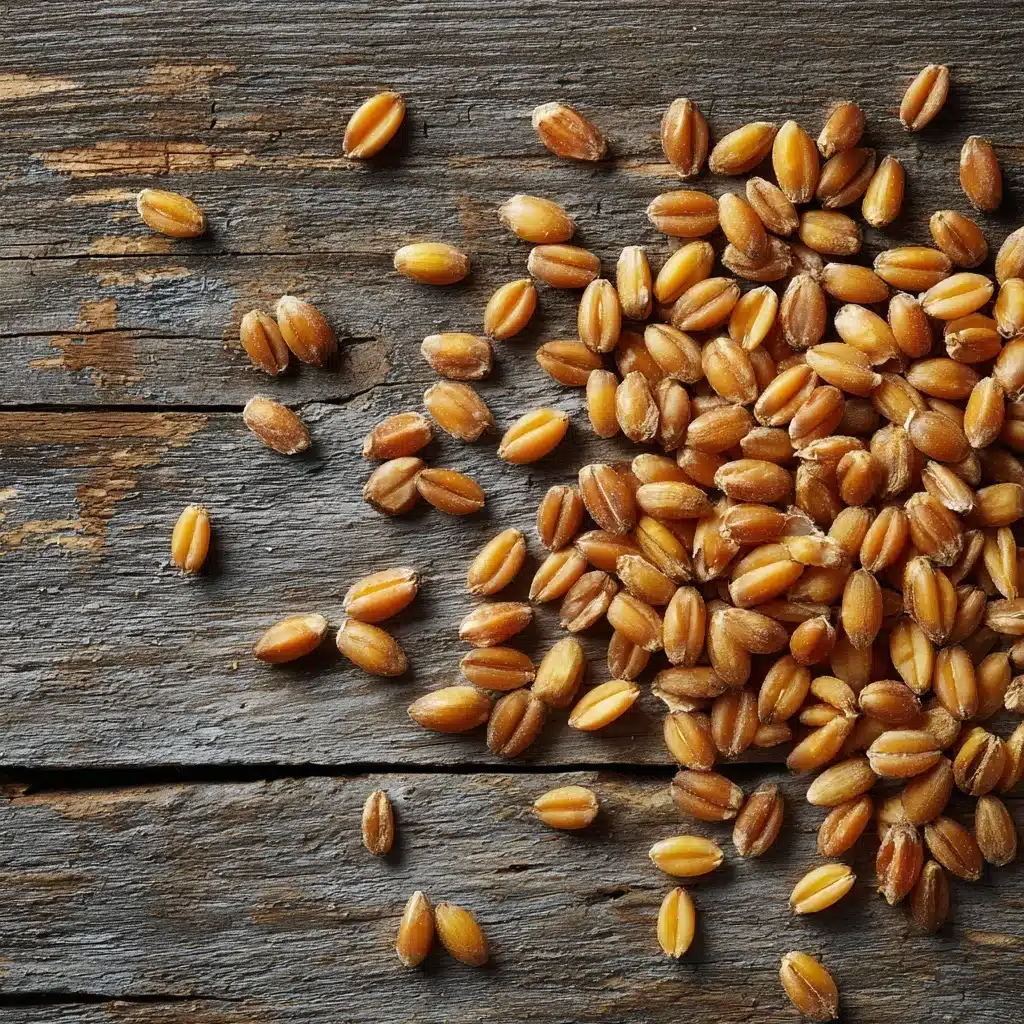
- 2 cups whole grains (such as wheat berries, spelt, rye, or einkorn)
- Filtered water (for soaking and rinsing)
How to Make How to Sprout Grains (and Make Sprouted Grain Flour)
Step 1: Soak the Grains
Start by placing your chosen whole grains in a large bowl. Cover them with plenty of filtered water, leaving several inches above the grains since they’ll absorb a lot and expand. Let them soak for 8 to 12 hours or simply overnight. This gentle bath wakes up the grains and gets the sprouting process started beautifully.
Step 2: Rinse and Drain
After soaking, drain the grains thoroughly and give them a quick rinse under cool running water. Transfer the grains to a sprouting jar or a fine mesh sieve set over a bowl to catch any drips. Loosely cover with a clean cloth to keep dust out while allowing air to circulate—you’re creating the perfect mini environment for sprouts to emerge!
Step 3: Sprout the Grains
Two to three times a day, rinse and drain the grains again. This keeps them moist, which they need to sprout, but prevents any standing water (which can cause mold). Within 1 to 3 days, you’ll see tiny white sprouts about 1/4 inch long poking out—a true sign of life! That’s when the grains are ready for the next step in learning How to Sprout Grains (and Make Sprouted Grain Flour).
Step 4: Final Rinse and Prepare for Drying
Give your sprouted grains one last good rinse and drain off all excess water. It’s absolutely essential that your grains are as dry as possible before moving on; this helps prevent any clumping or spoilage during storage. Now you’re ready to move to the drying phase.
Step 5: Dry the Sprouted Grains
Spread your sprouted grains out in a single, even layer on dehydrator trays or a baking sheet. Dry them at 110°F in a dehydrator, or use your oven on its lowest setting with the door cracked open. This slow drying process can take 12 to 24 hours, but it’s worth it—you want those grains fully dry, all the way through, before grinding them into flour.
Step 6: Grind Into Sprouted Grain Flour
Once the grains are utterly crisp and dry, grind them in small batches using a grain mill or a high-speed blender. Your kitchen will be filled with the sweet, nutty aroma of fresh flour! Sift if you want extra-fine flour, or use as-is for heartier baked goods. You now have homemade sprouted grain flour—bursting with flavor and nutrients.
How to Serve How to Sprout Grains (and Make Sprouted Grain Flour)

Garnishes
Give your baked goods an irresistible finish with a scattering of seeds, chopped nuts, or even a dusting of extra sprouted flour on top. These little sprinkles add eye-catching texture and hint at the natural, wholesome goodness inside.
Side Dishes
The first thing you’ll want to do with your flour is bake! Serve sprouted grain bread alongside a hearty soup, toast it for breakfast with creamy nut butter, or make muffins for an elevated afternoon snack. Anything you bake will perfectly showcase your homemade flour’s sweet, nutty undertones.
Creative Ways to Present
Try making a rustic boule, a classic sandwich loaf, or even pancakes. For a charming touch, bake smaller loaves or buns as gifts. Let friends and family know you used the How to Sprout Grains (and Make Sprouted Grain Flour) method—trust me, they’ll be totally impressed.
Make Ahead and Storage
Storing Leftovers
After all your hard work, you’ll want to keep your precious flour fresh. Store it in an airtight container in the refrigerator for up to two weeks—it’ll help preserve the sweet flavors and prevent spoilage since sprouted flour contains more natural oils than regular flour.
Freezing
For longer storage, pop your sprouted grain flour into the freezer. Use a freezer-safe airtight container or a heavy-duty resealable bag. It can last several months this way, and you can scoop out just what you need, straight from the freezer!
Reheating
No need to reheat the flour itself, but if you’ve baked bread or muffins ahead of time using your flour, simply wrap slices in foil and warm in a low oven for 5 to 10 minutes. It’ll taste as fresh as the day you baked it, with all the toasty goodness intact.
FAQs
What types of grains can I sprout using this method?
You can sprout any whole, intact grain such as wheat berries, spelt, rye, or einkorn. The most important thing is to start with grains that are unprocessed and haven’t been heat-treated, as only these will successfully sprout.
How do I know when the grains are “sprouted” enough?
Grains are ready to use in How to Sprout Grains (and Make Sprouted Grain Flour) when you see small white sprouts about 1/4 inch long. Sprouting longer can sometimes cause a bitter flavor, so aim for just a tiny “tail.”
Can I make flour from sprouted grains without a dehydrator?
Absolutely! Your oven on the lowest setting works well. Just spread the grains in a thin layer, crack the oven door for circulation, and keep an eye on them until completely dry—patience pays off here.
Why is it so important to make sure the grains are totally dry before grinding?
If there’s any moisture left, the flour can clump or even spoil quickly. Dry grains make the best-textured flour for How to Sprout Grains (and Make Sprouted Grain Flour), and they’ll store much better too.
Is sprouted grain flour really that different from regular flour?
Yes, it’s noticeably sweeter, more digestible, and has a unique nutty flavor profile. Many find it gentler on the stomach, plus it’s rich in enzymes and micronutrients that standard flour just can’t match.
Final Thoughts
Once you try the method for How to Sprout Grains (and Make Sprouted Grain Flour), you may never go back to store-bought. It’s a simple process with big rewards: better flavor, nutrition, and the pure satisfaction of making something incredible from scratch. Give it a go and let your homemade breads and baked goods shine!
Print
How to Sprout Grains (and Make Sprouted Grain Flour) Recipe
- Total Time: 10 minutes (plus 1–3 days sprouting and 12–24 hours drying)
- Yield: About 2 cups flour 1x
- Diet: Vegan
Description
Learn how to sprout grains and make your own sprouted grain flour at home with this simple and rewarding process. Sprouted flour is known for its sweet and digestible profile, perfect for wholesome baking.
Ingredients
Ingredients:
- 2 cups whole grains (such as wheat berries, spelt, rye, or einkorn)
- Filtered water (for soaking and rinsing)
Instructions
- Soaking: Place the grains in a large bowl, cover with filtered water, and soak for 8–12 hours.
- Sprouting: Drain and rinse the grains, transfer to a sprouting jar, and rinse 2–3 times daily until small sprouts appear.
- Drying: Spread sprouted grains on trays, dry at 110°F for 12–24 hours until completely dry.
- Grinding: Grind the dried grains into flour using a mill or blender.
- Storage: Store the sprouted flour in an airtight container in the refrigerator or freezer.
Notes
- Ensure grains are fully dry before grinding to prevent mold.
- Sprouted flour enhances baked goods like bread, muffins, and pancakes.
- Prep Time: 10 minutes
- Cook Time: 0 minutes
- Category: How-To
- Method: Sprouting + Dehydrating
- Cuisine: Global
Nutrition
- Serving Size: 1/4 cup flour
- Calories: 120
- Sugar: 0g
- Sodium: 0mg
- Fat: 1g
- Saturated Fat: 0g
- Unsaturated Fat: 1g
- Trans Fat: 0g
- Carbohydrates: 25g
- Fiber: 4g
- Protein: 4g
- Cholesterol: 0mg


