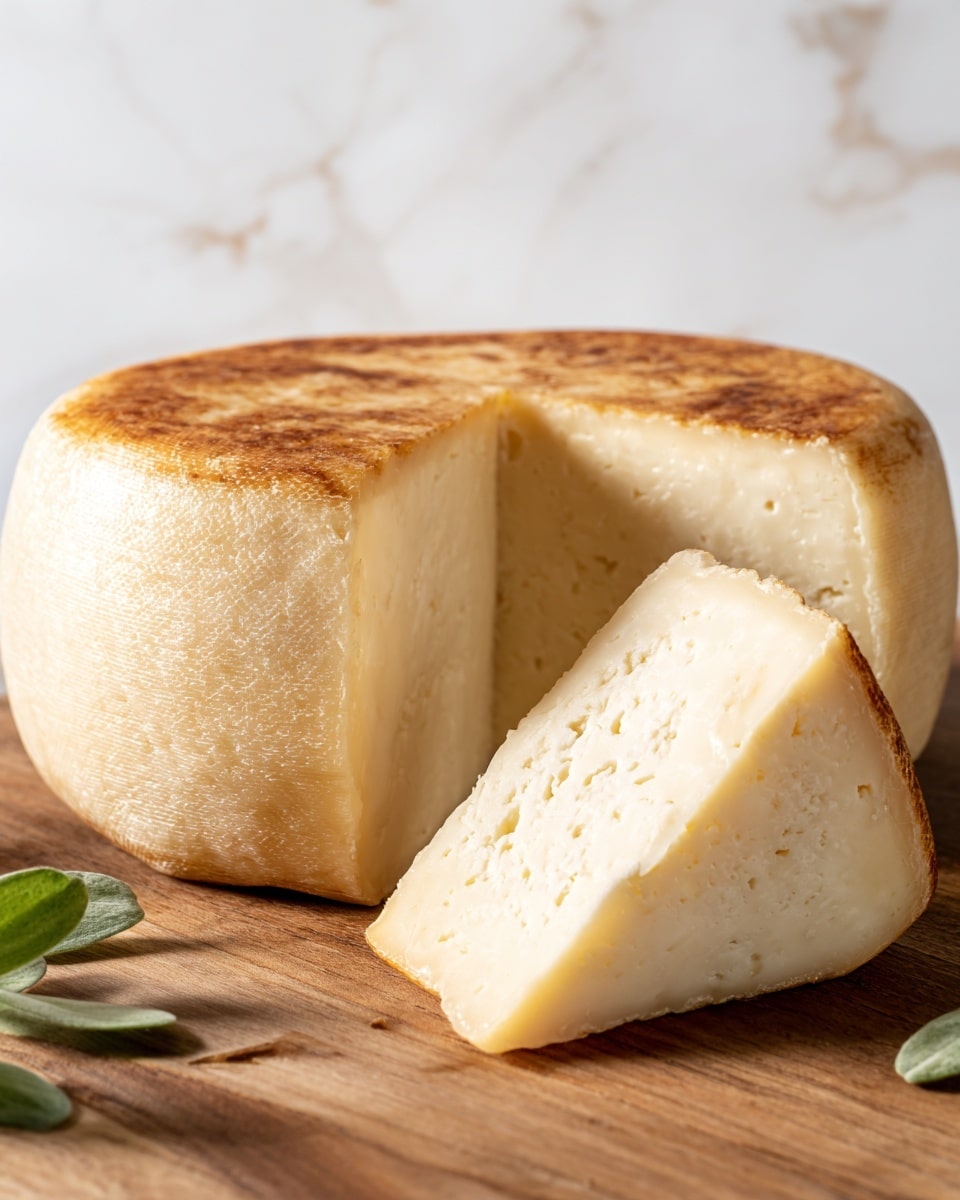
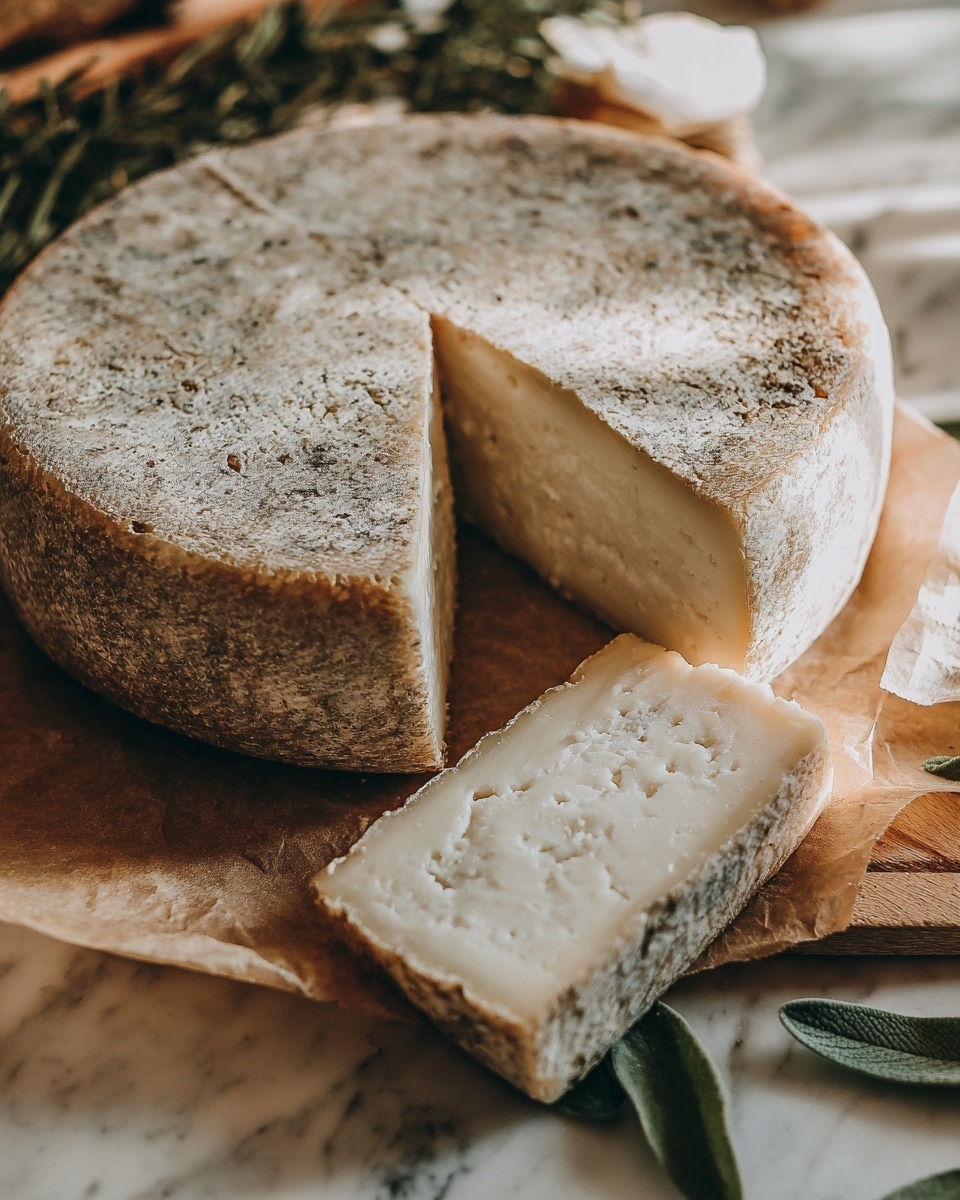
If you’re craving something fresh, creamy, and bursting with fragrant herbs, you have to try this Incredibly Delicious Homemade Herb Cheese Recipe. It’s a simple, wholesome treat that transforms everyday ingredients into a luxurious spread, perfect for mornings, afternoons, or anytime you want to impress friends with a delightful homemade snack. With silky curds, aromatic Provencal herbs, and the richness of melted butter, this cheese is not only easy to make but also endlessly satisfying to eat. Trust me, once you discover how easy it is to whip up this Incredibly Delicious Homemade Herb Cheese Recipe, it will become a staple in your kitchen repertoire.
Ingredients You’ll Need

Ingredients You’ll Need
Sometimes, the simplest ingredients make the best dishes, and that’s certainly the case here. Each element plays a crucial role—milk for creamy curds, apple cider vinegar to gently curdle the milk, butter for luscious richness, salt to enhance every flavor, and Provencal herbs to add that perfect touch of aromatic freshness.
- 1.5 liters of milk (6 1/3 cups): Whole milk works best for creamy, smooth curds.
- Salt, to taste: Enhances flavor, so season according to your preference.
- 2 tablespoons apple cider vinegar (30 ml): This helps gently separate the curds from the whey.
- 50 grams melted butter (1/4 cup): Adds a silky, rich texture and helps bring everything together.
- 1 tablespoon Provencal herbs (15 ml): A fragrant blend of herbs like thyme, rosemary, and oregano that makes this cheese irresistibly aromatic.
How to Make Incredibly Delicious Homemade Herb Cheese Recipe
Step 1: Heat the Milk
Start by pouring your milk into a large saucepan and warming it over medium heat. You want to see tiny bubbles forming around the edges—that’s your cue that it’s just about to boil. This gentle heating prepares the milk to curdle properly without scorching or boiling over, so keep an eye on it and stir occasionally.
Step 2: Add Vinegar
Once your milk is heated just right, stir in the apple cider vinegar gently. You’ll immediately notice the milk begin to separate into curds and whey, which is exactly what you want! This natural curdling process is the foundation of your homemade cheese.
Step 3: Let the Milk Sit
Remove the pan from heat and allow the mixture to sit undisturbed for 10 to 15 minutes. This resting period lets the curds fully form and helps the cheese develop the perfect texture, making your final product delightfully soft yet firm.
Step 4: Strain the Curds
Using a fine-mesh strainer or cheesecloth, carefully drain the curds from the whey. If you’re feeling resourceful, you can keep the whey for smoothies or soups, as it’s packed with nutrients. Otherwise, simply set it aside and prepare for the next step.
Step 5: Mix in Butter and Herbs
Now for the magic touch: add melted butter and your Provencal herbs to the curds in a bowl. Stir everything well so the butter melts into every nook and cranny, while the herbs infuse the cheese with their delightful fragrance and flavor. This step truly transforms the cheese into something special.
Step 6: Season with Salt
Season the mixture with salt to your liking. Salt is a subtle but powerful flavor enhancer here, bringing out the tastes of both the curds and herbs. Mix thoroughly so the seasoning is distributed evenly throughout your cheese.
Step 7: Chill the Cheese
Finally, transfer your cheese mixture into a mold or a small dish and smooth the surface. Pop it in the refrigerator for at least an hour to let it firm up. This chilling step helps the flavors meld beautifully and gives your cheese a wonderful texture that’s easy to slice or spread.
Step 8: Serve and Enjoy
When your homemade cheese is perfectly chilled and set, it’s ready to be enjoyed! Spread it on crackers, slather it on crusty bread, or add it to your favorite dishes for an extra special touch. Every bite celebrates the simple ingredients turned incredibly delicious.
How to Serve Incredibly Delicious Homemade Herb Cheese Recipe
Garnishes
Sprinkle a few fresh herbs like chives or parsley on top just before serving to brighten up the flavors and add a pop of green. A drizzle of high-quality olive oil or a sprinkle of cracked black pepper can also elevate the experience effortlessly.
Side Dishes
This herb cheese pairs beautifully with crunchy vegetable sticks like carrots and celery, fresh fruit like grapes and sliced apples, or a variety of rustic breads and crackers. It’s perfect for an appetizer platter or a cozy snack any time of day.
Creative Ways to Present
For gatherings, shape the cheese into small rounds or logs and roll them in crushed nuts or additional herbs for stunning presentation and textural contrast. You can also stuff the cheese inside roasted peppers or spread it inside warm pita bread for a cozy bite with flair.
Make Ahead and Storage
Storing Leftovers
If you find yourself with leftovers, no worries! Store the cheese in an airtight container in the refrigerator, where it will keep fresh for up to 5 days. Just give it a gentle stir before serving to restore its creamy texture.
Freezing
Freezing this cheese isn’t ideal because it may slightly affect the texture, causing it to become crumbly after thawing. However, if you must freeze it, wrap tightly in plastic wrap and store in a freezer-safe container for up to 1 month. Thaw slowly in the refrigerator before use.
Reheating
This herb cheese is best enjoyed cold or at room temperature to fully appreciate its creamy texture and fresh flavors. If you want to warm it, do so gently and briefly to avoid melting the delicate curds completely.
FAQs
Can I use any kind of milk for this recipe?
Whole milk is recommended because it produces the creamiest curds, but you can experiment with reduced-fat milk if you prefer. Just know the texture and richness will vary slightly.
What are Provencal herbs exactly?
Provencal herbs are a mix of Mediterranean herbs like thyme, rosemary, oregano, basil, and sometimes lavender. They bring a fragrant, earthy, and slightly floral note that makes this cheese unforgettable.
Can I substitute apple cider vinegar with another acid?
Yes! Lemon juice is a great alternative to apple cider vinegar, as it also gently curdles the milk. Use the same amount for similar results.
How long does the cheese last once made?
Stored properly in the refrigerator, this homemade herb cheese will stay fresh and flavorful for about 5 days. Beyond that, it may lose some of its ideal texture and flavor.
Is this cheese suitable for beginners?
Absolutely! The recipe is straightforward and requires no special equipment other than a pot and a strainer, making it a perfect first-timer’s project with delicious results.
Final Thoughts
Making your own cheese at home might sound intimidating, but this Incredibly Delicious Homemade Herb Cheese Recipe proves just how approachable and rewarding it can be. With simple ingredients and easy steps, you’re just 30 minutes away from a fresh, flavorful cheese that will elevate any snack or meal. Give it a try—I promise it will become one of your favorite homemade delights!
Print
Incredibly Delicious Homemade Herb Cheese Recipe
- Total Time: 30 minutes
- Yield: 10 servings 1x
- Diet: Vegetarian
Description
This homemade cheese recipe is a simple and delicious way to create fresh cheese using basic ingredients like milk, apple cider vinegar, and butter. The process involves gently heating milk, curdling it with vinegar, straining the curds, and mixing in flavorful herbs and butter to achieve a creamy, flavorful cheese perfect for spreading or serving with crackers.
Ingredients
Cheese Base
- 1.5 liters of milk (6 1/3 cups)
- 2 tablespoons apple cider vinegar (30 ml)
- Salt, to taste
Add-ins
- 50 grams melted butter (1/4 cup)
- 1 tablespoon Provencal herbs (15 ml)
Instructions
- Heat the Milk: Pour 1.5 liters of milk into a large saucepan and heat over medium heat, stirring occasionally, until the milk is just about to boil. Watch for small bubbles forming around the edges but avoid letting it boil over.
- Add Vinegar: Stir in 2 tablespoons of apple cider vinegar gently. This will cause the milk to curdle, separating into curds and whey.
- Let the Milk Sit: Remove the pan from heat and allow the mixture to sit undisturbed for 10 to 15 minutes so the curds can fully form.
- Strain the Curds: Using a fine-mesh strainer or cheesecloth, strain the curds from the whey. Save the whey for other recipes or discard it.
- Mix in Butter and Herbs: Transfer the curds to a bowl and add melted butter along with Provencal herbs. Stir everything together thoroughly to combine flavors evenly.
- Season with Salt: Add salt to taste, mixing well to distribute the seasoning throughout the cheese.
- Chill the Cheese: Place the cheese mixture into a mold or small dish, smooth the surface, and refrigerate for at least one hour to firm up.
- Serve and Enjoy: Once chilled and set, serve the cheese on crackers, bread, or incorporate it into your favorite dishes for a fresh, homemade touch.
Notes
- Do not let the milk boil to prevent burning and ensure proper curdling.
- The whey separated during straining can be used in smoothies or as a cooking liquid for added nutrition.
- Adjust the amount of vinegar slightly if curds are not forming well due to milk freshness.
- Provencal herbs can be substituted with any preferred dried herbs such as thyme, rosemary, or oregano.
- The cheese is best consumed within 3-5 days when stored properly in the refrigerator.
- Prep Time: 5 minutes
- Cook Time: 15 minutes
- Category: Cheese Making
- Method: Stovetop
- Cuisine: French


