
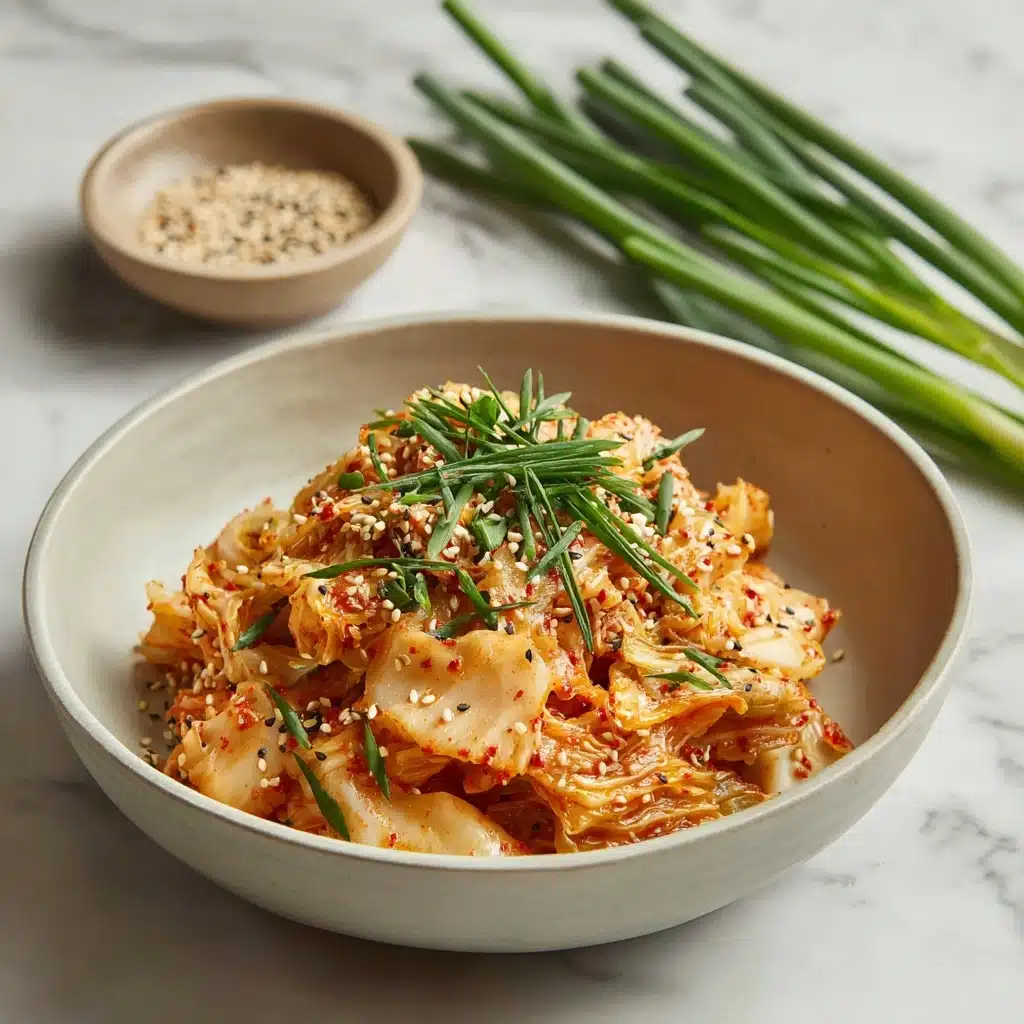
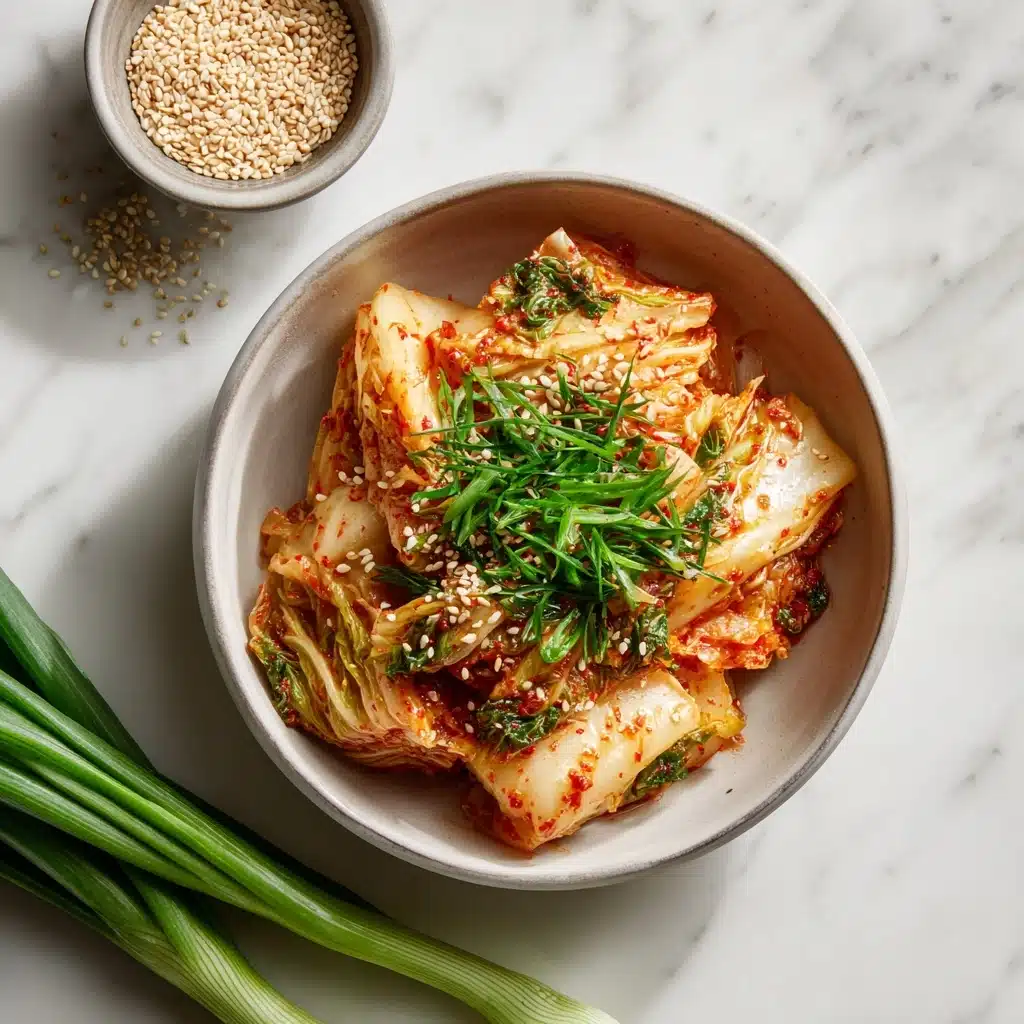
If you’ve never made Kimchi at home, you’re in for a real adventure! This beloved Korean side dish transforms humble vegetables into a punchy, probiotic-rich marvel that brightens up any meal. With layers of spicy, briny, and garlicky flavor, plus a delightful crunch, Kimchi will have you reaching back for “just one more bite” every time. Whether you’re a fermentation newbie or a seasoned pickler, this recipe brings the perfect balance of tradition and personal flair—all with ingredients you can easily find at your local market.
Ingredients You’ll Need
The beauty of homemade Kimchi lies in a short list of fresh, vibrant ingredients. Every component serves a delicious purpose, from the crisp bite of napa cabbage to the deep umami of fish sauce. Here’s how each item works its magic:
- Napa cabbage: The essential base for classic Kimchi, offering tender leaves that soak up all the zesty seasonings.
- Sea salt or kosher salt: Helps draw out moisture from the cabbage and kickstarts the fermentation process.
- Water: Dissolves the salt for soaking the cabbage and softening it just the right amount.
- Green onions: Add fresh, grassy notes and a pop of color to the mix.
- Daikon radish: Offers a subtle sweetness and satisfying crunch in every bite.
- Fish sauce: Packs in unmistakable savory, salty depth (swap with more soy sauce for a vegetarian twist).
- Soy sauce: Boosts umami and rounds out the saltiness beautifully.
- Sugar: Balances the heat and tang, plus gives fermentation a gentle nudge.
- Garlic: Brings bold, aromatic flavor that shines in every mouthful.
- Fresh ginger: Offers a warming, earthy zing that brightens the profile.
- Korean red pepper flakes (gochugaru): Essential for authentic Kimchi fire — adjust to your desired spice level.
- Rice flour (optional): Makes a smooth porridge to help bind the paste so it coats your veggies evenly.
How to Make Kimchi
Step 1: Prep and Salt the Cabbage
Start by cutting the napa cabbage into quarters lengthwise, then slice those into bite-sized pieces. In a big bowl, dissolve salt in water, then add the cabbage. Give it a toss every so often while soaking for 1 to 2 hours. You’re looking for the leaves to soften and wilt, as this is what makes great Kimchi texture. Once ready, rinse the cabbage well to remove excess salt and drain thoroughly.
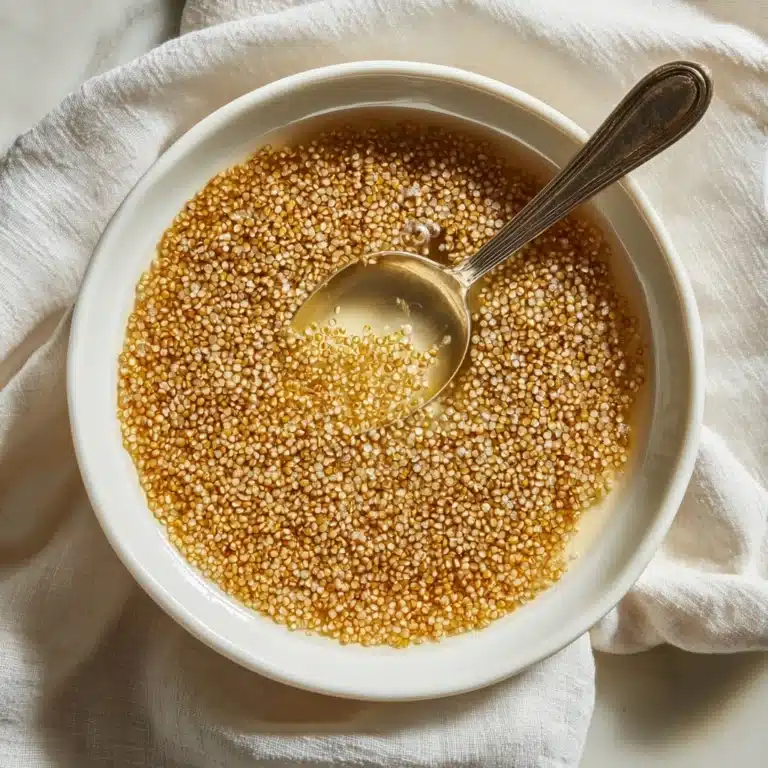
Step 2: Make the Rice Flour Porridge (Optional)
If you’d like a smoother, more luxurious Kimchi paste, combine 1 tablespoon of rice flour with 1/2 cup water in a small saucepan. Whisk over low heat, stirring constantly, until it thickens into a porridge. Let it cool to room temperature—this step is optional but adds a lovely silkiness to your final result.
Step 3: Mix the Kimchi Paste
Now the fun begins! In a large mixing bowl, blend the fish sauce, soy sauce, sugar, minced garlic, grated fresh ginger, and gochugaru. Stir in the cooled rice flour porridge, if using. Add your chopped green onions and julienned daikon radish. The aroma at this stage is already irresistible—this is your flavor-packed Kimchi base.
Step 4: Toss and Coat
Add your well-drained cabbage right into the bowl with the Kimchi paste. Wearing gloves (trust me, the chili can stain!), use your hands to toss and massage everything together until each piece is beautifully coated. This ensures every bite packs a punch of flavor.
Step 5: Jar and Ferment
Spoon your coated cabbage mixture into a clean glass jar, pressing down firmly to knock out any air pockets. Leave about an inch of space at the top so your Kimchi has room to breathe as it ferments. Seal the jar loosely and leave it at room temperature for 1 to 2 days. Then, pop it in the fridge. The flavors will only get deeper and more wonderful with time—if you can wait that long!
How to Serve Kimchi
Garnishes
Kimchi looks gorgeous on its own, but you can dress it up even more with a sprinkle of toasted sesame seeds, chopped chives, or a drizzle of sesame oil. Not only do these garnishes boost the aroma, but they also add another delightful layer of flavor and a pop of contrast.
Side Dishes
Serve Kimchi alongside a steaming bowl of rice, tucked into Korean BBQ wraps, or as an everyday partner to grilled meats and vegetables. It also pairs fantastically with noodle bowls, fried eggs, or as a piquant topping for avocado toast—its zingy, refreshing bite will liven up any plate!
Creative Ways to Present
Take your Kimchi beyond tradition by stirring it into fried rice, using it as a topping for burgers, or blending it into a spicy mayo for dipping fries. You can even pile it onto cheesy quesadillas or roll it into sushi for a vibrant, unexpected twist. There’s no limit to the adventures Kimchi can bring to your kitchen table.
Make Ahead and Storage
Storing Leftovers
Keep extra Kimchi in a glass jar or airtight container in the fridge—this not only preserves its crunch but allows the flavors to get even better with time. It’s normal for the taste to become tangier, and that’s part of what makes each batch exciting. Clean utensils are key to keeping your Kimchi fresh and safe to eat.
Freezing
If you find yourself with more Kimchi than you can eat, freezing it in smaller portions is a great way to extend its life. Let it cool to refrigerator temperature first, then pack into airtight freezer bags. While the texture becomes softer when thawed, it’s perfect for recipes like stews or fried rice.
Reheating
Kimchi is best enjoyed cold or at room temperature to preserve its crunchy bite and bright flavors. If you’re adding it to hot dishes—like stews, stir-fries, or grilled cheese—no need for special reheating; simply toss it in and let it warm up as the dish cooks.
FAQs
Can I make Kimchi vegetarian or vegan?
Absolutely! Just substitute the fish sauce with extra soy sauce, tamari, or a dash of miso paste. You’ll still get loads of umami flavor, and the Kimchi will be completely plant-based.
How do I know if my Kimchi is properly fermented?
Great question! Your Kimchi is ready when it has a pleasant sour aroma, crunchy texture, and tangy, punchy taste. Bubbles may appear during fermentation—that’s a sign your healthy bacteria are hard at work.
How spicy should Kimchi be?
The beauty of homemade Kimchi is that you control the heat! Start with 2 tablespoons of gochugaru if you like it milder, or go up to 3 for classic, fiery results. Taste as you mix, and remember, it gets a touch spicier as it ferments.
What do I do if my Kimchi smells strong?
A strong, garlicky aroma is totally normal for freshly fermented Kimchi—especially if you used a lot of garlic and ginger. As long as there’s no mold or sliminess, it’s good to eat. The smell mellows a bit as it sits in the fridge.
How long does Kimchi last in the fridge?
Properly stored, Kimchi can last several months in the refrigerator! It continues to ferment and the flavor will get more tangy, which many people love. Just keep it submerged in its liquid and use clean utensils each time.
Final Thoughts
Making Kimchi at home isn’t just satisfying—it’s a fantastic way to bring a little Korean magic to your kitchen. Every jar is a burst of color, flavor, and culture that boosts any meal. Try it once and you might find yourself making batch after batch!
Print
Kimchi Recipe
- Total Time: 30 minutes (plus fermentation)
- Yield: 8 servings 1x
- Diet: Non-Vegetarian
Description
Learn how to make delicious and spicy Korean kimchi at home with this easy recipe. Fermented to perfection, this tangy side dish will add a punch of flavor to any meal.
Ingredients
Napa Cabbage
- 1 medium napa cabbage (about 2 pounds)
Salt Mixture
- 1/4 cup sea salt or kosher salt
- 4 cups water
Kimchi Paste
- 4 green onions, chopped
- 1 small daikon radish, julienned
- 2 tablespoons fish sauce
- 1 tablespoon soy sauce
- 1 tablespoon sugar
- 5 garlic cloves, minced
- 1 tablespoon grated fresh ginger
- 2–3 tablespoons Korean red pepper flakes (gochugaru)
- 1 tablespoon rice flour for porridge (optional)
Instructions
- Prepare Cabbage: Cut napa cabbage into bite-size pieces.
- Soak: Dissolve salt in water, soak cabbage until wilted, then rinse and drain.
- Make Paste: Mix fish sauce, soy sauce, sugar, garlic, ginger, gochugaru, and rice flour porridge.
- Combine Ingredients: Add green onions and daikon radish to the paste.
- Coat Cabbage: Toss cabbage with kimchi paste until coated.
- Ferment: Pack mixture into a jar, let ferment for 1-2 days, then refrigerate.
Notes
- Use gloves to avoid chili flakes staining hands.
- Substitute fish sauce with soy sauce for a vegetarian version.
- Adjust spice level to taste.
- Prep Time: 30 minutes
- Cook Time: 0 minutes
- Category: Side Dish
- Method: Fermenting
- Cuisine: Korean
Nutrition
- Serving Size: 1/2 cup
- Calories: 25
- Sugar: 2g
- Sodium: 520mg
- Fat: 0g
- Saturated Fat: 0g
- Unsaturated Fat: 0g
- Trans Fat: 0g
- Carbohydrates: 4g
- Fiber: 1g
- Protein: 1g
- Cholesterol: 0mg


