
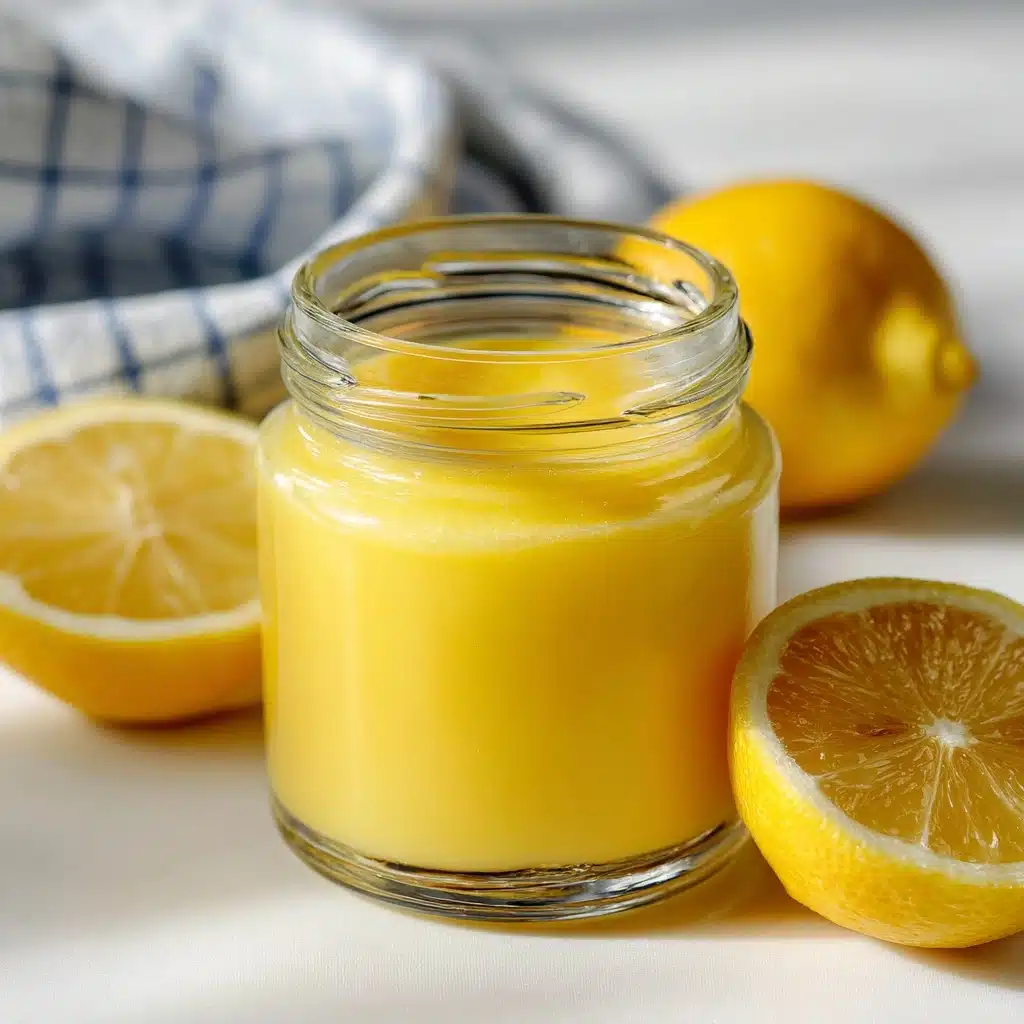
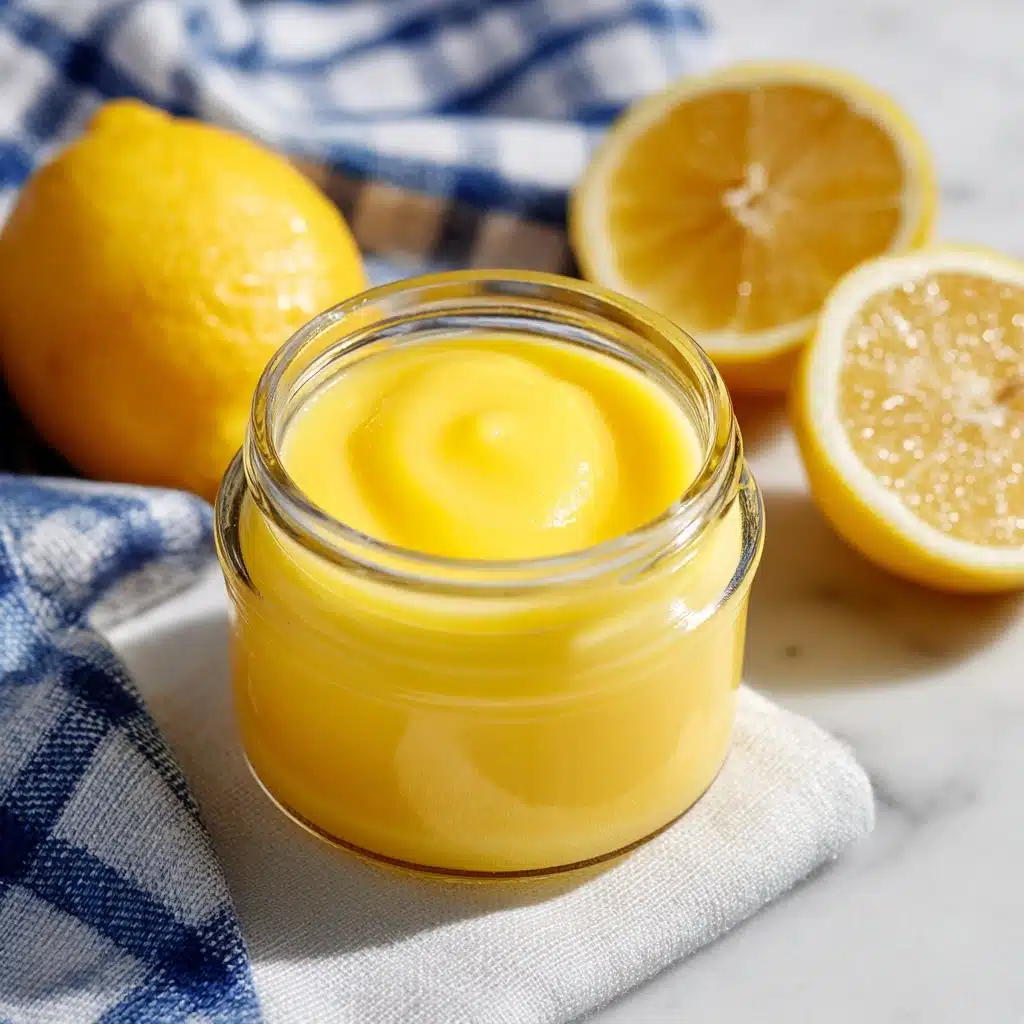
If you’re looking for a bright, buttery, and downright irresistible treat, let me share my love for Lemon Curd with you. This sunshine-yellow spread is as versatile as it is flavorful, bursting with fresh citrus that perfectly balances sweet and tangy. Whether you spoon it over scones at brunch or swirl it into yogurt for a mid-week pick-me-up, Lemon Curd brings a refreshing burst of flavor that instantly elevates anything it touches. I promise, once you try this homemade version, you’ll never reach for the store-bought stuff again!
Ingredients You’ll Need
What I adore about this recipe is its simplicity: just a handful of classic ingredients, each thoughtfully chosen to create the silkiest, brightest Lemon Curd. Every component plays a starring role, whether it’s bringing richness, zing, or that signature golden color.
- Granulated Sugar: Adds sweetness that balances the tartness of the lemons and helps create that luscious, custardy texture.
- Large Eggs: The secret behind the curd’s creamy structure and lovely thickness.
- Fresh Lemon Juice: Freshly squeezed is essential for the bold citrus flavor that makes Lemon Curd truly shine.
- Lemon Zest: Intensifies the lemony punch and gives the curd an extra layer of bright aroma.
- Unsalted Butter: Blended in at the end for richness and that unmistakable silky finish.
How to Make Lemon Curd
Step 1: Whisk Sugar and Eggs
Combine your granulated sugar and eggs in a medium heatproof bowl. Whisk them together until smooth and the mixture takes on a pale yellow color. This foundational step ensures your Lemon Curd will be velvety and free of lumps, so take a minute to make sure everything’s well incorporated.
Step 2: Add Lemon Juice and Zest
Pour in the fresh lemon juice and sprinkle in the lemon zest. Whisk again until fully blended. Fresh juice is key here—it gives your Lemon Curd that tart punch, while the zest adds a citrusy aroma and a depth you can’t achieve any other way.
Step 3: Cook Over Double Boiler
Set your bowl over a saucepan of gently simmering water—this is the double boiler method, which lets you cook the curd gently and prevents scrambling the eggs. Whisk constantly for about 8 to 10 minutes. You’ll know it’s ready when the curd thickens and coats the back of a spoon. Don’t walk away here; it’s an arm workout, but the results are worth every minute!
Step 4: Add Butter for Richness
Take the bowl off the heat and add the butter a few pieces at a time, whisking until each addition is fully melted and the curd looks impossibly glossy. This step transforms the mixture into something spoon-lickingly good, adding unmatched silkiness and depth.
Step 5: Strain for Silky Perfection
Pour your Lemon Curd through a fine mesh sieve into a clean bowl. This quick step removes any bits of zest or stray cooked egg, giving you that ultra-smooth, professional finish. Let it cool to room temperature, then transfer it to a jar and pop it in the fridge until you’re ready to indulge.
How to Serve Lemon Curd
Garnishes
Elevate your Lemon Curd with a finishing touch: a sprinkle of extra lemon zest, a sprig of fresh mint, or a dusting of powdered sugar. These little flourishes not only look lovely but also add an inviting aroma and pop of color that make each bite even more special.
Side Dishes
This Lemon Curd pairs beautifully with so many favorites—think freshly baked scones or toasted brioche, fluffy pancakes, or even as a dip for strawberries and shortbread cookies. The silky citrus spread turns any ordinary breakfast or snack into a truly memorable occasion.
Creative Ways to Present
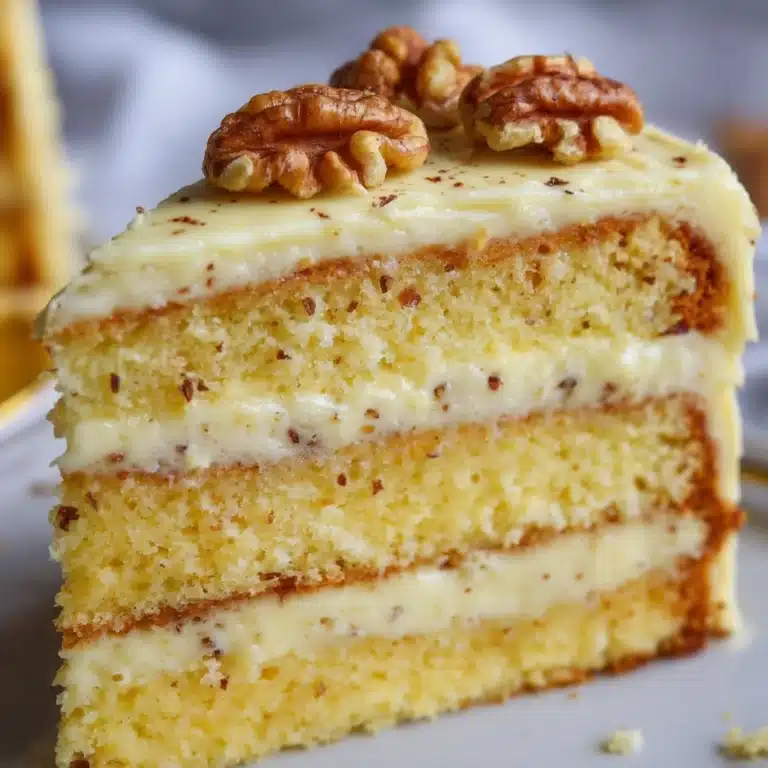
For a showstopping dessert, swirl Lemon Curd into Greek yogurt or dollop it atop a pavlova piled high with berries. It also makes a gorgeous cake filling, tart topping, or even an unexpected addition to cheesecakes and parfaits. Honestly, once you start brainstorming, the possibilities are endless!
Make Ahead and Storage
Storing Leftovers
Homemade Lemon Curd keeps brilliantly in the fridge! Simply store it in an airtight container or glass jar, and you’ll have a burst of sunshine on hand for up to two weeks. Just be sure to use a clean spoon each time to keep it fresh and fabulous.
Freezing
If you want to save some for the future, Lemon Curd freezes like a dream. Spoon it into freezer-safe containers, leaving a little space at the top, and freeze for up to three months. Thaw overnight in the fridge and stir before serving to restore its silky texture.
Reheating
If your Lemon Curd thickens up a bit too much in the fridge, you can gently rewarm it by placing the jar in a bowl of warm water. Give it a good stir, and it’ll return to that glorious, spreadable consistency without losing its fresh flavor.
Lemon Curd FAQs
Can I use bottled lemon juice instead of fresh?
For the brightest and most authentic taste, fresh lemon juice is best. Bottled juice often lacks the vibrant flavor and can make your Lemon Curd taste flat. Trust me—the extra step of squeezing lemons is worth it!
Why did my Lemon Curd turn out lumpy?
Lumpy curd usually happens when the eggs cook too quickly. Make sure to use the double boiler method and whisk constantly to avoid scrambling. If lumps do appear, straining the curd through a fine mesh sieve saves the day!
Can I make Lemon Curd dairy-free?
You can! Swap the butter for a high-quality vegan butter or even coconut oil. The result will still be creamy and delicious, though with a slightly different flavor profile.
How do I know when the curd is thickened enough?
You’ll know your Lemon Curd is ready when it coats the back of a spoon and you can run your finger down the spoon’s back, leaving a clean line. This usually takes about 8 to 10 minutes of constant whisking over gentle heat.
Is Lemon Curd safe for kids and pregnant women?
Yes, as long as you cook the curd thoroughly (until it reaches at least 160°F), it’s safe for everyone, including kids and pregnant women. Just make sure to store it properly in the fridge and enjoy within two weeks.
Final Thoughts
If you’ve never tried making Lemon Curd from scratch, you are in for an absolute treat. It’s a simple delight that brings pure, zesty joy to breakfasts, desserts, or a spoon straight from the jar. I can’t wait for you to discover just how much homemade Lemon Curd can brighten your table and your day!
Print
Lemon Curd Recipe
- Total Time: 15 minutes
- Yield: 1 1/2 cups 1x
- Diet: Vegetarian, Gluten-Free
Description
Learn how to make a delicious and tangy lemon curd at home with this easy recipe. Perfect for spreading on scones, filling cakes, or adding a zesty touch to your desserts.
Ingredients
Ingredients:
- 1 cup granulated sugar
- 3 large eggs
- 1/2 cup fresh lemon juice (about 2–3 lemons)
- 1 tablespoon lemon zest
- 1/2 cup unsalted butter, cut into small pieces
Instructions
- Prepare the Lemon Curd: In a medium heatproof bowl, whisk together sugar and eggs until smooth. Add lemon juice and zest, whisk again.
- Cook the Mixture: Place the bowl over simmering water, cook and whisk constantly until thickened, about 8-10 minutes.
- Finish the Curd: Remove from heat, whisk in butter pieces until melted. Strain through sieve and cool to room temperature. Refrigerate in a jar.
Notes
- Store in the fridge for up to 2 weeks.
- Use as a spread, filling, topping, or swirl in desserts.
- Prep Time: 5 minutes
- Cook Time: 10 minutes
- Category: Condiment
- Method: Stovetop
- Cuisine: British
Nutrition
- Serving Size: 2 tablespoons
- Calories: 90
- Sugar: 12g
- Sodium: 5mg
- Fat: 4g
- Saturated Fat: 2g
- Unsaturated Fat: 2g
- Trans Fat: 0g
- Carbohydrates: 13g
- Fiber: 0g
- Protein: 1g
- Cholesterol: 50mg


