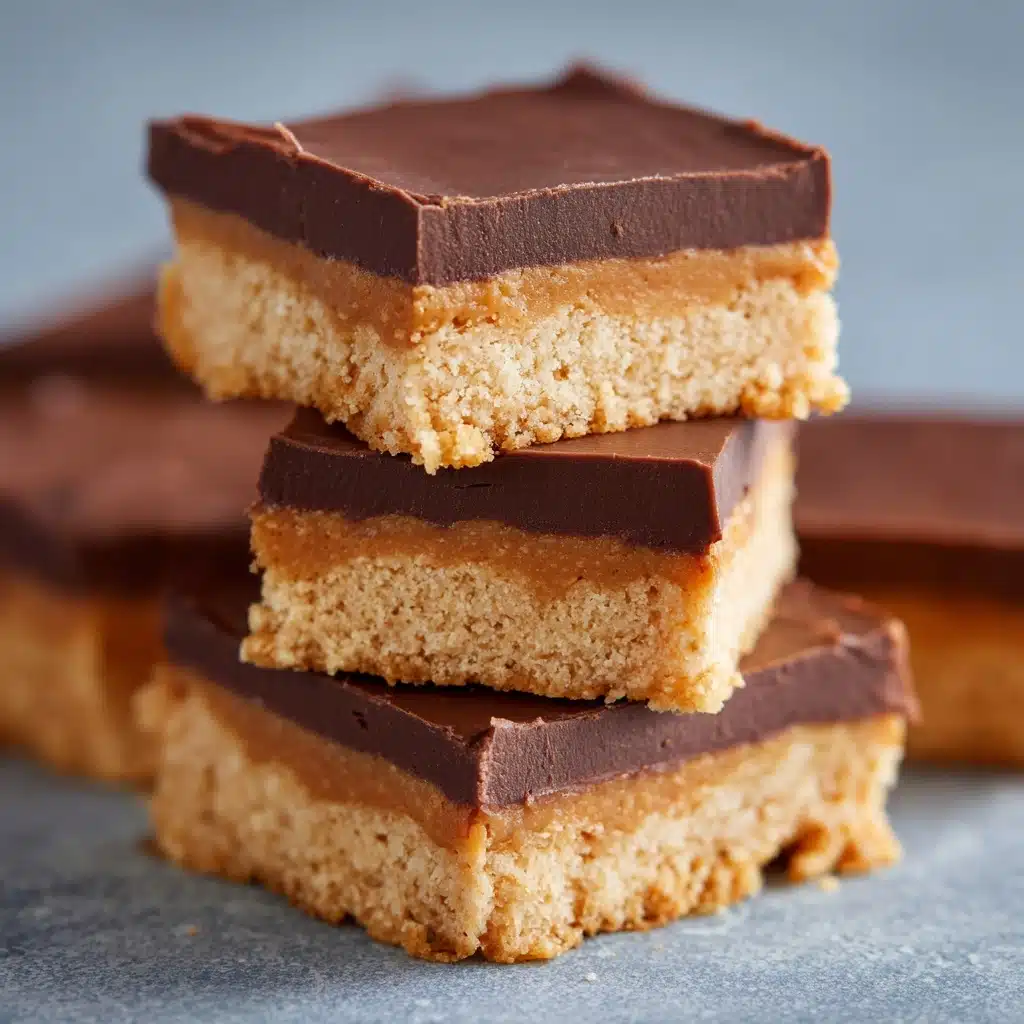
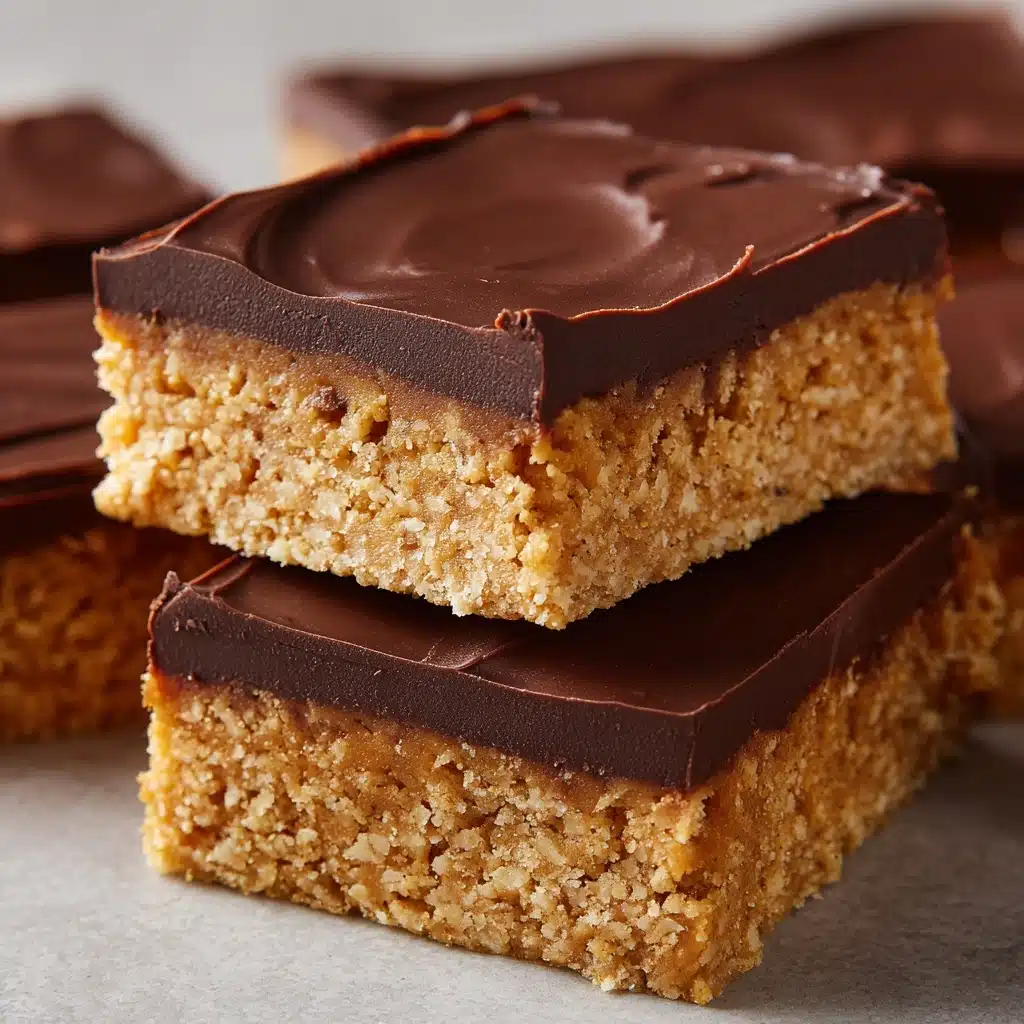
If you find yourself craving a nostalgic treat that brings back memories of school lunches and sweet cafeteria surprises, these Lunch Lady Peanut Butter Bars are an absolute must. Imagine perfectly chewy, buttery bars, layered with a generous blanket of creamy peanut butter and finished with a glossy, melt-in-your-mouth chocolate topping. Each bite delivers that unmistakable harmony of peanut butter and chocolate, making these bars an irresistible, crowd-pleasing delight that’s as fun to make as it is to eat.
Ingredients You’ll Need
It doesn’t get any easier or more rewarding than this! The ingredients for Lunch Lady Peanut Butter Bars are pantry staples, but each one is essential to the taste, texture, and overall magic of these bars. Let’s go over what you’ll need and why each element counts.
- Unsalted butter (1 cup, softened): Brings rich flavor and a wonderfully soft texture—make sure it’s at room temperature for easy mixing.
- Granulated sugar (1 cup): Adds sweetness and helps create a light, tender crumb.
- Packed brown sugar (1 cup): Enhances moisture and imparts a warm, caramel note.
- Creamy peanut butter (1 cup for the base, plus 1 1/2 cups for topping): The signature star ingredient, giving the bars their classic nutty flavor and luscious mouthfeel.
- Large eggs (2): Bind everything together and provide richness.
- Vanilla extract (1 teaspoon): Adds a subtle depth and brings all the flavors together.
- All-purpose flour (2 cups): Forms the sturdy backbone of these yummy bars, giving just the right structure.
- Quick oats (2 cups): Lends chewiness and a little rustic flair to the texture, making the bars extra satisfying.
- Baking soda (1 teaspoon): Ensures a nice lift and keeps the bars from becoming too dense.
- Salt (1/2 teaspoon): Balances the sweetness and brightens up all the other flavors.
- Semisweet chocolate chips (2 cups): Melted on top for that gorgeous, irresistible chocolate layer.
How to Make Lunch Lady Peanut Butter Bars
Step 1: Prep Your Pan and Oven
Start by preheating your oven to 350°F (175°C). Grease a 10×15-inch jelly roll pan or line it with parchment paper—this is key for easy, clean bar removal later! Having everything ready will make your Lunch Lady Peanut Butter Bars baking smooth and mess-free.
Step 2: Cream Together the Wet Ingredients
In a large mixing bowl, blend the softened butter, granulated sugar, and brown sugar together until the mixture looks light and fluffy. This important step incorporates air for that perfect, soft bar texture. Add in the peanut butter, eggs, and vanilla extract and mix until everything is smooth and creamy. Trust me, this batter smells heavenly already!
Step 3: Combine the Dry Ingredients
In a separate bowl, whisk together the flour, quick oats, baking soda, and salt. Mixing these together first ensures everything is evenly distributed, so there are no surprise pockets of baking soda or salt in your bars.
Step 4: Bring the Batter Together
Gradually add the dry mixture to the peanut butter mixture, stirring just until every bit is incorporated. The dough will be thick—that’s what makes the base of the Lunch Lady Peanut Butter Bars so hearty and chewy. Spread it evenly into your prepared pan, making sure you get right into the corners for uniform bars.
Step 5: Bake and Add the Peanut Butter Layer
Bake for 20 to 25 minutes, just until the top is lightly golden and the center feels set. Do not overbake or you’ll lose that magical chewiness! Once out of the oven, let the bars cool for about five minutes, then gently spread the 1 1/2 cups of creamy peanut butter over the warm surface for an ultra-smooth, melty layer that seeps into every bite.
Step 6: Finish Off with Chocolate
After the bars cool completely, melt the chocolate chips in the microwave using 30-second bursts, stirring in between until completely smooth. Pour and spread this chocolate goodness all over the peanut butter-topped bars. Patience is key—let the chocolate set before slicing into your Lunch Lady Peanut Butter Bars (pop them in the fridge for a firmer top!).
How to Serve Lunch Lady Peanut Butter Bars

Garnishes
You won’t need much, but a light sprinkle of flaky sea salt or a handful of chopped roasted peanuts on top of the chocolate takes these bars to yet another level. Not only does it add a little crunch, but it also beautifully offsets the sweet richness of your Lunch Lady Peanut Butter Bars.
Side Dishes
These bars are fantastic all on their own, but for an extra treat, pair with a tall glass of cold milk or a scoop of vanilla ice cream. If you’re serving a crowd, a platter of fresh berries works wonders to cut the sweetness and bring a pop of color to your dessert spread.
Creative Ways to Present
For special occasions, slice your Lunch Lady Peanut Butter Bars into mini squares and pile them up on a tiered dessert tray. Want a lunchbox surprise? Wrap individual bars in parchment with a colorful piece of twine. You could even stamp shapes with cookie cutters for a fun twist—it’s a nostalgic treat, so bring a little playfulness to your presentation!
Make Ahead and Storage
Storing Leftovers
Store your Lunch Lady Peanut Butter Bars in an airtight container at room temperature for up to four days. If you like your chocolate extra firm, keep them in the fridge for up to a week. Either way, they’ll stay wonderfully chewy and fresh—just don’t leave them uncovered or they’ll dry out!
Freezing
Yes, you can absolutely freeze these bars! Layer them between sheets of wax or parchment paper in an airtight container, and they’ll keep for up to 3 months. Thaw at room temperature or in the fridge overnight for a “fresh-baked” experience any time the craving hits.
Reheating
If you love a gooey, melt-in-your-mouth peanut butter-chocolate combo, pop a bar in the microwave for 10–15 seconds. The chocolate softens, the peanut butter gets even creamier, and your Lunch Lady Peanut Butter Bars taste like they just came out of the oven. Pure magic.
FAQs
Can I use natural peanut butter instead of creamy processed peanut butter?
While natural peanut butter will work, it may make the bars a bit oilier and less chewy. For the classic Lunch Lady Peanut Butter Bars texture, stick to a standard creamy peanut butter like Jif or Skippy.
What if I don’t have a jelly roll pan?
You can use a rimmed baking sheet of similar size. If it’s a little smaller, your bars will be thicker (just extend the baking time slightly and check for doneness in the center).
Can I use old-fashioned oats instead of quick oats?
Quick oats give a more uniform texture that’s closer to the original Lunch Lady Peanut Butter Bars. If you only have old-fashioned oats, pulse them in a food processor a few times to break them down before adding to your batter.
Is it necessary to let the bars cool before adding the chocolate?
Yes! If the bars or peanut butter layer are too warm, your chocolate topping will seep right in or become streaky. Letting everything cool guarantees a glossy, picture-perfect chocolate layer.
How do I slice the bars cleanly?
For neat squares, let the chocolate fully set (either at room temp or in the fridge). Use a sharp knife and wipe it clean between cuts. You can also dip your knife in hot water and dry it before slicing for even smoother edges.
Final Thoughts
I can’t recommend these Lunch Lady Peanut Butter Bars enough—whether you’re looking to impress at a bake sale, fill a lunchbox with something special, or just treat yourself to a cozy blast from the past, these bars will satisfy every time. Give them a try, share with your loved ones, and prepare for big smiles and empty plates!
Print
Lunch Lady Peanut Butter Bars Recipe
- Total Time: 40 minutes (plus cooling)
- Yield: 24 bars 1x
- Diet: Vegetarian
Description
These Lunch Lady Peanut Butter Bars are a nostalgic treat reminiscent of school cafeteria desserts. A buttery oat and peanut butter base topped with a layer of creamy peanut butter and rich chocolate, these bars are a delightful indulgence for any occasion.
Ingredients
For the bars:
- 1 cup unsalted butter, softened
- 1 cup granulated sugar
- 1 cup packed brown sugar
- 1 cup creamy peanut butter
- 2 large eggs
- 1 teaspoon vanilla extract
- 2 cups all-purpose flour
- 2 cups quick oats
- 1 teaspoon baking soda
- 1/2 teaspoon salt
For the topping:
- 1 1/2 cups creamy peanut butter (for spreading)
- 2 cups semisweet chocolate chips
Instructions
- Preheat the oven: Preheat your oven to 350°F (175°C) and prepare a 10×15-inch jelly roll pan.
- Mix the wet ingredients: In a large bowl, cream butter and sugars, then add peanut butter, eggs, and vanilla.
- Combine dry ingredients: In a separate bowl, whisk flour, oats, baking soda, and salt. Add to wet mixture.
- Bake: Spread dough in pan and bake for 20-25 minutes.
- Add toppings: Spread peanut butter over warm bars, then melted chocolate once cooled.
- Cool and slice: Let the bars cool completely before cutting into squares.
Notes
- For a firmer chocolate topping, refrigerate bars for 30 minutes.
- Store bars in an airtight container at room temperature for up to 4 days or in the fridge for up to a week.
- Prep Time: 15 minutes
- Cook Time: 25 minutes
- Category: Dessert
- Method: Baking
- Cuisine: American
Nutrition
- Serving Size: 1 bar
- Calories: 310
- Sugar: 22g
- Sodium: 180mg
- Fat: 18g
- Saturated Fat: 7g
- Unsaturated Fat: 9g
- Trans Fat: 0g
- Carbohydrates: 32g
- Fiber: 2g
- Protein: 6g
- Cholesterol: 30mg


