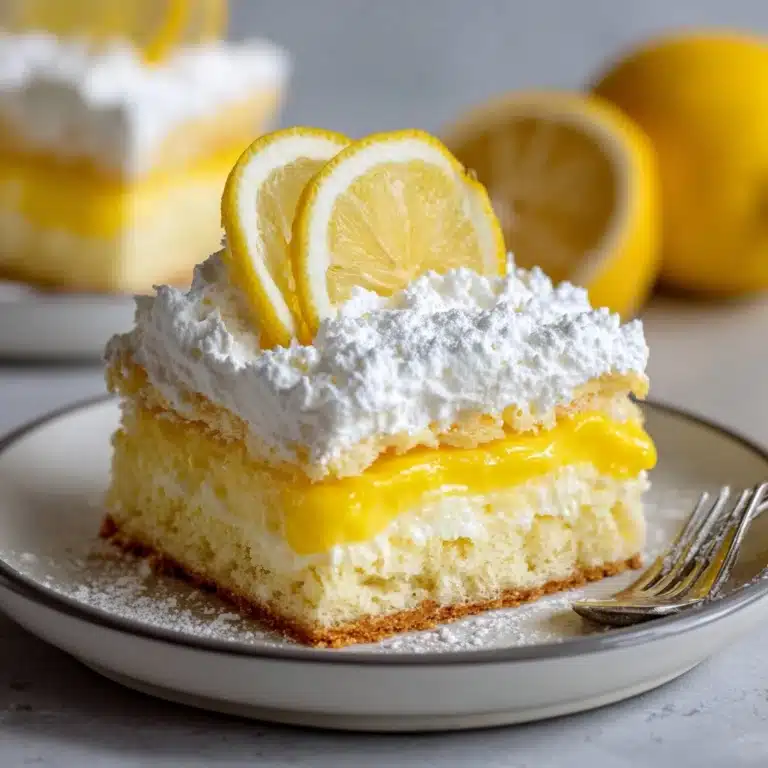
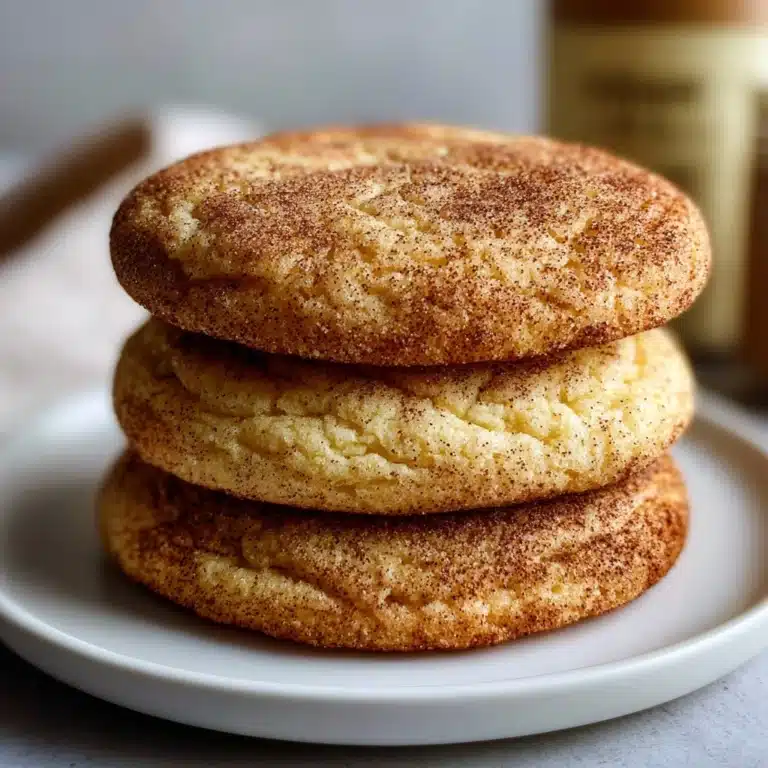
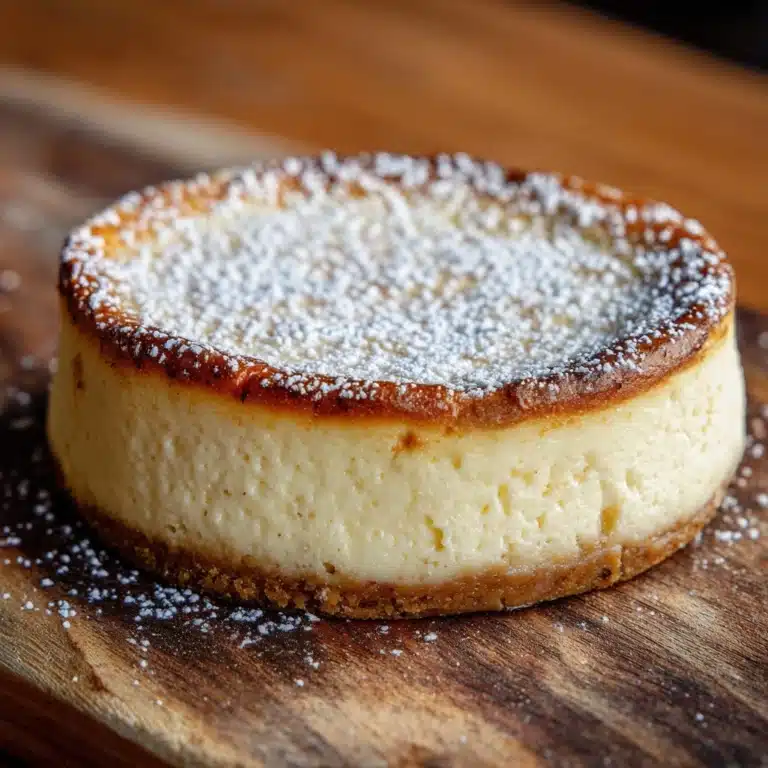
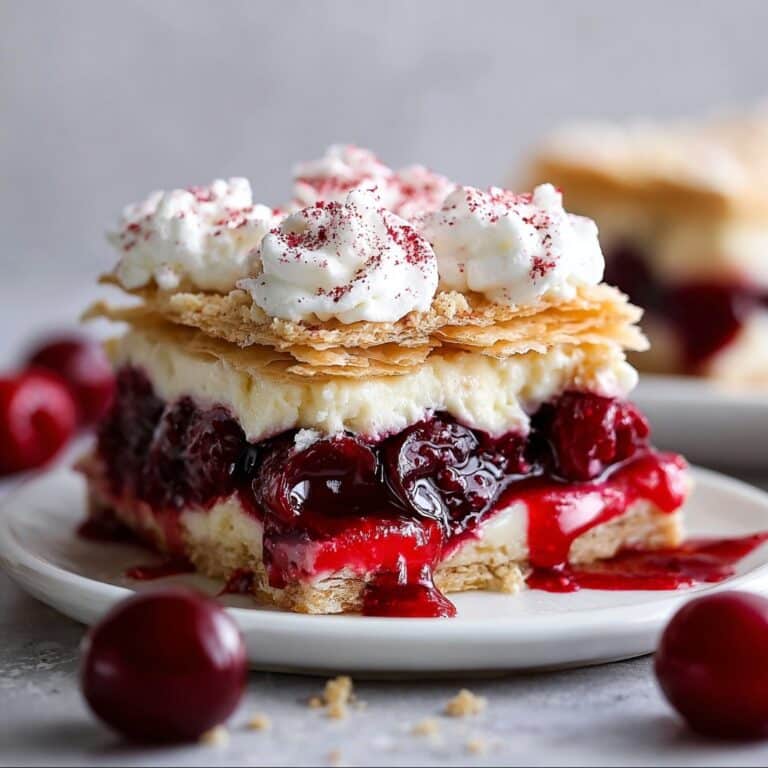
If you want to win hearts with a cookie, these Marbled Heart Sugar Cookie Cutouts are the ultimate showstopper. They marry the classic buttery sweetness of a sugar cookie with irresistibly vibrant swirls of color, making each treat a mini masterpiece. Whether you’re baking for Valentine’s Day, a special birthday, or simply adding a splash of fun to your afternoon, these cookies guarantee smiles and sweet memories. Best of all, they’re surprisingly easy to make and so much fun to personalize with your favorite shades.

Ingredients You’ll Need
It’s amazing what you can accomplish with a handful of kitchen staples! Each ingredient in these Marbled Heart Sugar Cookie Cutouts plays an essential role, from achieving that soft, tender crumb to capturing those dazzling marble swirls that make every cookie unique.
- All-purpose flour: The base that gives your cookies structure and ensures the perfect amount of chewiness.
- Baking powder: Just the right lift and lightness, keeping your cookies from being too dense.
- Salt: This little bit rounds out the sweetness and brings all the flavors together.
- Unsalted butter (softened): Key for a melt-in-your-mouth texture and unbeatable buttery flavor.
- Granulated sugar: Classic sweetness and crisp edges—absolutely essential for sugar cookies.
- Powdered sugar: Adds a delicate, almost velvety feel to the dough.
- Large egg: Binds everything together and adds a bit of richness.
- Milk: A splash goes a long way for softening the dough and ensuring tender cookies.
- Vanilla extract: Warm, floral notes that make every bite feel special.
- Red or pink gel food coloring (or both): For those showstopping marbled swirls without making the dough sticky.
- Extra flour for rolling: Helps keep your rolling pin and surface mess-free and ensures gorgeous cutouts every time.
How to Make Marbled Heart Sugar Cookie Cutouts
Step 1: Whisk Your Dry Ingredients
Start by combining the flour, baking powder, and salt in a medium bowl. Give them a quick whisk—this ensures that every bite of your cookies is perfectly tender, with no unwanted clumps of leavening hiding in the mix.
Step 2: Cream Butter and Sugars
In a large mixing bowl, beat the softened butter with both the granulated and powdered sugars. Go for 2 to 3 minutes, until the mix is super light, fluffy, and pale. This step infuses loads of air and gives your Marbled Heart Sugar Cookie Cutouts their signature soft bite.
Step 3: Mix in Wet Ingredients
Add in the egg, milk, and vanilla extract to your creamed butter and sugar. Beat until everything is completely incorporated and smooth, ensuring your dough has plenty of flavor and moisture.
Step 4: Combine and Divide the Dough
Gradually add your dry ingredients to the wet, mixing until a smooth dough forms. At this point, divide your dough into two or three equal portions, depending on how many marbled colors you want for your hearts!
Step 5: Tint and Marble
Leave one piece plain, then tint the others with red or pink gel food coloring, mixing each until the color is evenly spread. Now for the fun part: roll each color into ropes, twist them together, and gently knead just a few times to create that gorgeous marble effect—don’t overdo it or the colors will blend too much.
Step 6: Roll and Cut Out Hearts
Lightly flour your surface and roll the dough out to about 1/4 inch thickness. Use heart-shaped cookie cutters to stamp out your marbled cookies, and transfer them carefully to a parchment-lined baking sheet. Each cutout will be distinctively beautiful!
Step 7: Chill, Bake, and Cool
Pop the baking sheet into the fridge for 15 minutes so your cookies keep their shape. Preheat the oven to 350°F (175°C). Bake for 9 to 11 minutes, until the edges are just set and ever-so-slightly golden. Let them cool on the sheet for 5 minutes, then carefully move the cookies to a wire rack to cool completely.
How to Serve Marbled Heart Sugar Cookie Cutouts

Garnishes
These cookies are absolute stunners all on their own, but a little extra shine never hurts! Try brushing them with a touch of milk before baking for a pretty, glossy finish, or drizzle with a simple icing once cooled. You can also add a sprinkle of sparkling sugar or edible glitter to make the marbling pop even more.
Side Dishes
Marbled Heart Sugar Cookie Cutouts are perfect alongside a mug of cocoa, afternoon tea, or freshly brewed coffee. For a dessert platter, pair them with berries and whipped cream, or serve with a scoop of fruity sorbet for a cool and colorful contrast.
Creative Ways to Present
Channel your inner artist! Stack the cookies and tie them with ribbon for sweet gifts, create a rainbow of marble tones for a festive cookie tray, or use them as beautiful edible toppers for cakes and cupcakes. These cookies don’t just taste amazing—they’re a feast for the eyes!
Make Ahead and Storage
Storing Leftovers
Once your Marbled Heart Sugar Cookie Cutouts are completely cool, store them in an airtight container at room temperature for up to 5 days. Layer them with parchment paper to keep the marbled surfaces as pretty as possible—no sticking or smudging!
Freezing
These cookies freeze wonderfully! Arrange them in a single layer in a freezer-friendly container (with parchment between layers) and freeze for up to 2 months. When you’re ready, let them thaw at room temperature and enjoy—no one will ever suspect they weren’t baked that day.
Reheating
If you like your cookies just a touch warm, place a few cooled Marbled Heart Sugar Cookie Cutouts on a baking tray and pop them into a 300°F (150°C) oven for about 2 minutes. It’ll bring out the buttery aroma and slightly soften the texture—just like fresh from the oven!
FAQs
Can I use liquid food coloring instead of gel?
Stick to gel food coloring whenever possible. Unlike liquid colors, gels won’t thin out your dough, which means your cookies keep their shape and don’t end up sticky or hard to handle.
How do I avoid over-mixing the marble effect?
After twisting your colored ropes together, knead just two or three times to swirl the colors together. Over-mixing will blend everything into a single uniform shade—less is definitely more for a beautiful marble pattern!
Can kids help make Marbled Heart Sugar Cookie Cutouts?
Absolutely! Dividing and coloring the dough, twisting, and cutting heart shapes are all super kid-friendly steps. Turning the cookie prep into an art project makes baking even more memorable for little helpers.
How thick should I roll the dough?
About 1/4 inch is perfect—thick enough to keep the cookies soft in the center while still baking up with nice, crisp edges. Rolling too thin may make the cookies brittle, while thicker cutouts need a little extra baking time.
What’s the best way to store decorated Marbled Heart Sugar Cookie Cutouts?
Wait until any icing or garnishes are fully set before stacking the cookies with parchment in between layers. Store in an airtight container to keep them fresh and prevent any decorations from smudging.
Final Thoughts
Baking Marbled Heart Sugar Cookie Cutouts is such a joyful way to make any occasion extra sweet and colorful. Every batch feels like a new creation, and the flavor is as delightful as the swirls look. Give them a try and let the fun (and compliments) roll in!
Print
Marbled Heart Sugar Cookie Cutouts Recipe
- Total Time: 40 minutes
- Yield: 24 cookies 1x
- Diet: Vegetarian
Description
These Marbled Heart Sugar Cookie Cutouts are a delightful treat perfect for Valentine’s Day or any special occasion. The marbled effect adds a whimsical touch to these classic sugar cookies.
Ingredients
Dough:
- 2 3/4 cups all-purpose flour
- 1 teaspoon baking powder
- 1/2 teaspoon salt
- 1 cup unsalted butter, softened
- 3/4 cup granulated sugar
- 1/4 cup powdered sugar
- 1 large egg
- 1 tablespoon milk
- 2 teaspoons vanilla extract
- Red or pink gel food coloring (or both)
- Extra flour for rolling
Instructions
- Prepare the Dough: Whisk together flour, baking powder, and salt in a medium bowl.
- Mix Wet Ingredients: Beat butter with sugars until fluffy. Add egg, milk, and vanilla; mix well.
- Combine and Color: Gradually add dry ingredients to form a smooth dough. Divide and color dough portions.
- Create Marbled Effect: Roll colored dough into ropes, twist together, and roll out to 1/4 inch thickness.
- Cut and Bake: Use cookie cutters to cut shapes, chill, then bake at 350°F for 9–11 minutes.
- Cool and Enjoy: Cool on a rack after baking.
Notes
- For extra shine, brush cookies with milk before baking or add icing after cooling.
- Gel food coloring maintains dough consistency better than liquid coloring.
- Prep Time: 30 minutes
- Cook Time: 10 minutes
- Category: Dessert
- Method: Baking
- Cuisine: American
Nutrition
- Serving Size: 1 cookie
- Calories: 140
- Sugar: 8g
- Sodium: 60mg
- Fat: 7g
- Saturated Fat: 4g
- Unsaturated Fat: 2g
- Trans Fat: 0g
- Carbohydrates: 17g
- Fiber: 0g
- Protein: 1g
- Cholesterol: 25mg

