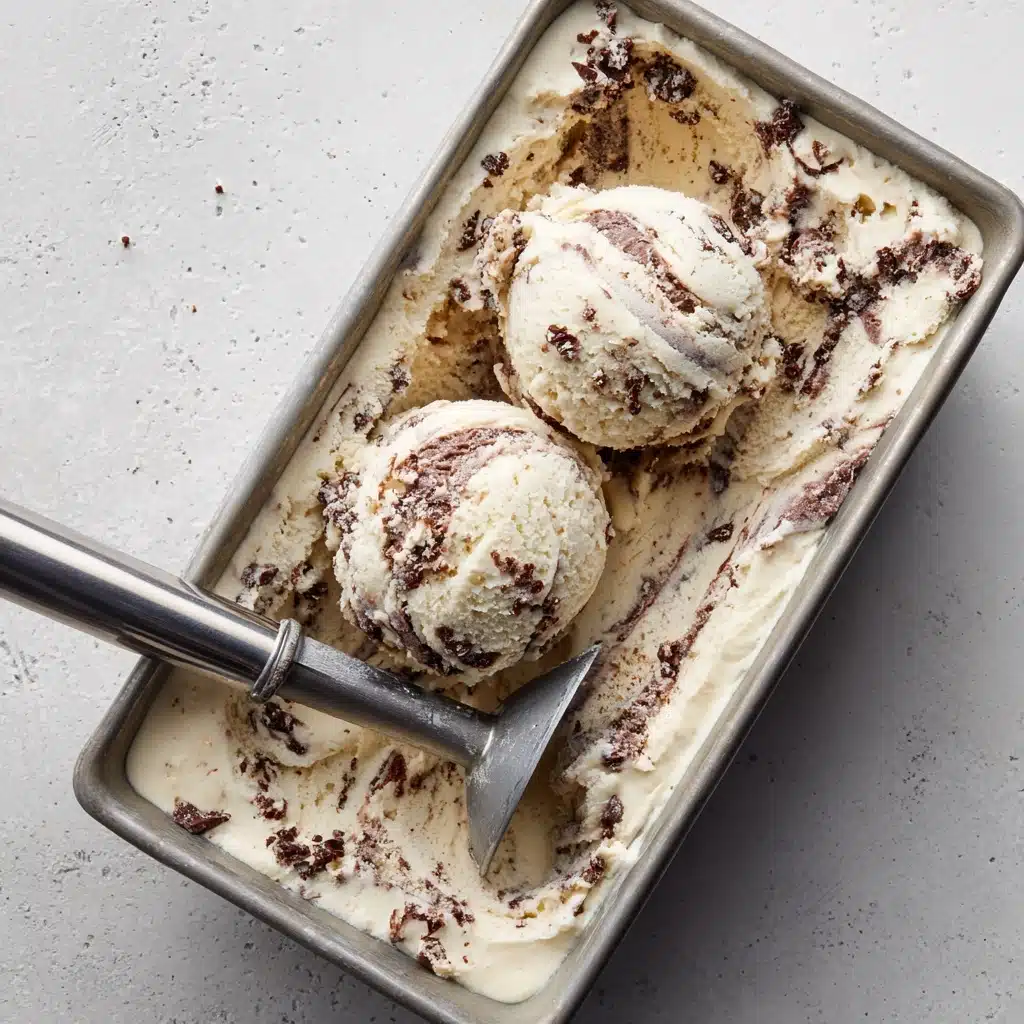
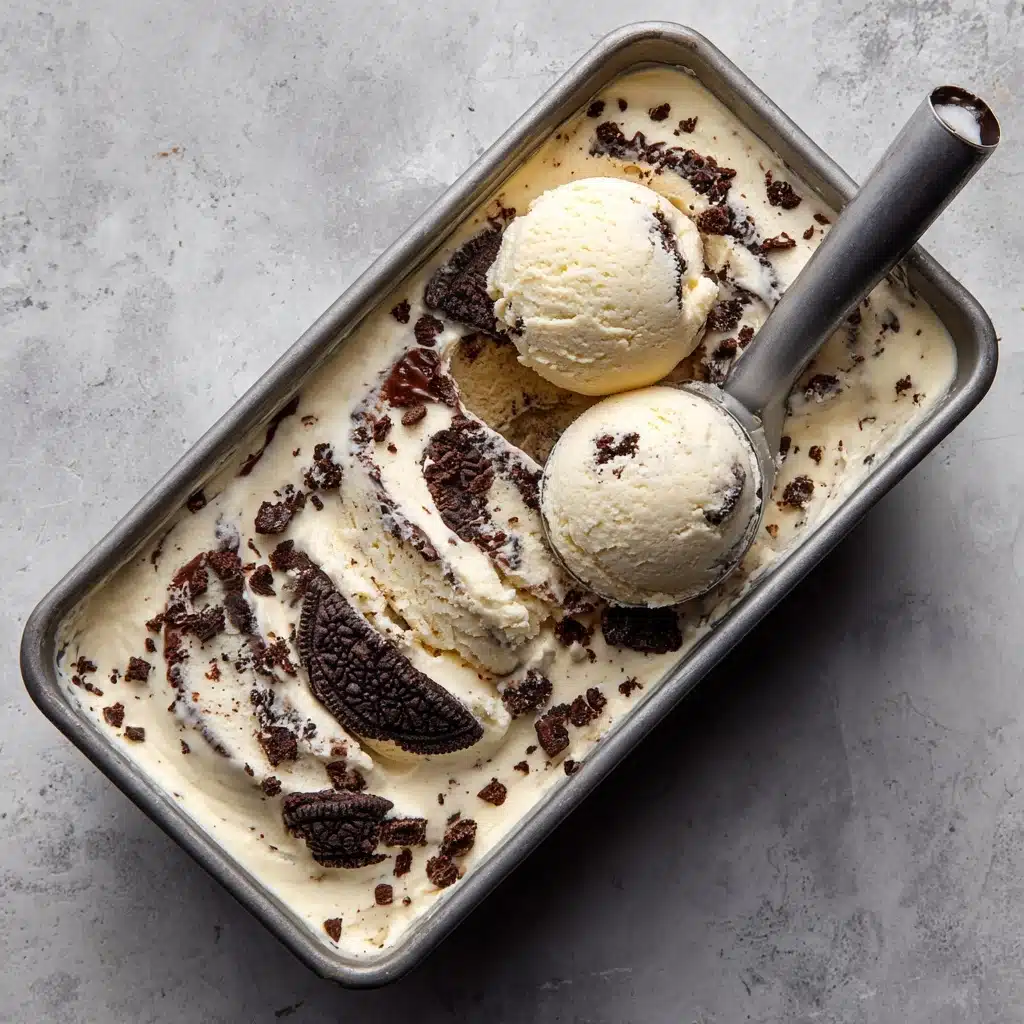
Looking for a summer treat that hits every sweet spot without any high-maintenance kitchen gadgets? No-Churn Oreo Cheesecake Ice Cream is pure magic for anyone who craves rich cheesecake flavor swirled with crunchy Oreo pieces in cold, dreamy ice cream—that’s right, no churning, eggs, or ice cream machine needed! This easy recipe whips up in just minutes and brings together the tang of cream cheese, the luscious texture of fluffy whipped cream, and all the joy of Oreos in every single bite. Whether you’re a baking beginner or an ice cream aficionado, this dessert is about to become your go-to for indulgent, effortless fun.
Ingredients You’ll Need
One of the best things about No-Churn Oreo Cheesecake Ice Cream is how a handful of straightforward, everyday ingredients work together to create something truly special. Each element adds its own magic—creamy, sweet, tangy, or crunchy—to make this dessert completely irresistible.
- Heavy whipping cream: This gives your ice cream its light, airy, and scoopable texture, mimicking churned ice cream’s fluffiness.
- Sweetened condensed milk: The secret to rich sweetness and smooth, creamy consistency without the need for an ice cream machine.
- Cream cheese (softened): Brings classic cheesecake tang, body, and an ultra-decadent mouthfeel—let it come fully to room temperature for smoothest results.
- Vanilla extract: A splash of real vanilla deepens flavor and balances the tang and sweetness beautifully.
- Crushed Oreo cookies: Provides delightful texture and chocolate cookie flavor throughout every scoop—plus, you can add extra on top for ultimate Oreo satisfaction.
How to Make No-Churn Oreo Cheesecake Ice Cream
Step 1: Beat the Cream Cheese
Start by placing your softened cream cheese in a large mixing bowl, then beat it with a hand mixer until completely smooth, creamy, and free of lumps. This little step ensures your ice cream will have that signature creamy cheesecake texture without any grainy bits.
Step 2: Combine with Milk and Vanilla
To the beaten cream cheese, add the sweetened condensed milk and vanilla extract. Mix thoroughly until the mixture is silky and uniform—make sure to scrape the sides of your bowl so every bit of cream cheese blends in perfectly. This base is what gives your No-Churn Oreo Cheesecake Ice Cream its luxurious flavor.
Step 3: Whip the Cream
In a separate bowl, pour in your cold heavy cream. Using clean mixer attachments, whip the cream to stiff peaks. Don’t rush—properly whipped cream is the secret to the dreamy, light texture of this no-churn ice cream.
Step 4: Fold in the Whipped Cream
Gently fold the whipped cream into your cream cheese mixture. Use a spatula and a light hand, scooping from the bottom up, to keep all that lovely fluffiness. Don’t over-mix; just blend until the color is uniform and no streaks remain.
Step 5: Stir in the Oreos
Fold in the crushed Oreo cookies, distributing them as evenly as you can. You want every bite of No-Churn Oreo Cheesecake Ice Cream to have Oreo goodness throughout. (Feel free to toss in a few bigger chunks if extra texture is your style!)
Step 6: Freeze and Finish
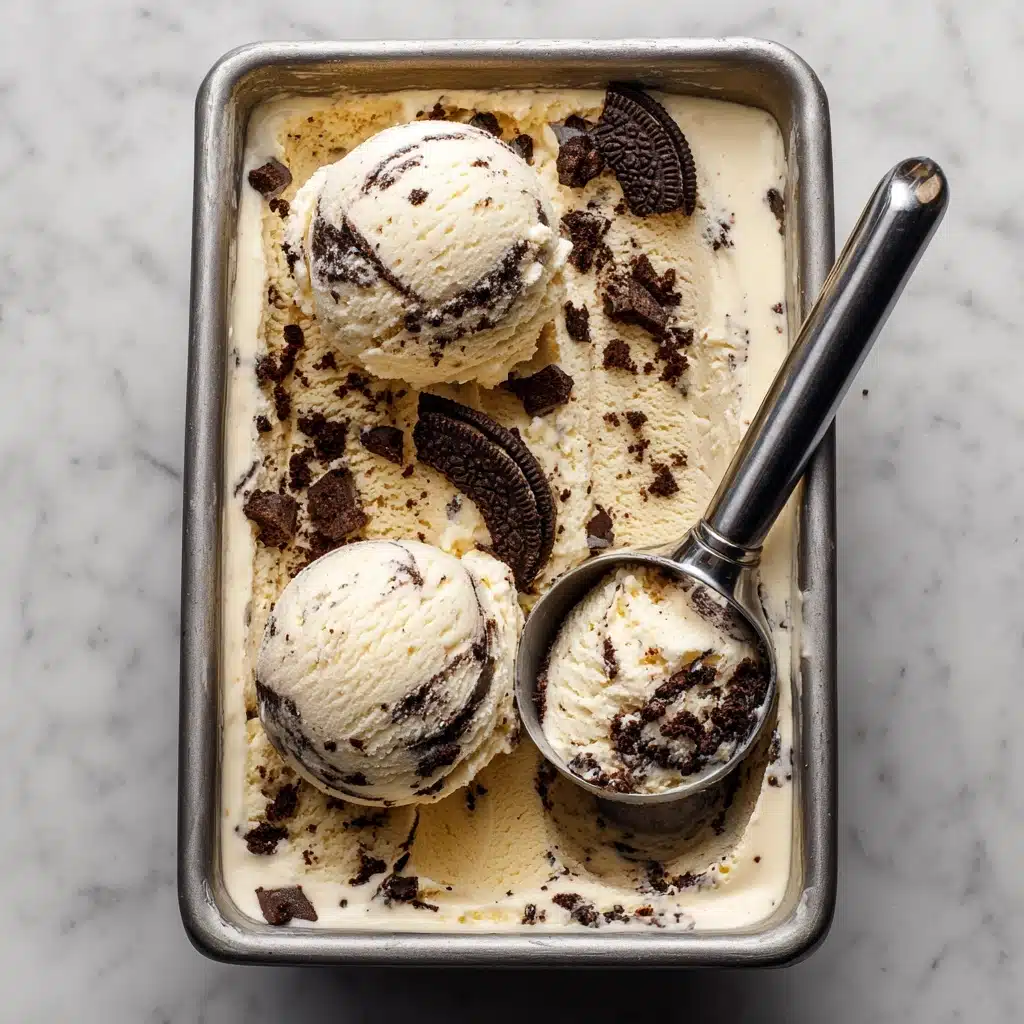
Pour your mixture into a loaf pan or any freezer-safe container, and smooth the top. Sprinkle on extra crushed Oreos for maximum cookie excitement. Cover tightly and freeze for at least 6 hours—overnight is even better—until fully set.
How to Serve No-Churn Oreo Cheesecake Ice Cream
Garnishes
For a finishing touch, try a generous sprinkle of extra crushed Oreos right before serving. Shaved dark chocolate, a drizzle of chocolate or caramel sauce, fresh berries, or even whipped cream dollops make every scoop look polished and party-worthy. Don’t forget a classic ice cream cone for that nostalgic summer vibe!
Side Dishes
While No-Churn Oreo Cheesecake Ice Cream is delicious all on its own, it also shines when paired with a few simple sides: fresh strawberries or raspberries for a pop of tart, buttery shortbread cookies, or a warm brownie to create your own epic sundae.
Creative Ways to Present
Turn your ice cream into show-stopping dessert cups by scooping into mason jars layered with extra Oreo crumb and a swirl of fudge. Or, press it into popsicle molds for easy hand-held treats. Feeling extra indulgent? Sandwich creamy scoops between chocolate chip cookies for unforgettable ice cream sandwiches.
Make Ahead and Storage
Storing Leftovers
If you find yourself with leftovers (lucky you!), simply store your No-Churn Oreo Cheesecake Ice Cream tightly covered in the freezer. Use plastic wrap pressed directly onto the surface and an airtight lid to avoid ice crystals forming, so every scoop stays velvety and fresh.
Freezing
This homemade ice cream can be kept frozen for up to two weeks. The creamy, stable texture holds up beautifully—just remember to let it sit on the counter for about 5 minutes before scooping, which makes serving much easier and brings out all the flavors.
Reheating
There’s actually no need to reheat No-Churn Oreo Cheesecake Ice Cream, but letting it rest briefly at room temperature does the trick to soften and make scooping a breeze. Simply take it out of the freezer a few minutes before dessert time and you’re set.
FAQs
Can I use low-fat cream cheese or non-dairy ingredients?
Yes, you can use low-fat cream cheese, but keep in mind it may slightly alter the texture and richness. For a non-dairy version, try coconut cream in place of heavy cream and a dairy-free cream cheese substitute, but make sure these alternatives are full-fat for best results.
Do I need to remove the filling from the Oreo cookies before crushing?
Absolutely not! The creamy Oreo filling adds a sweet, rich dimension to the ice cream. Just crush the whole cookies—filling and all—so every bite bursts with cookies-and-cream flavor.
Can I add mix-ins or different cookies?
Definitely! Golden Oreos, chopped chocolate, caramel swirls, or even bits of toffee work great. No-Churn Oreo Cheesecake Ice Cream is endlessly customizable, so make it your own by mixing in your favorites.
How long does No-Churn Oreo Cheesecake Ice Cream need to freeze?
For best texture, freeze it for at least 6 hours. Overnight is ideal if you have the patience! This ensures it’s firm enough to scoop, yet still creamy and soft-enough to eat.
Can I double or halve this recipe?
Yes, you can easily scale the recipe up or down, depending on your needs. Just use a larger or smaller container accordingly, and keep the ingredient proportions the same for perfect results every time.
Final Thoughts
No-Churn Oreo Cheesecake Ice Cream is the kind of treat you’ll find yourself craving all year long—cool, creamy, and packed with nostalgic cookie flavor in every spoonful. It’s so simple to make, yet tastes absolutely decadent. I can’t wait for you to try making this at home and fall in love with just how easy and joyful homemade ice cream can be!
Print
No-Churn Oreo Cheesecake Ice Cream Recipe
- Total Time: 15 minutes (plus freezing time)
- Yield: 10 servings 1x
- Diet: Vegetarian
Description
Indulge in the creamy, luscious goodness of homemade No-Churn Oreo Cheesecake Ice Cream. This easy-to-make frozen treat combines the classic flavors of Oreo cookies and rich cheesecake in a delightful, no-fuss recipe that will keep you cool all summer long.
Ingredients
For the Ice Cream:
- 2 cups heavy whipping cream
- 1 can (14 oz) sweetened condensed milk
- 8 oz cream cheese, softened
- 1 teaspoon vanilla extract
- 1½ cups crushed Oreo cookies (plus extra for topping, optional)
Instructions
- Prepare the Ice Cream Base: In a large bowl, beat the softened cream cheese until smooth. Add the sweetened condensed milk and vanilla extract, and mix until fully combined and creamy.
- Whip the Cream: In a separate bowl, whip the heavy cream to stiff peaks using a hand mixer or stand mixer.
- Combine: Gently fold the whipped cream into the cream cheese mixture until no streaks remain. Fold in the crushed Oreos.
- Freeze: Pour the mixture into a loaf pan or freezer-safe container, smoothing the top. Sprinkle additional crushed Oreos on top if desired. Cover and freeze for at least 6 hours or overnight until firm.
Notes
- You can substitute Golden Oreos or add swirls of chocolate or caramel sauce for a fun twist.
- For best texture, let it sit at room temperature for 5 minutes before scooping.
- Prep Time: 15 minutes
- Cook Time: 0 minutes
- Category: Dessert
- Method: Freezing
- Cuisine: American
Nutrition
- Serving Size: ½ cup
- Calories: 340
- Sugar: 25g
- Sodium: 170mg
- Fat: 24g
- Saturated Fat: 15g
- Unsaturated Fat: 7g
- Trans Fat: 0g
- Carbohydrates: 28g
- Fiber: 0g
- Protein: 4g
- Cholesterol: 70mg


