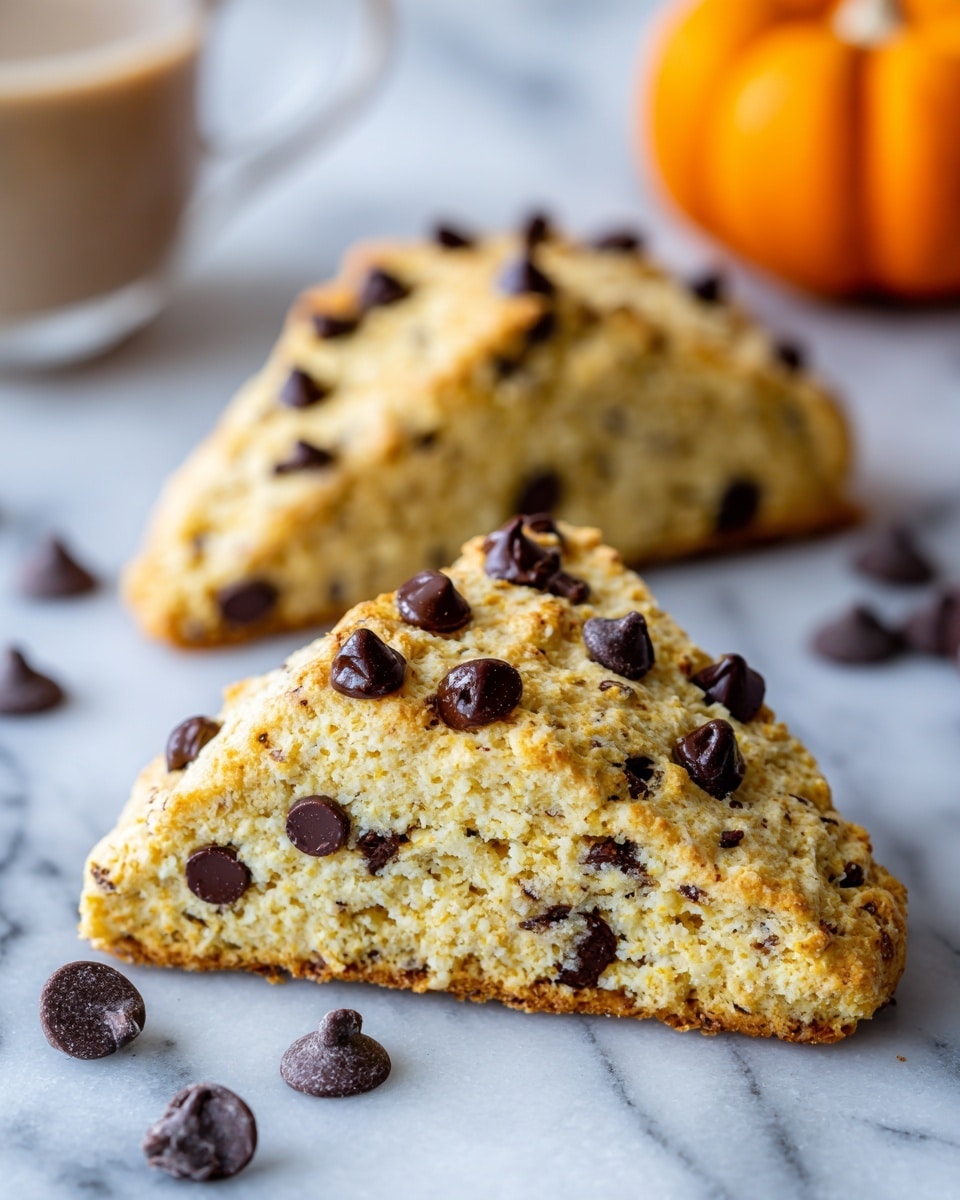
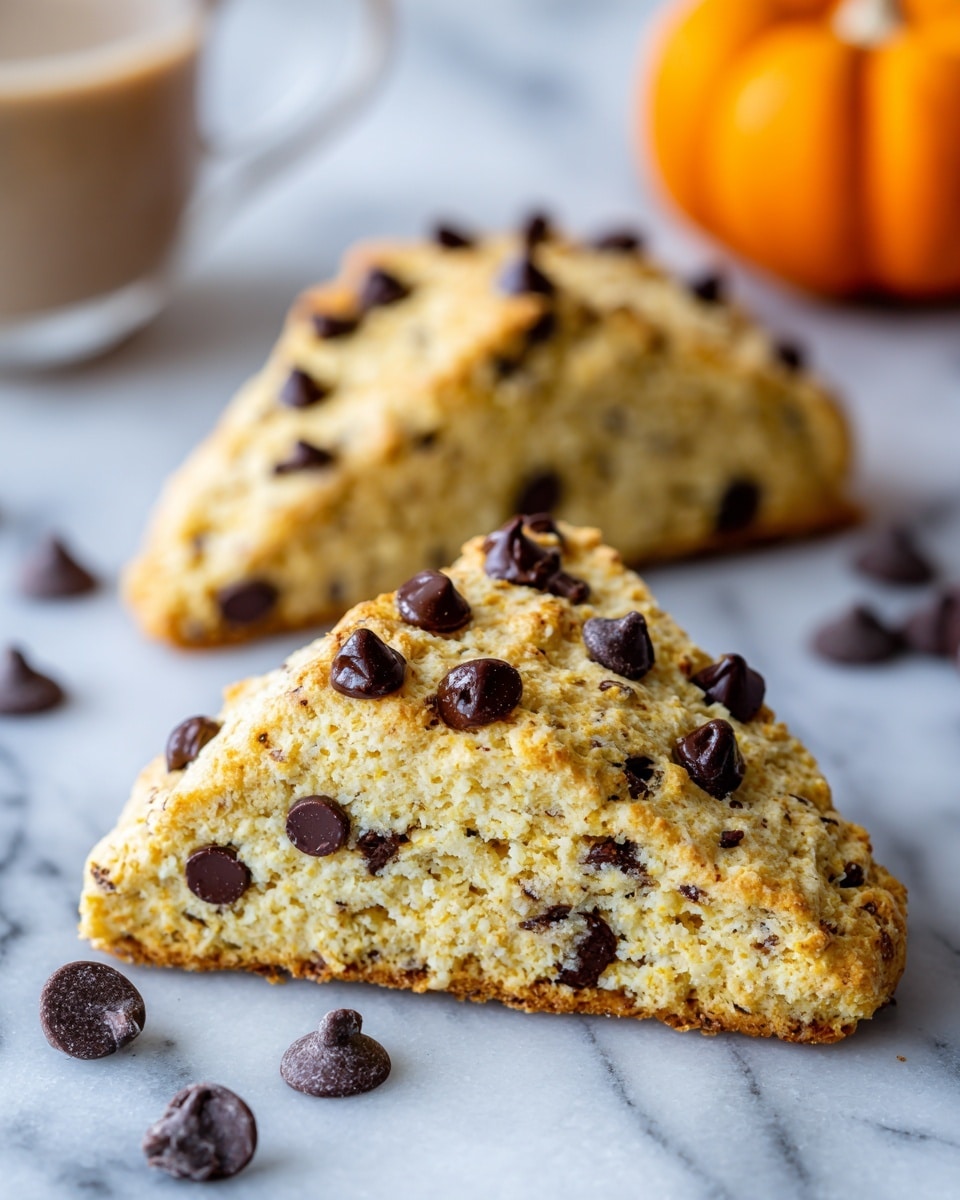
If you’re searching for a cozy, delicious treat that perfectly captures fall flavors, look no further than this Pumpkin Chocolate Chip Scones Recipe. These scones are tender, flaky, and bursting with warm pumpkin spice and sweet chocolate chips in every bite. They come together quickly with simple ingredients and create the kind of comfort food that makes any morning or afternoon feel special. Trust me, once you try this recipe, these pumpkin-infused delights will become a beloved staple in your baking repertoire.
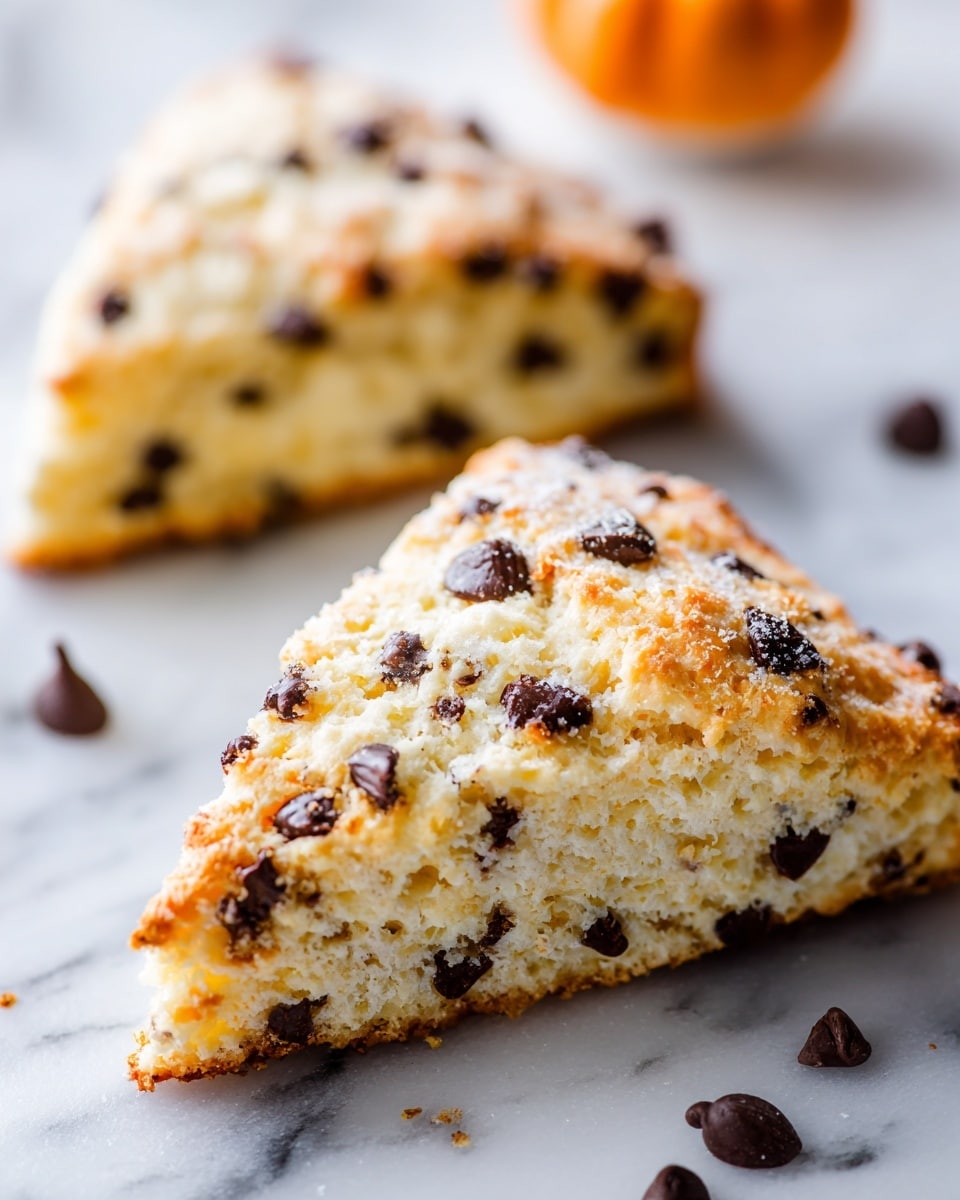
Ingredients You’ll Need
The magic of this Pumpkin Chocolate Chip Scones Recipe lies in its simple but purposeful ingredients. Each one adds a unique part to the perfect balance of texture, flavor, and that irresistible pumpkin-hued color.
- All-purpose flour (2 1/2 cups / 312.5 g): Provides the structure and fluffy base for soft, tender scones.
- Mini chocolate chips (3/4 cup / 135 g): Small bursts of semi-sweet sweetness that melt lightly in the oven.
- Unsalted butter (1 stick / 113 g): Cold and cubed for flakiness and rich flavor.
- Large egg (1 beaten): Adds moisture and helps bind ingredients for perfect scone texture.
- Pumpkin puree (1/2 cup / 120 g): The star ingredient bringing moistness and authentic pumpkin flavor without extra sweetness.
- Milk (3 tablespoons / 45 ml): Adds creaminess and helps blend everything smoothly.
- Salt (1/2 teaspoon): Balances the sweetness and enhances flavor.
- Baking powder (1 tablespoon): Works with baking soda for perfect rise and lightness.
- Baking soda (1/2 teaspoon): Reacts with pumpkin to give a tender crumb.
- Granulated sugar (1/3 cup / 67 g): Sweetens the dough just right for those fall vibes.
- Pumpkin pie spice (1 teaspoon): Blends cinnamon, nutmeg, and cloves for that quintessential pumpkin aroma.
- Egg wash (1 large egg beaten with 1 teaspoon milk or water): For a shiny, golden topping.
- Cinnamon sugar (1/2 teaspoon ground cinnamon mixed with 2 tablespoons granulated sugar): Adds a sparkly, spiced finish.
How to Make Pumpkin Chocolate Chip Scones Recipe
Step 1: Prepare Your Oven and Baking Sheet
Start by preheating your oven to a toasty 400°F (200°C). Line a large baking sheet with parchment paper to prevent sticking and ensure easy cleanup. Getting this done upfront means you’ll be ready for the dough as soon as it’s shaped.
Step 2: Combine the Dry Ingredients
In a large bowl, whisk together the flour, mini chocolate chips, salt, baking powder, baking soda, granulated sugar, and pumpkin pie spice. This step ensures all your dry components are evenly mixed so the scones bake up with consistent flavor and rise.
Step 3: Cut in the Butter
Add the very cold, cubed butter to the flour mixture. Using a pastry cutter or two forks, quickly cut the butter into the flour until it looks like coarse meal with pea-size bits of butter. The cold butter is key—it creates those flaky layers we all love in scones. Don’t hesitate to work fast to keep the butter cold, which guarantees a tender, flaky result.
Step 4: Mix the Wet Ingredients
In a separate bowl, whisk together one beaten egg, the pumpkin puree, and milk until smooth. This smooth blend brings moisture and pumpkin flavor to the mix, making these scones perfectly soft and flavorful.
Step 5: Combine Wet and Dry Mixtures
Pour the wet mixture into the bowl with your flour and butter blend. Gently stir using a fork until the dough just comes together. Be careful not to overmix; delicate handling keeps the scones tender rather than tough.
Step 6: Shape the Dough
Turn your dough out onto a well-floured surface and pat it into an 8-inch (20 cm) circle with your hands. The lighter your touch, the more tender the scones will be, as you avoid overworking the gluten.
Step 7: Cut and Arrange
Using a sharp knife, cut the dough circle into 8 even wedges. Place these wedges onto your prepared baking sheet, giving them room to bake without sticking together.
Step 8: Add the Finishing Touch
Brush each scone with the egg wash made of one beaten egg mixed with a bit of milk or water. Then sprinkle generously with cinnamon sugar, a combo of 1/2 teaspoon cinnamon and 2 tablespoons granulated sugar. This step gives the scones a beautiful golden color and a delicate sweetness that’s hard to resist.
Step 9: Bake to Perfection
Bake your scones for 18 to 20 minutes until their tops are lightly golden and edges look set. You’ll know they’re done when a warm pumpkin aroma fills your kitchen—a delicious hint that fall is officially here.
Step 10: Cool and Enjoy
Let the scones cool on the baking sheet for about 10 minutes before serving. They are perfect warm, but will still be delightful later in the day.
How to Serve Pumpkin Chocolate Chip Scones Recipe
Garnishes
A sprinkle of powdered sugar or a light drizzle of maple glaze instantly elevates these scones. Fresh whipped cream or a small pat of cinnamon honey butter can add decadent, silky richness that complements the spices beautifully.
Side Dishes
Pair your scones with a hot cup of chai latte or rich coffee to balance the sweetness and enhance the cozy pumpkin flavors. For a fresh contrast, serve alongside a small bowl of mixed berries or apple slices.
Creative Ways to Present
For gatherings, arrange the Pumpkin Chocolate Chip Scones on a rustic wooden board with mini jars of jam, clotted cream, and honey. If you love a bit of flair, place the scones in a pretty basket lined with a cloth napkin to invite everyone to dig in.
Make Ahead and Storage
Storing Leftovers
If you have leftover scones, no worries—they keep well wrapped tightly in an airtight container at room temperature for up to two days while maintaining freshness.
Freezing
These scones freeze beautifully! Just double-wrap each one in plastic wrap and then place them in a freezer-safe bag. They will keep for up to three months without losing any of their tender charm.
Reheating
To bring frozen or leftover scones back to life, warm them in a preheated oven at 350°F (175°C) for about 8-10 minutes. This method brings back that just-baked flakiness and melty chocolate goodness. A quick zap in the microwave works too but can sometimes soften the crust.
FAQs
Can I use fresh pumpkin instead of canned puree?
Yes! If you decide to use fresh pumpkin, steam or roast it first, then puree it until smooth. Just be sure to drain any excess liquid to prevent soggy dough, keeping the scones perfectly tender.
Are these scones very sweet?
Not at all. They have a gentle sweetness balanced by the pumpkin and warm spices. The chocolate chips add just the right touch of indulgence without overpowering the natural pumpkin flavor.
Can I make these scones vegan?
With a few swaps, yes! Use plant-based butter and substitute the egg with flax or chia egg alternatives. Replace milk with your favorite non-dairy milk. The texture might vary slightly but the pumpkin and chocolate magic will still shine through.
Why are my scones dense instead of fluffy?
Overmixing the dough or using butter that is too soft can lead to dense scones. Be sure to cut in cold butter quickly and handle the dough lightly to keep the texture light and flaky.
Can I add nuts or other mix-ins?
Absolutely! Chopped pecans or walnuts are fantastic additions for some crunch that pairs well with pumpkin and chocolate. Just fold them in with the chocolate chips during the dry ingredients step.
Final Thoughts
This Pumpkin Chocolate Chip Scones Recipe is a delightful way to bring warmth and joy to your kitchen. Every bite is a comforting hug with cozy spices, sweet chocolate, and soft pumpkin goodness. Whether for a festive brunch or a simple treat, I encourage you to try making these scones—they’re sure to become a seasonal favorite you’ll reach for again and again.
Print
Pumpkin Chocolate Chip Scones Recipe
- Total Time: 35 minutes
- Yield: 8 scones 1x
Description
These Pumpkin Chocolate Chip Scones are a delightful fall treat combining the warm flavors of pumpkin and pumpkin pie spice with rich semi-sweet chocolate chips. Perfectly tender and flaky, these scones are easy to make and bake up golden in about 20 minutes. Enjoy them warm with a cup of coffee or tea for a cozy seasonal snack.
Ingredients
Dry Ingredients
- 2 1/2 cups (312.5 g) all-purpose flour, good quality
- 3/4 cup (135 g) mini chocolate chips, semi-sweet
- 1/2 teaspoon salt
- 1 tablespoon baking powder (check freshness)
- 1/2 teaspoon baking soda
- 1/3 cup (67 g) granulated sugar
- 1 teaspoon pumpkin pie spice
Wet Ingredients
- 1 stick (4 ounces / 113 g) unsalted butter, very cold, cut into small cubes
- 1 large egg, beaten
- 1/2 cup (120 g) pumpkin puree, 100% pure canned pumpkin (not pumpkin pie filling)
- 3 tablespoons (45 ml) milk
Egg Wash and Topping
- 1 large egg, beaten
- 1 teaspoon milk or water
- 1/2 teaspoon ground cinnamon
- 2 tablespoons (25 g) granulated sugar
Instructions
- Preheat the Oven: Preheat your oven to 400°F (200°C). Line a large baking sheet with parchment paper and set it aside. This creates a non-stick surface and helps with even baking.
- Mix Dry Ingredients: In a large bowl, whisk together the all-purpose flour, mini chocolate chips, salt, baking powder, baking soda, granulated sugar, and pumpkin pie spice until everything is evenly combined.
- Cut in the Butter: Add the very cold, cubed unsalted butter to the flour mixture. Use a pastry cutter or two forks to cut the butter into the flour until the mixture resembles coarse meal. Work quickly to keep the butter cold which helps make the scones flaky. If the butter softens too much, continue mixing quickly for about 3-5 minutes until the mixture becomes crumbly.
- Prepare Wet Mixture: In a medium bowl, whisk together the beaten egg, pumpkin puree, and milk until the mixture is smooth and well combined.
- Combine Wet and Dry: Pour the wet mixture into the flour and butter mixture. Using a fork, gently stir until the dough is just moistened. Take care not to overmix as that can make the scones tough instead of tender.
- Shape the Dough: Turn the shaggy dough out onto a clean, well-floured surface. Using your hands, gently shape the dough into an 8-inch (20 cm) circle. Handle it lightly to avoid overdeveloping gluten which can affect the texture.
- Cut into Wedges: Cut the dough circle into 8 even wedges. Carefully transfer the wedges to the prepared baking sheet, spacing them apart to prevent sticking during baking.
- Apply Egg Wash & Topping: Lightly brush each scone with the egg wash—a mixture of 1 beaten egg and 1 teaspoon of milk or water. Then sprinkle generously with the cinnamon sugar topping made from 1/2 teaspoon ground cinnamon mixed with 2 tablespoons granulated sugar.
- Bake the Scones: Bake the scones in the preheated oven for 18-20 minutes or until the tops are lightly golden brown and the edges look set. You’ll notice a warm pumpkin aroma indicating they are done.
- Cool and Serve: Let the scones cool on the baking sheet for 10 minutes. Serve warm for the best texture and flavor experience.
Notes
- Use very cold butter for the best flaky texture; keep cubes refrigerated until ready to cut in.
- Do not overmix the dough to keep the scones tender and light.
- You can substitute mini chocolate chips with regular-sized chocolate chips but you may want to chop them slightly for even distribution.
- Store leftover scones in an airtight container at room temperature for up to 2 days, or freeze for longer storage.
- To reheat, warm scones briefly in an oven or toaster oven to bring back their freshly baked texture.
- Prep Time: 15 minutes
- Cook Time: 20 minutes
- Category: Baking
- Method: Baking
- Cuisine: American
