
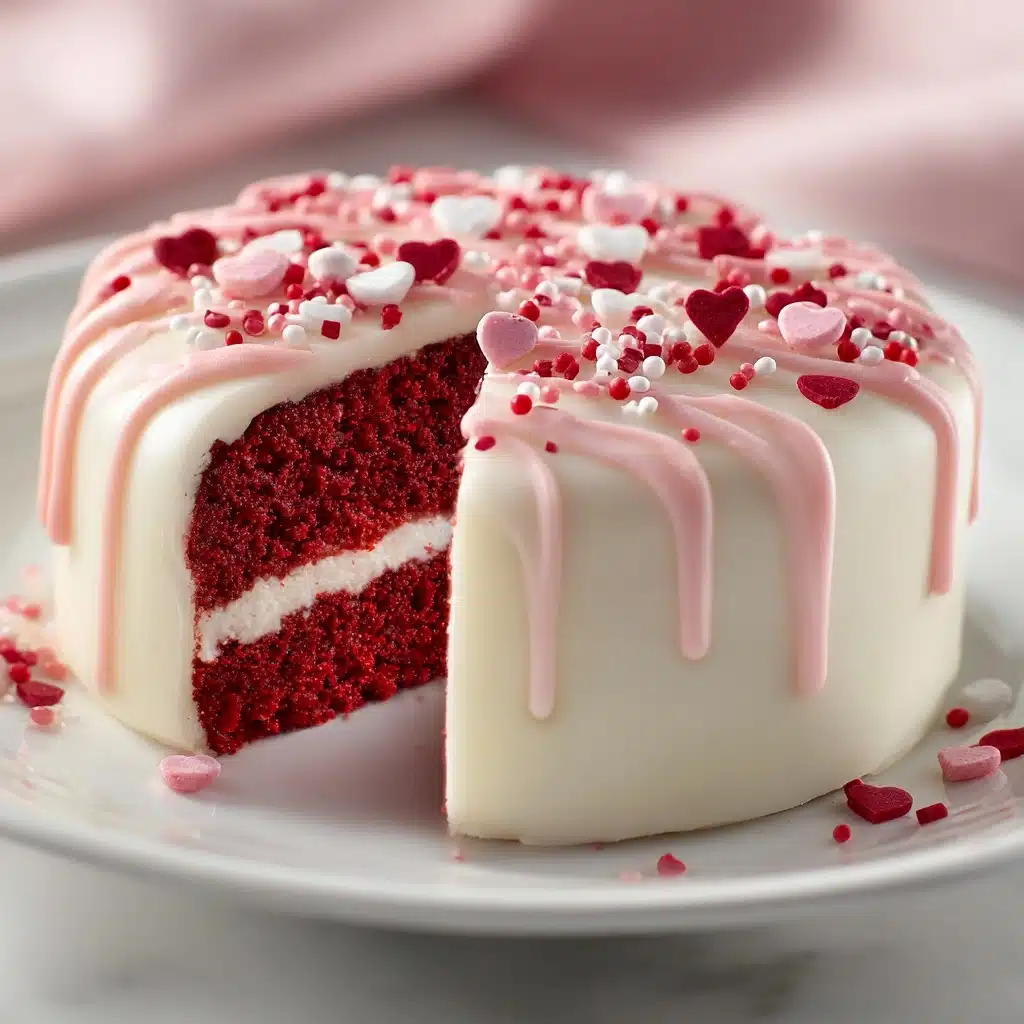
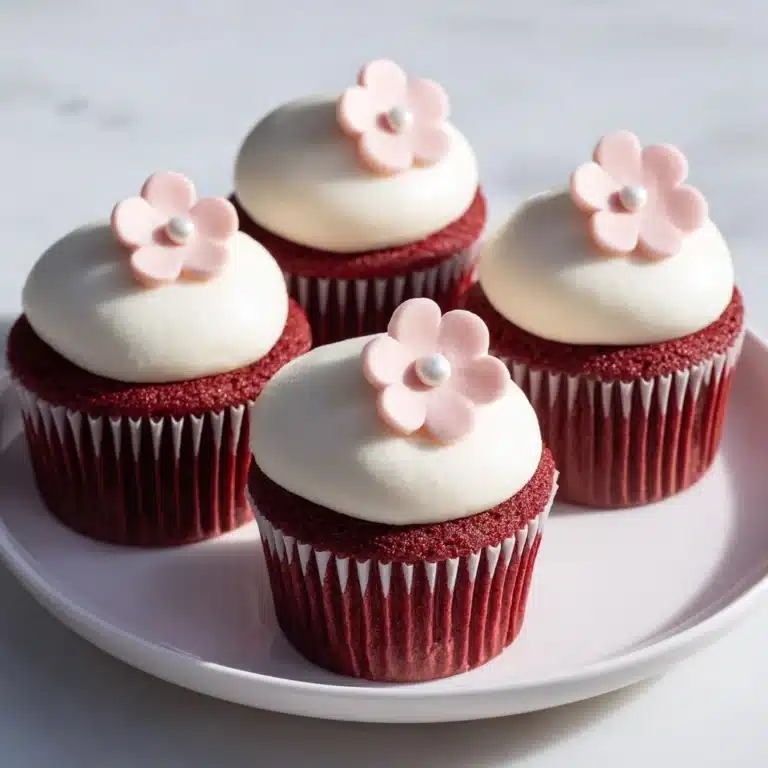
If you’re looking for a bite-sized treat that’s as beautiful as it is delicious, Red Velvet Cake Pops are an absolute showstopper. These vibrant little confections capture everything you love about the classic red velvet cake and transform it into a fun, portable, and utterly irresistible dessert. With a soft, moist interior kissed by cream cheese frosting, a decadent chocolate coating, and festive sprinkles, these cake pops will delight everyone at your next gathering—or brighten up an ordinary afternoon at home!
Ingredients You’ll Need
Red Velvet Cake Pops come together with just a handful of key ingredients, each bringing its own magic to the table. These everyday treats get their signature color, flavor, and velvety texture from this essential lineup. Trust me—every ingredient truly makes a difference!
- Red velvet cake mix: The star of the show! Choose your favorite boxed mix for ease, plus eggs, oil, and water as required on the box.
- Cream cheese frosting: Adds that beloved tang and creaminess, and binds the cake crumbs into a dough-like texture.
- Chocolate candy melts (white or dark): The luscious outer shell that gives these pops their snap and finish—feel free to use white for a striking look, or dark for a rich contrast.
- Red or white sprinkles: This is where the fun begins—decorate to your heart’s content with color, sparkle, or even a drizzle of alternate chocolate.
- Lollipop sticks: Essential for that classic cake pop presentation and for dipping into the sweet, shiny coating without getting messy.
How to Make Red Velvet Cake Pops
Step 1: Bake and Cool the Cake
Start by preparing the red velvet cake according to the instructions on your box mix. Bake it in a suitable pan and let the cake cool completely before moving on. This ensures your crumbs won’t turn too mushy, and helps the final cake pops hold together perfectly.
Step 2: Crumble the Cake
Once your cake is cool, break it apart into fine crumbs using clean hands or a fork in a large mixing bowl. Really go for a fine, even texture here—the softer and finer the crumbs, the more uniformly you can shape your pops.
Step 3: Mix in Cream Cheese Frosting
Add about half a cup of cream cheese frosting to your cake crumbs. Using your hands or a sturdy spatula, blend everything together until you get a thick, moldable dough. You want the mixture to easily hold a ball shape without being too sticky.
Step 4: Shape the Cake Pops
Scoop out generous tablespoonfuls of your cake mixture and roll them between your palms to form smooth, 1-inch balls. Place each one on a parchment-lined baking sheet. This batch will yield about 20 to 24 cake pops, depending on your size preference.
Step 5: Insert Lollipop Sticks
Take your lollipop sticks and gently insert one in the center of each cake ball, pushing about halfway through. This gives your Red Velvet Cake Pops their iconic look and ensures they’re sturdy for dipping and serving later.
Step 6: Chill the Pops
Place the tray of cake pops in the freezer for 20 to 30 minutes, just until they’re very firm but not frozen solid. This step is key—it keeps the pops from falling apart in the next step when you dip them in melted chocolate.
Step 7: Melt the Chocolate Coating
While your pops are chilling, melt the chocolate candy melts in a microwave-safe bowl. Heat them in 30-second intervals, stirring carefully after each, until silky smooth. Don’t rush this step—gentle melting gives the best finish.
Step 8: Dip and Decorate
Working with one at a time, dip each chilled cake pop into the melted chocolate, swirling gently and tapping off the excess against the side of the bowl. Before the coating sets, add sprinkles or a drizzle of contrasting chocolate for a little extra flair. Stand finished pops upright in a Styrofoam block or cake pop stand while they set completely.
How to Serve Red Velvet Cake Pops
Garnishes
Dress up your Red Velvet Cake Pops with a shower of sprinkles in red, white, or even shimmering gold for celebrations. You can also drizzle some melted white or dark chocolate over the set coating for an elegant touch. A pinch of edible glitter or luster dust will make these little pops truly sparkle at parties.
Side Dishes
Though decadent on their own, cake pops play well with other treats. Serve them alongside fresh berries, a scoop of vanilla or raspberry sorbet, or even a cup of hot cocoa or festive coffee drink. They’re the ideal sweet bite after a savory brunch or laid-back dinner party.
Creative Ways to Present
Presentation is half the fun! Arrange your Red Velvet Cake Pops bouquet-style in a mason jar or pretty glass, wrap them individually in cellophane with colorful ribbon, or create a themed display on a fancy platter for birthdays or holidays. Kids love finding them stuck into a foam block, while adults appreciate a more polished, coordinated dessert spread.
Make Ahead and Storage
Storing Leftovers
Keep leftover Red Velvet Cake Pops fresh by placing them in an airtight container in the refrigerator. They’ll hold their flavor and texture beautifully for up to 5 days, making them perfect for prepping ahead for parties or enjoying throughout the week.
Freezing
If you want to get even further ahead, you can freeze cake pops before dipping them in chocolate. Lay them in a single layer on a tray, freeze until firm, then transfer to a freezer bag or airtight container. When ready to enjoy, let them thaw briefly and finish with the candy coating and decorations.
Reheating
Red Velvet Cake Pops are best enjoyed chilled or at room temperature. There’s no need to reheat them! However, if you’re thawing from the freezer, let them sit at room temperature for 20 to 30 minutes before serving, so the cake inside becomes perfectly soft and just right.
FAQs
How do I prevent my cake pops from falling off the sticks?
Make sure the cake mixture isn’t too moist or dry, and chill the shaped pops until firm before dipping. You can also dip the tip of each stick in melted chocolate before inserting it, which helps to “glue” it inside for extra security.
Can I use homemade cake and frosting instead of store-bought?
Absolutely! While box mixes and prepared frosting make things super quick, homemade red velvet cake and cream cheese frosting will deliver a custom touch and even richer flavor. Just be sure your cake is fully cooled before crumbling.
What type Dessert
Candy melts are ideal for Red Velvet Cake Pops because they melt smoothly and harden quickly with a shiny finish. You can use white, dark, or milk varieties—mix and match for fun colors and flavor combinations.
Why are my cake pops cracking after dipping?
This usually happens if the cake pops are too cold or frozen solid when dipped into the warm chocolate. Try chilling until just firm, then dip so the temperature difference isn’t too drastic. This should minimize cracking and keep your pops picture-perfect!
Can I decorate cake pops for different occasions?
Absolutely! Change up your sprinkles, colors, and even drizzle designs to suit birthdays, holidays, weddings, or baby showers. Red Velvet Cake Pops are endlessly adaptable for any celebration or treat table.
Final Thoughts
There’s something truly joyful about sharing Red Velvet Cake Pops with friends and family, whether you’re marking a special occasion or simply craving a playful dessert. I hope you’ll give these a try and experience just how fun, festive, and utterly delicious they are. Happy baking and happy sharing!
Print
Red Velvet Cake Pops Recipe
- Total Time: 1 hour 15 minutes (includes chilling)
- Yield: 20–24 cake pops 1x
- Diet: Vegetarian
Description
These Red Velvet Cake Pops are a delightful treat for any occasion, with moist red velvet cake mixed with cream cheese frosting, coated in chocolate, and decorated with colorful sprinkles. Perfect for parties or as charming homemade gifts!
Ingredients
Cake Pops:
- 1 box red velvet cake mix (plus ingredients listed on the box)
- 1/2 cup cream cheese frosting
- 20–24 lollipop sticks
Coating and Decoration:
- 1 (12 oz) bag white or dark chocolate candy melts
- Red or white sprinkles for decoration
Instructions
- Bake the Red Velvet Cake: Prepare and bake the red velvet cake according to the package instructions. Let it cool completely.
- Make Cake Pop Mixture: Crumble the cake into fine crumbs in a bowl. Add cream cheese frosting and mix until a dough forms.
- Shape Cake Balls: Roll the mixture into 1-inch balls and place on a baking sheet. Insert lollipop sticks into each ball.
- Chill Cake Pops: Freeze for 20–30 minutes until firm but not frozen solid.
- Coat in Chocolate: Melt candy melts and dip each cake pop, tapping off excess. Decorate with sprinkles.
- Set and Serve: Stand cake pops upright to set. Enjoy!
Notes
- For a festive look, use both white and red drizzles or sprinkles.
- Store in an airtight container in the fridge for up to 5 days.
- Prep Time: 30 minutes
- Cook Time: 25 minutes
- Category: Dessert
- Method: No-Bake
- Cuisine: American
Nutrition
- Serving Size: 1 cake pop
- Calories: 180
- Sugar: 17g
- Sodium: 160mg
- Fat: 9g
- Saturated Fat: 5g
- Unsaturated Fat: 3g
- Trans Fat: 0g
- Carbohydrates: 23g
- Fiber: 1g
- Protein: 2g
- Cholesterol: 20mg


