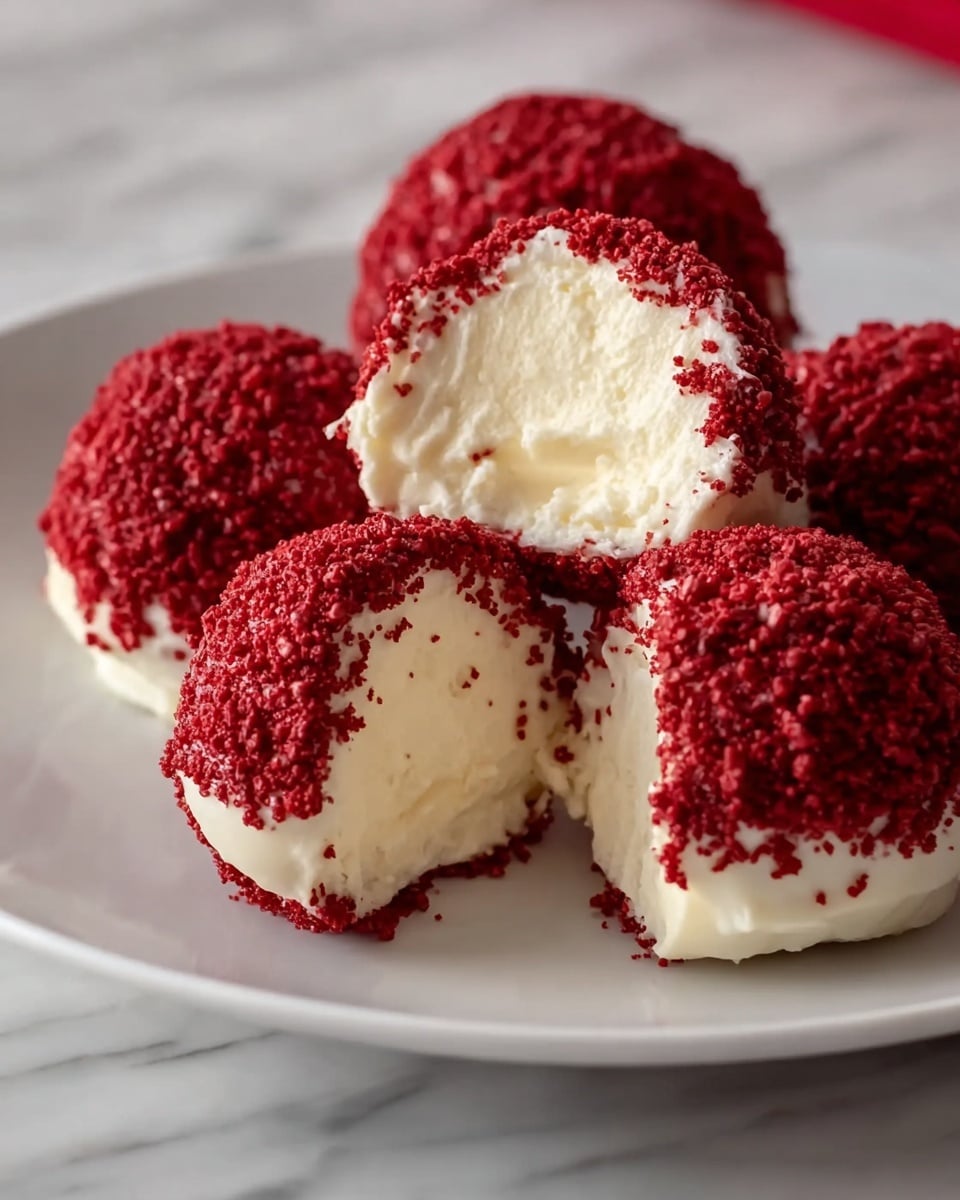
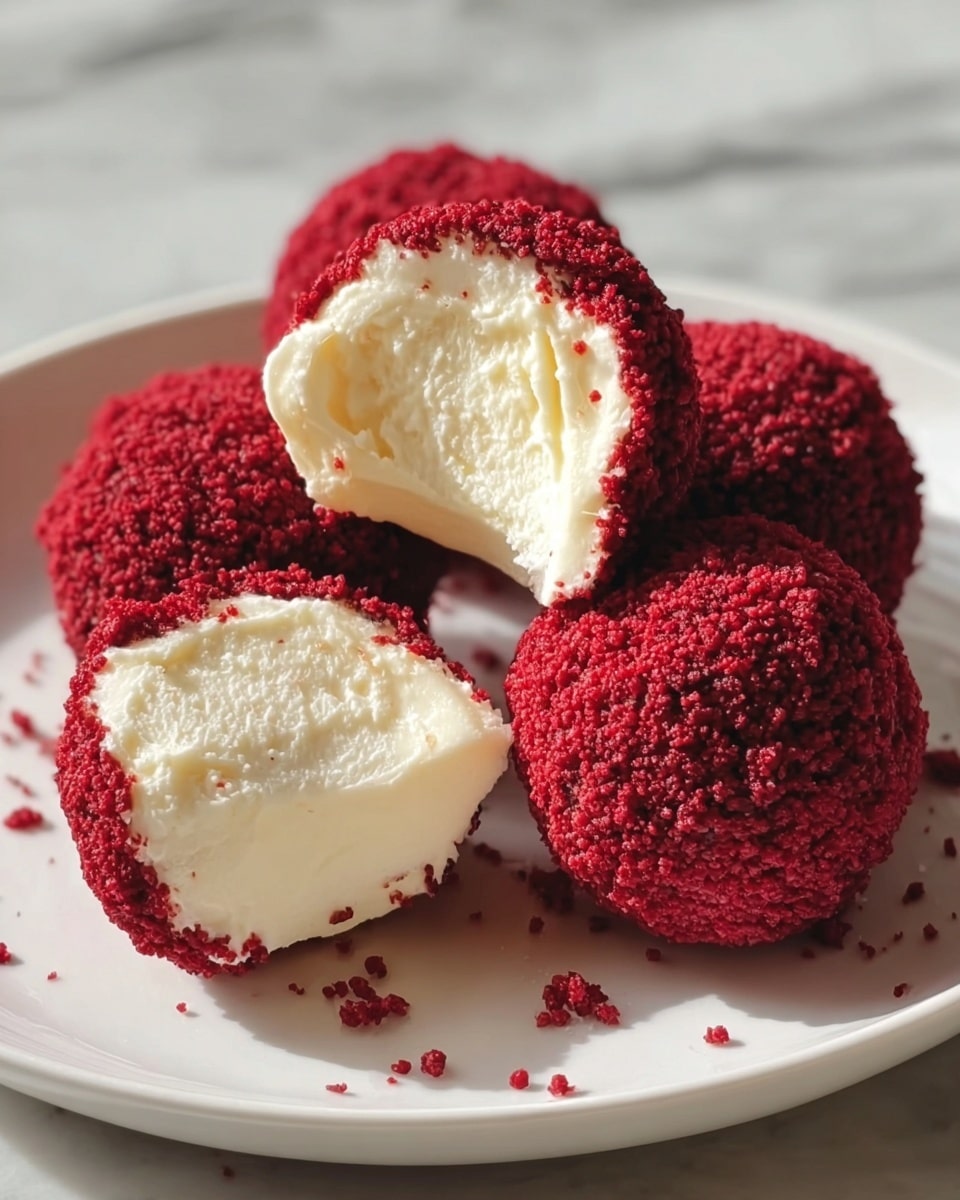
If you’re craving a dessert that combines rich, velvety cake with the creamy tang of cheesecake, look no further than this Red Velvet Cheesecake Balls Recipe. These little bites of heaven capture the iconic red velvet flavor in a fun, no-fuss treat that’s perfect for parties, celebrations, or just because you deserve a sweet pick-me-up. From the moist cake crumbs to the smooth cream cheese blend, all wrapped in a luscious white chocolate coating and sprinkled with red velvet crumbs, each bite is a delightful explosion of textures and flavors that will keep you coming back for more.
Ingredients You’ll Need
Preparing these Red Velvet Cheesecake Balls does not require a pantry full of fancy items. Each ingredient plays a crucial role in delivering that perfect balance of taste, texture, and vibrant color that makes this recipe such a crowd-pleaser.
- Red velvet cake mix: The foundation of the cheesecake balls, providing moist, flavorful cake with that signature reddish hue.
- Cream cheese (softened): Adds the creamy, tangy richness that melds beautifully with the cake crumbs.
- Vanilla extract: Enhances the flavor profile, making every bite more aromatic and delicious.
- White chocolate chips or white candy melts: Used to coat the balls, providing a smooth and sweet shell that complements the red velvet inside.
- Coconut oil or shortening (optional): Helps to achieve a silky, easy-to-dip white chocolate coating.
- Red velvet cake crumbs or sprinkles: Adds a charming, festive garnish that stays true to the red velvet theme.
How to Make Red Velvet Cheesecake Balls Recipe
Step 1: Bake and Cool the Cake
Begin by baking a box of red velvet cake mix according to the package instructions. The cake needs to be completely cooled before moving on, so plan for patience here. The cool cake will crumble more easily and mix better with the cream cheese, ensuring smooth and manageable dough.
Step 2: Combine Cake Crumbs and Cream Cheese
Once cooled, crumble the cake into fine crumbs using your hands or a fork right into a large bowl. Add the softened cream cheese along with a teaspoon of vanilla extract. Stir or mix thoroughly until you form a dense yet pliable dough. This mixture is what gives these cheesecake balls their irresistible cream cheese flavor with just the right balance of cake texture.
Step 3: Shape the Balls and Chill
Roll the dough into approximately 1-inch balls and arrange them on a parchment-lined baking sheet. Pop the tray into your freezer for 20 to 30 minutes. Chilling helps the balls firm up, so they’re easier to dip into the coating without falling apart.
Step 4: Prepare the White Chocolate Coating
In a microwave-safe bowl, melt the white chocolate chips together with coconut oil or shortening if you’re using it. Heat in 30-second bursts, stirring well after each, until you achieve a smooth, velvety consistency perfect for dipping.
Step 5: Dip and Garnish
Carefully dip each chilled cake ball into the melted white chocolate, letting excess coating drip off to avoid clumps. Place each dipped ball back on the parchment paper and sprinkle generously with red velvet crumbs or festive sprinkles before the coating sets. This not only makes them look stunning but also reinforces that classic red velvet vibe.
Step 6: Refrigerate Until Firm
For the best results, refrigerate the cheesecake balls until the white chocolate coating is completely firm. This usually takes about an hour, resulting in a perfectly set, transportable treat ready to delight your guests.
How to Serve Red Velvet Cheesecake Balls Recipe
Garnishes
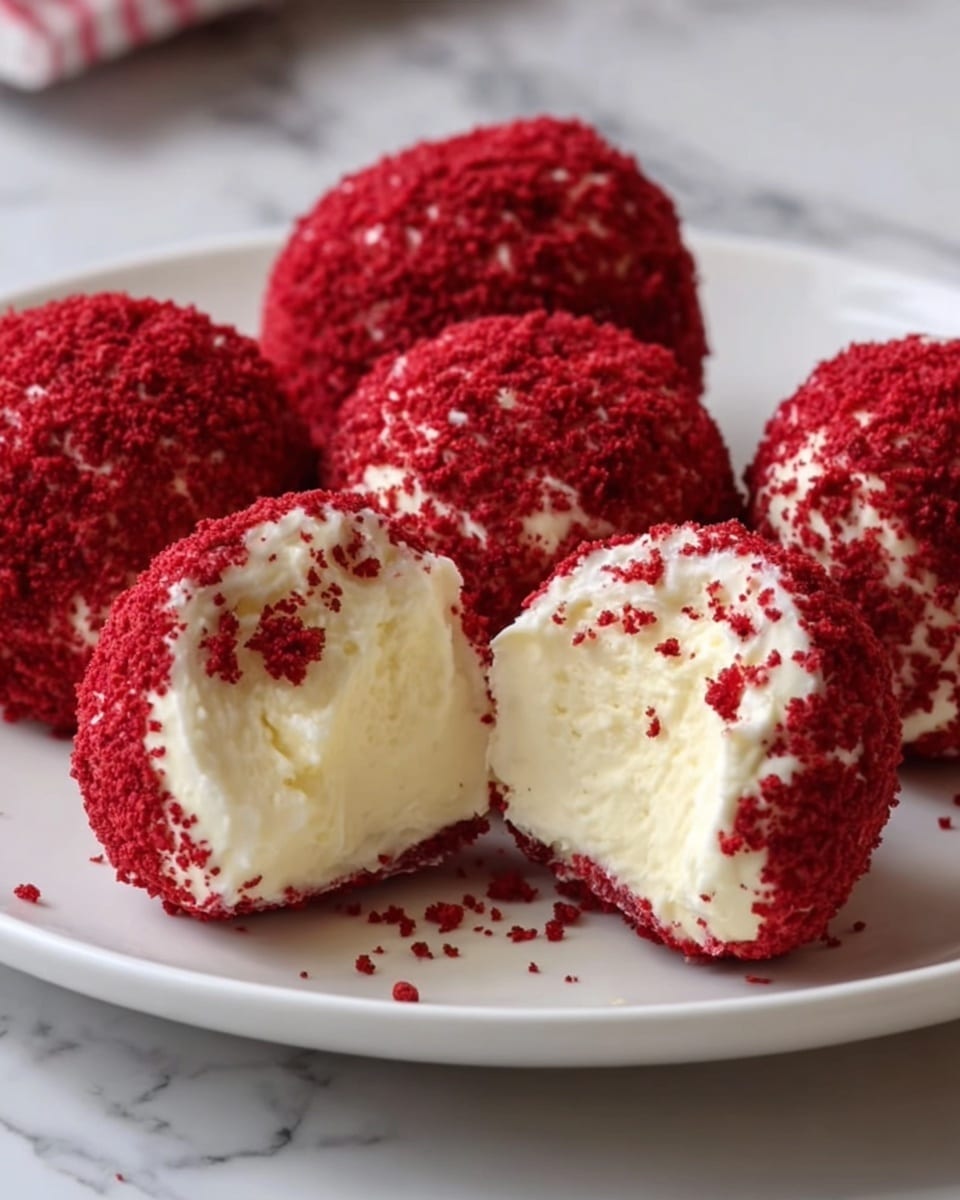
While the red velvet crumbs or sprinkles are a fantastic finishing touch, consider adding a drizzle of extra white or dark chocolate for contrast. A dusting of edible glitter or crushed nuts can also add an elegant flair that really elevates these dessert bites.
Side Dishes
These cheesecake balls shine on their own but pairing them with fresh berries, a cup of rich coffee, or even a scoop of vanilla ice cream can turn your dessert experience into a full celebration of flavors. They’re also fantastic alongside a glass of chilled milk or a light dessert wine.
Creative Ways to Present
Try skewering the cheesecake balls on decorative sticks to make fun cake pops, or arrange them in a festive bowl surrounded by matching colored napkins for a party centerpiece. Serving them on a slate board adorned with edible flowers will instantly impress dinner guests and make every bite feel extra special.
Make Ahead and Storage
Storing Leftovers
Store any leftover Red Velvet Cheesecake Balls in an airtight container in the refrigerator to keep them fresh and maintain their texture. They will stay delicious for up to five days, making them a perfect make-ahead treat for busy schedules or unexpected guests.
Freezing
You can freeze these cheesecake balls to enjoy later without sacrificing their wonderful taste or texture. Place them in a single layer on a baking sheet to freeze initially, then transfer to a freezer-safe container or bag. They’ll keep well for up to three months. When ready, thaw in the refrigerator overnight before serving.
Reheating
Since these cheesecake balls are best enjoyed chilled, reheating is not recommended. If you prefer a softer texture, let them rest at room temperature for 15-20 minutes instead of microwaving, which can cause the coating to melt unevenly.
FAQs
Can I use homemade red velvet cake for this recipe?
Absolutely! Homemade red velvet cake works perfectly and can add an extra personal touch. Just ensure the cake is fully cooled before crumbling to maintain the right consistency for mixing.
Is there a substitute for white chocolate chips?
If white chocolate isn’t your favorite, you can use candy melts available in various colors. They melt smoothly and provide a similar coating experience with options for customization.
Can I make these cheesecake balls dairy-free?
To make a dairy-free version, look for dairy-free cream cheese alternatives and vegan white chocolate or candy melts. Keep in mind the texture might vary slightly but the flavor will still be wonderful.
How long do these cheesecake balls last in the fridge?
Stored in an airtight container, these cheesecake balls remain fresh and tasty for up to five days. Be sure to keep them chilled to maintain their shape and flavor.
Can I skip the coconut oil when melting the chocolate?
Yes, you can skip the coconut oil, but adding a bit helps create a smoother, shinier chocolate coating that’s easier to work with. Without it, the chocolate might be a bit thicker and less glossy.
Final Thoughts
This Red Velvet Cheesecake Balls Recipe is a total game-changer when you want a dessert that’s both elegant and effortless. Perfectly blending the rich flavors and creamy textures you love, this treat is sure to become a favorite in your dessert rotation. Trust me, once you try them, you’ll find every occasion calls for a batch of these delightful bites.
Print
Red Velvet Cheesecake Balls Recipe
- Total Time: 55 minutes
- Yield: 24 cheesecake balls 1x
- Diet: Vegetarian
Description
Delightful Red Velvet Cheesecake Balls combining the rich flavors of red velvet cake and creamy cheesecake, coated in smooth white chocolate and topped with festive cake crumbs or sprinkles. These bite-sized treats are perfect for parties and special occasions, offering a no-bake indulgence once the cake is prepared.
Ingredients
Cake and Filling
- 1 box red velvet cake mix (baked and cooled)
- 8 ounces cream cheese (softened)
- 1 teaspoon vanilla extract
Coating
- 12 ounces white chocolate chips or white candy melts
- 1 tablespoon coconut oil or shortening (optional, for smoother coating)
Garnish
- Red velvet cake crumbs or sprinkles (for garnish)
Instructions
- Bake the cake: Prepare the red velvet cake according to the package instructions. Bake it fully and allow it to cool completely before proceeding.
- Prepare the mixture: In a large bowl, crumble the cooled cake into fine crumbs using your hands or a fork to ensure no large pieces remain. Add the softened cream cheese and the vanilla extract, then mix thoroughly until a dense, smooth dough forms.
- Shape the balls: Roll the cake and cream cheese mixture into 1-inch diameter balls. Place each ball on a parchment-lined baking sheet ensuring they don’t touch each other.
- Chill: Freeze the balls for 20 to 30 minutes or until they are firm enough for dipping.
- Melt the coating: In a microwave-safe bowl, melt the white chocolate chips together with the optional coconut oil in 30-second increments, stirring well between intervals until the mixture is smooth and pourable.
- Coat the balls: Dip each chilled ball into the melted white chocolate, allowing excess coating to drip off. Place coated balls back onto the parchment-lined baking sheet.
- Garnish and set: Before the coating hardens, sprinkle red velvet cake crumbs or festive sprinkles on top of each ball. Refrigerate the coated cheesecake balls until the coating is firm and they are ready to serve.
Notes
- You can use homemade red velvet cake instead of the boxed mix if desired.
- Store the cheesecake balls in an airtight container in the refrigerator for up to 5 days.
- For longer storage, freeze the balls in a sealed container.
- Optional coconut oil helps achieve a smoother, shinier coating but can be omitted if preferred.
- Prep Time: 25 minutes
- Cook Time: 30 minutes
- Category: Dessert
- Method: No-Cook
- Cuisine: American
