
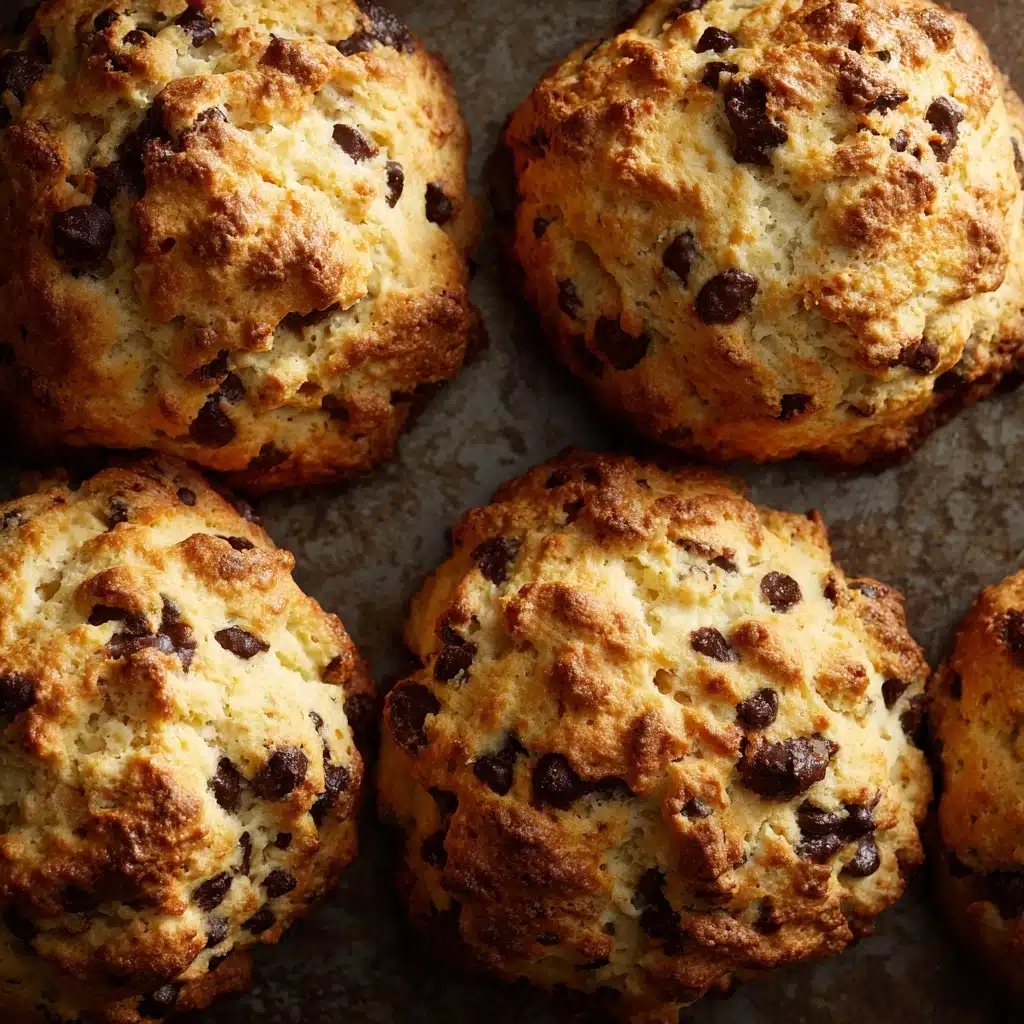
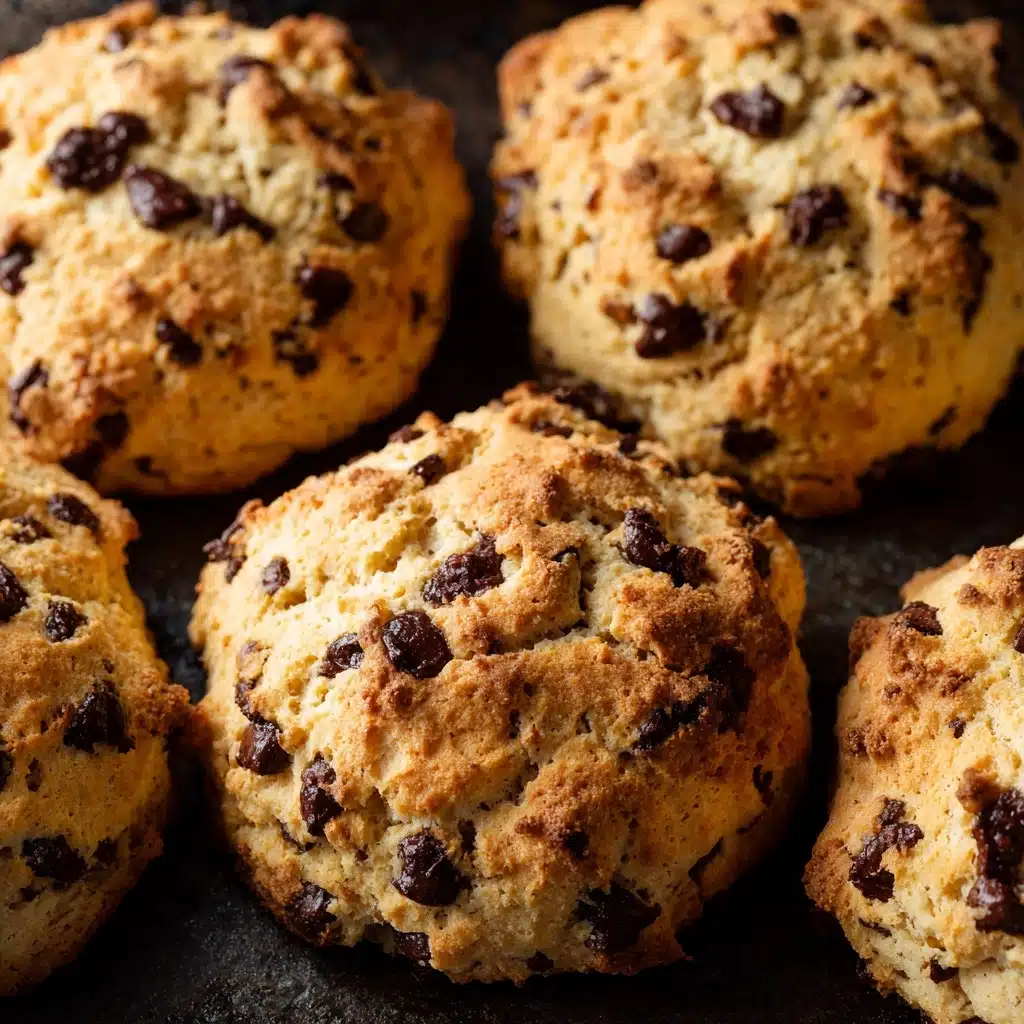
Rock Buns are a delightful throwback treat that instantly transports you to cozy British tea times and childhood baking sessions. These rustic little buns have an endearing craggy texture and a scrumptiously soft, buttery crumb that’s studded with sweet, chewy dried fruit. Whether you’re craving a quick breakfast, lunchbox snack, or a little something special to serve with an afternoon cup of tea, Rock Buns fit the bill perfectly. The combination of aromatic cinnamon, a hint of vanilla, and golden baked edges makes these a warm, irresistible classic you’ll want to whip up again and again.
Ingredients You’ll Need
The beauty of making Rock Buns is just how simple, wholesome, and accessible the ingredient list is! Each component plays its own unique part—giving the buns their signature flavor, golden hue, and incredibly satisfying texture. Let’s take a closer look at what makes these buns stand out.
- All-purpose flour: Forms the backbone of our buns and gives them their structured but tender crumb.
- Baking powder: This provides just the right amount of lift for that perfect, soft interior.
- Ground cinnamon: Adds gentle warmth and fragrant spice without overwhelming the fruitiness.
- Cold unsalted butter (cubed): Essential for those classic crumbly, melt-in-your-mouth edges—make sure it’s cold!
- Granulated sugar: Sweetens the dough just enough to balance the fruit and spice.
- Mixed dried fruit (raisins, sultanas, or currants): For bursts of flavor and delightful chewy bites in every mouthful.
- Large egg: Helps the dough bind together and gives a little richness too.
- Milk: Adds moisture and helps bring everything together—use more if your dough seems dry.
- Vanilla extract: Rounds out the flavor and boosts sweetness in a subtle, elegant way.
- Pinch of salt: Lift all the flavors and ensures your buns are never bland.
How to Make Rock Buns
Step 1: Prep Your Oven and Baking Sheet
First things first, set your oven to preheat at 375°F (190°C)—hot and ready for those irresistible buns! Don’t forget to line a sturdy baking sheet with parchment paper, which means the Rock Buns won’t stick and cleanup will be a breeze.
Step 2: Sift and Combine the Dry Ingredients
Grab your largest mixing bowl and sift in the flour, baking powder, cinnamon, and a pinch of salt. This quick step keeps your Rock Buns tender by whisking in air and getting rid of any lumps. A well-mixed base at this point equals a perfectly uniform batch later!
Step 3: Rub in the Cold Butter
Add those lovely cold cubes of butter directly into the dry mixture. Gently rub them in with your fingertips until the texture resembles course breadcrumbs. Cold butter is the not-so-secret ingredient for creating those signature craggy, golden tops and crumbly texture.
Step 4: Stir in Sugar and Dried Fruit
Tip in the granulated sugar and mixed dried fruit. Give everything a light stir so those little bits of fruit end up evenly scattered throughout the dough, ensuring every bun has a delicious fruity surprise.
Step 5: Combine the Wet Ingredients
In a separate small bowl, beat together the egg, milk, and vanilla extract. This frothy mixture adds just the right amount of moisture and flavor to bring your Rock Buns together.
Step 6: Make the Dough
Pour your wet mixture into the flour mix. Stir gently with a spoon until just combined—you want a thick dough that is a touch sticky. If it feels too dry, add another splash of milk. Avoid overmixing so the buns stay delightfully tender.
Step 7: Shape and Bake
Using two spoons (or your hands, if you’re feeling rustic), scoop up rough heaps and drop them onto your prepared baking sheet, leaving space for spreading. The “rougher” the better—this is what gives Rock Buns their signature rugged appearance! Bake them for 15–20 minutes or until golden and firm to the touch.
Step 8: Cool and Enjoy
Let your Rock Buns cool slightly on a wire rack. Resist the temptation to dig in straight from the oven—allowing them a little time to cool means the crumb sets up perfectly. These are wonderful served warm with a smear of creamy butter.
How to Serve Rock Buns
Garnishes
A Rock Bun needs very little—it truly shines on its own, but there are plenty of little touches you can add! Try dusting with a sprinkle of powdered sugar for a subtle sweetness or topping with a dab of butter or clotted cream for a touch of indulgence. Even a light drizzle of honey can make them extra special.
Side Dishes
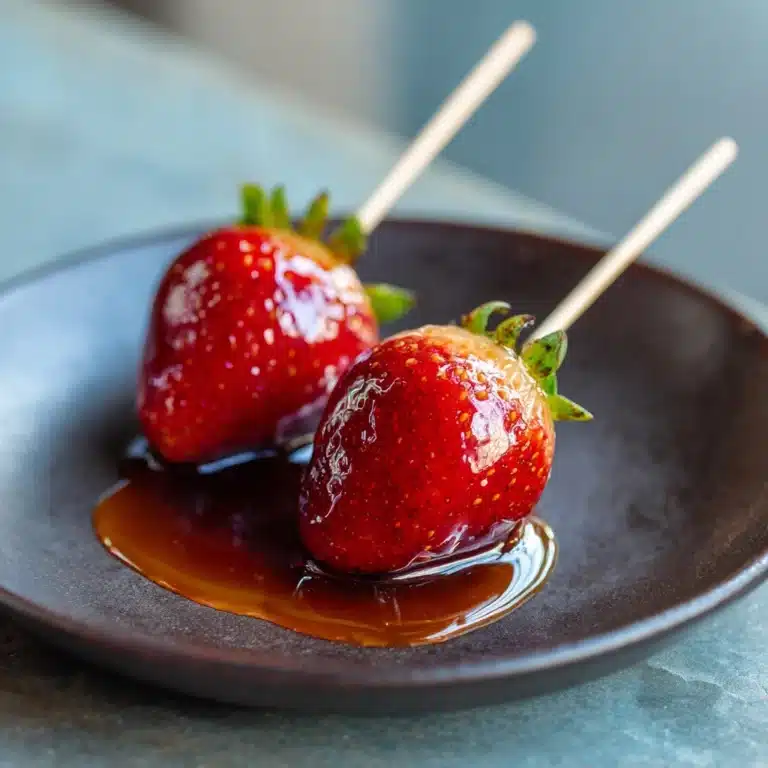
Rock Buns are undeniably perfect with a proper cup of British tea, but they also make lovely companions to hot cocoa or a creamy latte. For a heartier breakfast or brunch, serve alongside fresh berries, orange wedges, or a small pot of yogurt for a delightful contrast of flavors and textures.
Creative Ways to Present
For an impressive afternoon tea, pile your Rock Buns high on a tiered cake stand and nestle in a few edible flowers or twists of citrus zest for a burst of color. Warm them up and wrap in a fresh linen napkin for a rustic picnic vibe, or tuck them into pretty paper bags for lunchbox treats and edible gifts.
Make Ahead and Storage
Storing Leftovers
Once cooled, keep any leftover Rock Buns in an airtight container at room temperature. They’ll stay fresh for up to 3 days, though the texture is at its very best within the first day or two. The container helps retain their moisture and keeps them from drying out prematurely.
Freezing
If you fancy baking ahead, Rock Buns freeze like a dream. Let them cool completely before wrapping individually in plastic wrap or parchment, then pop them in a zip-top freezer bag. They’ll keep their flavor and texture for up to a month—a handy treat for future cravings.
Reheating
To bring leftover or frozen Rock Buns back to life, zap them for 10–15 seconds in the microwave, or warm gently in a low oven for a few minutes. Fresh from the oven or reheated, they’re wonderfully aromatic and taste like they just came out of the kitchen.
FAQs
Can I use whole wheat flour for Rock Buns?
Absolutely! While the texture will be a bit more hearty and dense, whole wheat flour brings additional flavor and fiber. Try swapping out half of the all-purpose flour to keep the buns light while adding a wholesome touch.
What other fruits can I use?
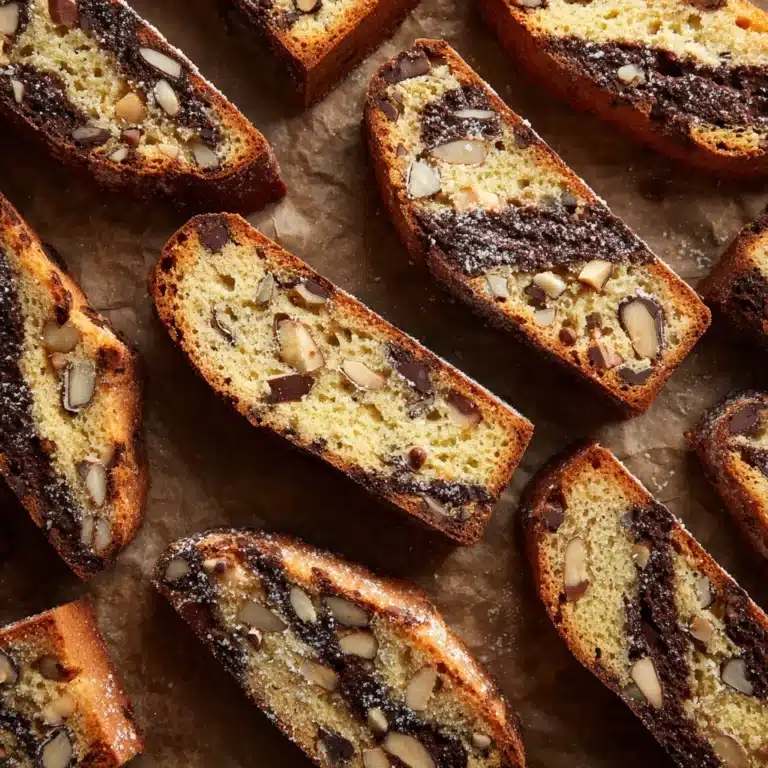
Rock Buns are fabulously flexible. Dried cranberries, chopped apricots, cherries, or even a handful of chopped dark chocolate can be mixed in for new twists on the classic. Use what you love, just keep the total quantity the same.
Can I make Rock Buns dairy-free?
Yes! Use a dairy-free butter alternative and your favorite plant-based milk. The results will still be deliciously crumbly and satisfying, perfect for anyone avoiding dairy.
Why is it important to use cold butter?
Cold butter creates steam as the buns bake, which is what gives Rock Buns their lovely, rough, craggy edges and light interior. Warm butter would simply blend in, resulting in a denser and less characterful bun.
How do I know when Rock Buns are done baking?
Your Rock Buns are perfectly baked when they’re golden brown, just firm to the touch, and the bottoms sound faintly hollow if tapped. Overbaking can make them dry, so keep a close eye toward the end of the baking time.
Final Thoughts
There’s no greater joy than sharing a batch of homemade Rock Buns—warm from the oven, fragrant, and utterly comforting. Whether you bake these on a rainy afternoon or as part of a special breakfast, they’re sure to win hearts and spread smiles. Give them a try and discover just how charming this British classic can be in your own kitchen!
Print
Rock Buns Recipe
- Total Time: 35 minutes
- Yield: 8 buns 1x
- Diet: Vegetarian
Description
Rock buns are a classic British tea snack that are easy to make and perfect for breakfast or a quick treat. These fruit-filled buns have a delightful texture and a hint of cinnamon, making them a comforting and satisfying baked good.
Ingredients
Dry Ingredients:
- 2 cups all-purpose flour
- 2 teaspoons baking powder
- ½ teaspoon ground cinnamon
- pinch of salt
Additional Ingredients:
- ½ cup cold unsalted butter (cubed)
- ⅓ cup granulated sugar
- ½ cup mixed dried fruit (such as raisins, sultanas, or currants)
- 1 large egg
- 3 tablespoons milk (plus more if needed)
- 1 teaspoon vanilla extract
Instructions
- Preheat the Oven: Preheat oven to 375°F (190°C) and line a baking sheet with parchment paper.
- Prepare the Dough: In a large mixing bowl, sift together flour, baking powder, cinnamon, and salt. Add the cubed butter and rub it into the flour mixture. Stir in sugar and dried fruit.
- Mix Wet Ingredients: In a separate bowl, beat the egg with milk and vanilla extract. Pour into the dry ingredients and stir until just combined.
- Form the Buns: Drop scoops of dough onto the baking sheet. Bake for 15–20 minutes until golden brown.
- Cool and Serve: Let the buns cool slightly on a wire rack before serving.
Notes
- Enjoy warm with butter.
- Vary dried fruits or add citrus zest for extra flavor.
- Store in an airtight container for up to 3 days.
- Prep Time: 15 minutes
- Cook Time: 20 minutes
- Category: Snack, Breakfast
- Method: Baking
- Cuisine: British
Nutrition
- Serving Size: 1 bun
- Calories: 220
- Sugar: 10g
- Sodium: 130mg
- Fat: 10g
- Saturated Fat: 6g
- Unsaturated Fat: 4g
- Trans Fat: 0g
- Carbohydrates: 30g
- Fiber: 1g
- Protein: 4g
- Cholesterol: 40mg


