
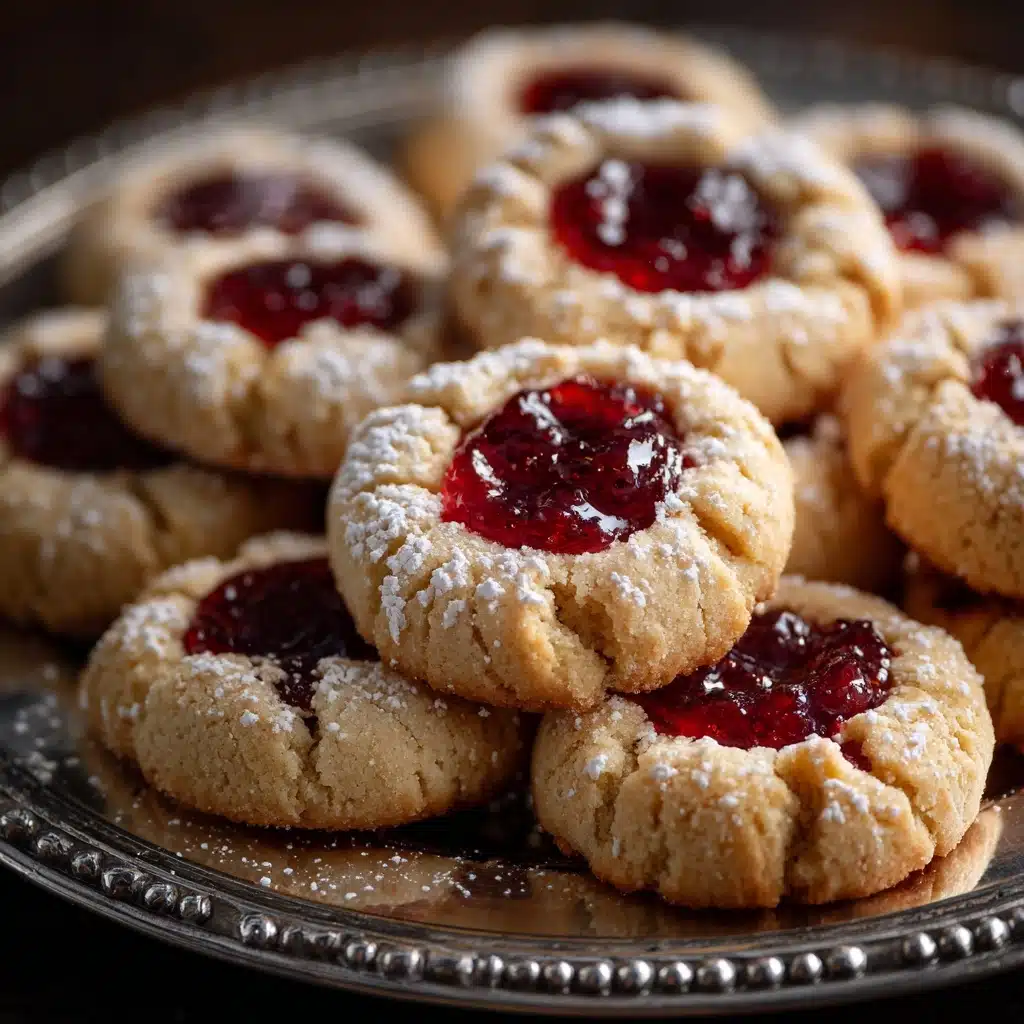
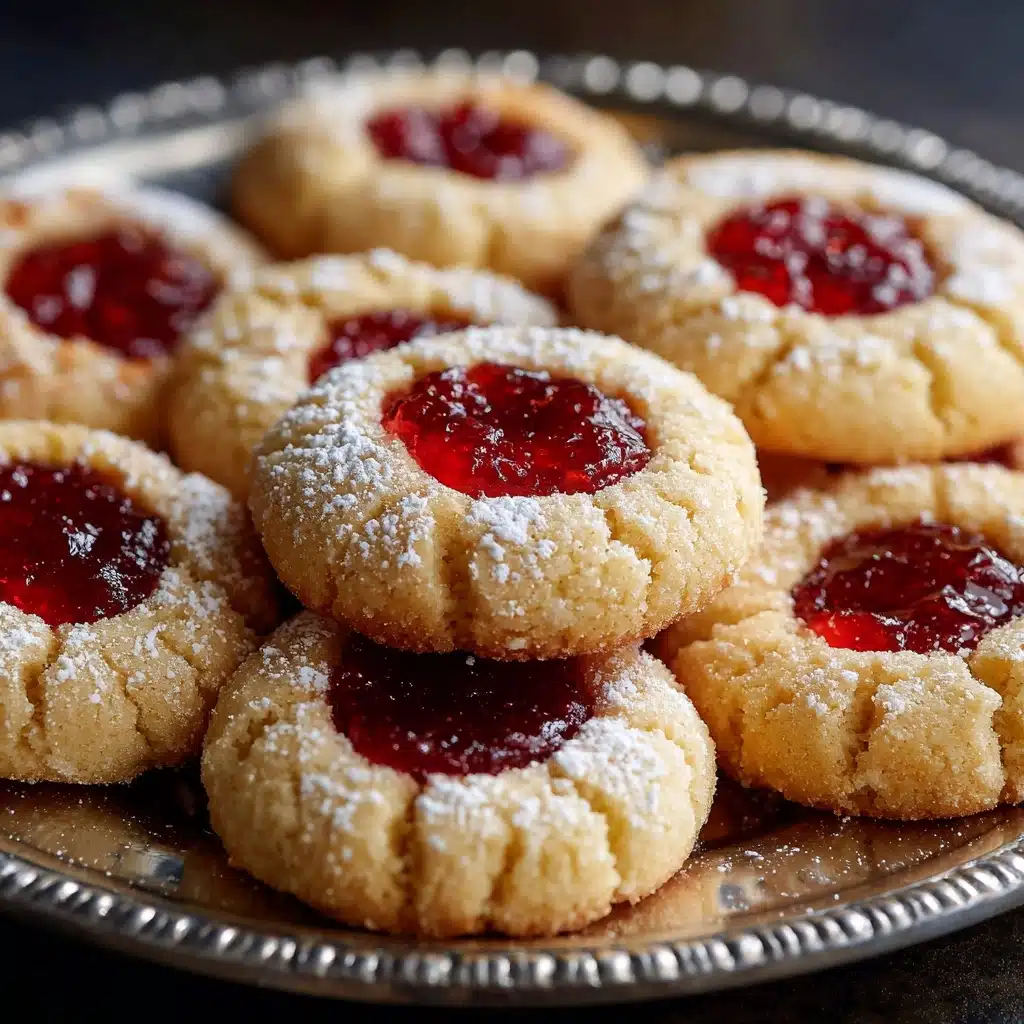
Thumbprint Cookies are the kind of treat that make every cookie platter a little more special. With their buttery, melt-in-your-mouth texture and jewel-like centers of fruity jam, they’re a classic that never fails to delight both kids and adults alike. Whether you’re baking for the holidays, a family gathering, or just because, these cookies have a way of brightening up any occasion. Simple to make yet utterly irresistible, Thumbprint Cookies are a must-try for anyone who loves a cookie that’s as fun to make as it is to eat.
Ingredients You’ll Need
You’ll be amazed at how just a handful of everyday ingredients come together to create these beautiful Thumbprint Cookies. Each one plays a key role in giving the cookies their signature flavor, tender crumb, and eye-catching color.
- Unsalted butter, softened: The foundation for that melt-in-your-mouth texture—make sure it’s at room temperature for easy creaming.
- Granulated sugar: Sweetens the dough and helps create a delicate, crisp edge.
- Egg yolks: Add richness and help bind the dough for a tender bite.
- Vanilla extract: Enhances the cookie’s flavor with a warm, aromatic note.
- All-purpose flour: Provides structure and ensures the cookies hold their shape.
- Salt: Balances the sweetness and brings out the other flavors.
- Fruit jam or preserves (raspberry, strawberry, or apricot): The colorful, tangy filling that makes each cookie pop—choose your favorite or mix it up for variety.
- Powdered sugar (optional): A light dusting adds a pretty finish and a touch of extra sweetness.
How to Make Thumbprint Cookies
Step 1: Prepare Your Baking Gear
Start by preheating your oven to 350°F and lining a baking sheet with parchment paper. This simple step ensures your Thumbprint Cookies bake evenly and lift right off the pan without sticking.
Step 2: Cream the Butter and Sugar
In a large mixing bowl, cream together the softened butter and granulated sugar using a hand mixer or stand mixer until the mixture is pale, light, and fluffy. This process incorporates air into the dough, giving your cookies their signature delicate texture.
Step 3: Add Egg Yolks and Vanilla
Beat in the egg yolks and vanilla extract until fully combined. The yolks make the dough extra rich, and the vanilla adds a lovely aromatic sweetness that sets these Thumbprint Cookies apart.
Step 4: Mix in the Dry Ingredients
Add the flour and salt to the bowl and mix on low speed just until a soft, cohesive dough forms. Don’t overmix—stop as soon as the flour disappears to keep your cookies tender.
Step 5: Shape and Fill
Roll the dough into 1-inch balls and arrange them about 2 inches apart on your prepared baking sheet. Use your thumb or the back of a small spoon to gently press an indentation into the center of each ball. If the dough cracks a bit, just pinch it back together. Fill each indentation with about ½ teaspoon of your favorite jam.
Step 6: Bake to Perfection
Bake the cookies for 12 to 15 minutes, or until the edges are just turning golden. Let them cool on the pan for 5 minutes before transferring to a wire rack to cool completely. For an extra touch, dust with powdered sugar before serving.
How to Serve Thumbprint Cookies
Garnishes
A simple dusting of powdered sugar always looks elegant, but you can also sprinkle finely chopped nuts or a drizzle of white chocolate over the cooled cookies for a festive twist. Choose colors and toppings that complement your jam for extra visual appeal.
Side Dishes
Pair Thumbprint Cookies with a hot cup of tea, coffee, or even mulled wine during the colder months. For a cookie platter, they look gorgeous alongside shortbread, biscotti, or chocolate-dipped treats, making for a delightful dessert spread.
Creative Ways to Present
Arrange Thumbprint Cookies in neat rows on a vintage cake stand, stack them in glass jars as edible gifts, or mix and match jams for a rainbow effect. For special occasions, nestle each cookie in a mini cupcake liner for a polished, bakery-style presentation.
Make Ahead and Storage
Storing Leftovers
Keep any leftover Thumbprint Cookies in an airtight container at room temperature for up to five days. The flavors meld beautifully over time, and the cookies stay soft and tender.
Freezing
You can freeze these cookies after baking—just arrange them in single layers with parchment between and store in a freezer-safe container for up to two months. Thaw at room temperature whenever a craving strikes.
Reheating
While Thumbprint Cookies are best enjoyed at room temperature, you can refresh them by popping them in a 300°F oven for 2-3 minutes. This brings back a hint of their just-baked texture and makes the jam centers shine.
FAQs
Can I use different types of jam for Thumbprint Cookies?
Absolutely! Thumbprint Cookies are perfect for experimenting with different flavors—try raspberry, strawberry, apricot, or even lemon curd for a bright, tangy twist.
What if my dough cracks when I make the indentations?
A little cracking is normal, but if you notice larger splits, simply pinch and smooth the dough back together. Slightly softening your dough with your hands can also help prevent this.
Can I make Thumbprint Cookies gluten-free?
Yes, you can use a cup-for-cup gluten-free flour blend in place of the all-purpose flour. The texture might be slightly different, but the cookies will still be delicious.
Do I need to chill the dough before baking?
For this recipe, chilling isn’t necessary, but if your kitchen is very warm or if the dough feels too soft, a quick 15-minute chill in the fridge will help the cookies hold their shape better during baking.
How can I make the cookies more festive for the holidays?
Try using a variety of jams for a colorful display, or roll the dough balls in chopped nuts before baking. A sprinkle of edible glitter or colored sugars on top can also add a fun, festive touch.
Final Thoughts
There’s something truly magical about baking and sharing a batch of Thumbprint Cookies. Whether you stick with classic flavors or get creative with fillings and toppings, these cookies are guaranteed to bring smiles to everyone who tries them. Gather your ingredients, turn on some music, and let the sweet aroma of Thumbprint Cookies fill your kitchen—you’ll be glad you did!
Print
Thumbprint Cookies Recipe
- Total Time: 35 minutes
- Yield: 24 cookies 1x
- Diet: Vegetarian
Description
Thumbprint Cookies are buttery, tender cookies filled with your favorite fruit jam or preserves. This classic American dessert features a soft dough with a sweet jam center, perfect for holidays or any occasion that calls for a delightful homemade treat.
Ingredients
Dough Ingredients
- 1 cup unsalted butter, softened
- ½ cup granulated sugar
- 2 large egg yolks
- 1 teaspoon vanilla extract
- 2 cups all-purpose flour
- ¼ teaspoon salt
Filling
- ½ cup fruit jam or preserves (such as raspberry, strawberry, or apricot)
Optional
- Powdered sugar for dusting
Instructions
- Preheat Oven and Prep Baking Sheet: Preheat your oven to 350°F (175°C) and line a baking sheet with parchment paper to prevent sticking and facilitate even baking.
- Cream Butter and Sugar: In a large bowl, cream together the softened unsalted butter and granulated sugar until the mixture becomes light and fluffy, which will help create a tender cookie texture.
- Add Egg Yolks and Vanilla: Beat in the egg yolks and vanilla extract thoroughly, ensuring a smooth, well-incorporated dough base.
- Mix Dry Ingredients: Gradually add the all-purpose flour and salt to the wet ingredients, mixing gently until a soft dough forms without overworking it to keep cookies tender.
- Shape Dough Balls: Roll the dough into 1-inch diameter balls and place them about 2 inches apart on the prepared baking sheet to allow space for baking expansion.
- Create Indentations: Use your thumb or the back of a small spoon to make an indentation in the center of each dough ball, forming a well to hold the jam filling.
- Fill with Jam: Spoon approximately ½ teaspoon of your chosen fruit jam or preserves into each indentation, being careful not to overfill to avoid spilling during baking.
- Bake: Bake the cookies in the preheated oven for 12 to 15 minutes, or until the edges are lightly golden, indicating they are done but still soft inside.
- Cool: Remove from the oven and let the cookies cool on the baking sheet for 5 minutes before transferring them to a wire rack to cool completely, which helps them set properly.
- Optional Dusting: Once cooled, dust the cookies lightly with powdered sugar if desired for an elegant finish and extra sweetness.
Notes
- You can use different jams such as raspberry, strawberry, apricot, or mixed berry to create a colorful assortment of cookies.
- If the dough cracks when pressing your thumb to make the indentation, gently pinch it back together to maintain the shape.
- For extra texture and flavor, roll the dough balls in finely chopped nuts before baking.
- Store cookies in an airtight container at room temperature for up to a week for best freshness.
- Prep Time: 20 minutes
- Cook Time: 15 minutes
- Category: Dessert
- Method: Baking
- Cuisine: American
Nutrition
- Serving Size: 1 cookie
- Calories: 120
- Sugar: 6g
- Sodium: 50mg
- Fat: 7g
- Saturated Fat: 4g
- Unsaturated Fat: 2g
- Trans Fat: 0g
- Carbohydrates: 13g
- Fiber: 0g
- Protein: 1g
- Cholesterol: 25mg


